Quantcast
Channel: Pinoy Mountaineer
Viewing all 610 articles
Browse latest View live

Hiking matters #561: Mt. Akagi (赤城山) Kurobi-Komagatake Loop in Gunma, Japan
$
0
0

IMG_6553
TOKYO, JAPAN – For the second hike of my 7th Japan hiking trip, I headed to Mt. Akagi (赤城山) in Gunma, Japan. Though a little bit outside dayhiking range of Tokyo, its hiking course – through two peaks, Kurobi and Komagatake, overlooking Lake Onuma – seemed interesting and I thought it would be a worthy dayhike. From Ueno Station, we took a train to Maebashi (1940 JPY, 2 hours) and from Maebashi, a bus from platform 6 to the Akagiyama Visitors Center (1500 JPY, 1 hr), making for a total travel time of over 3 hours.
IMG_6496
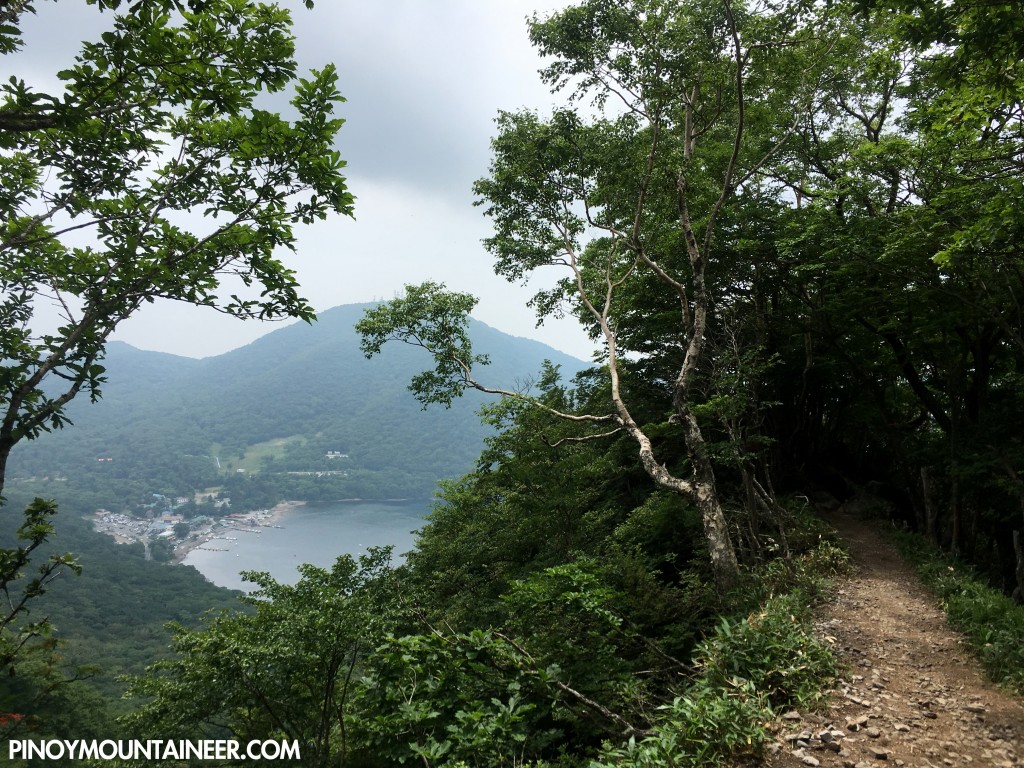
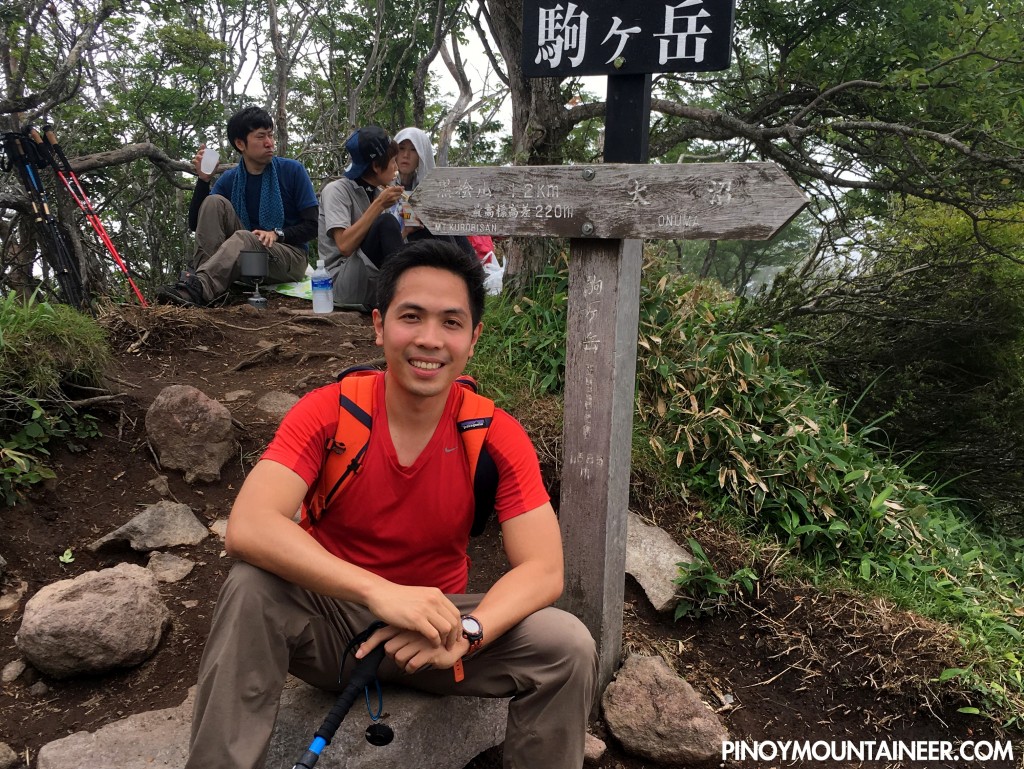
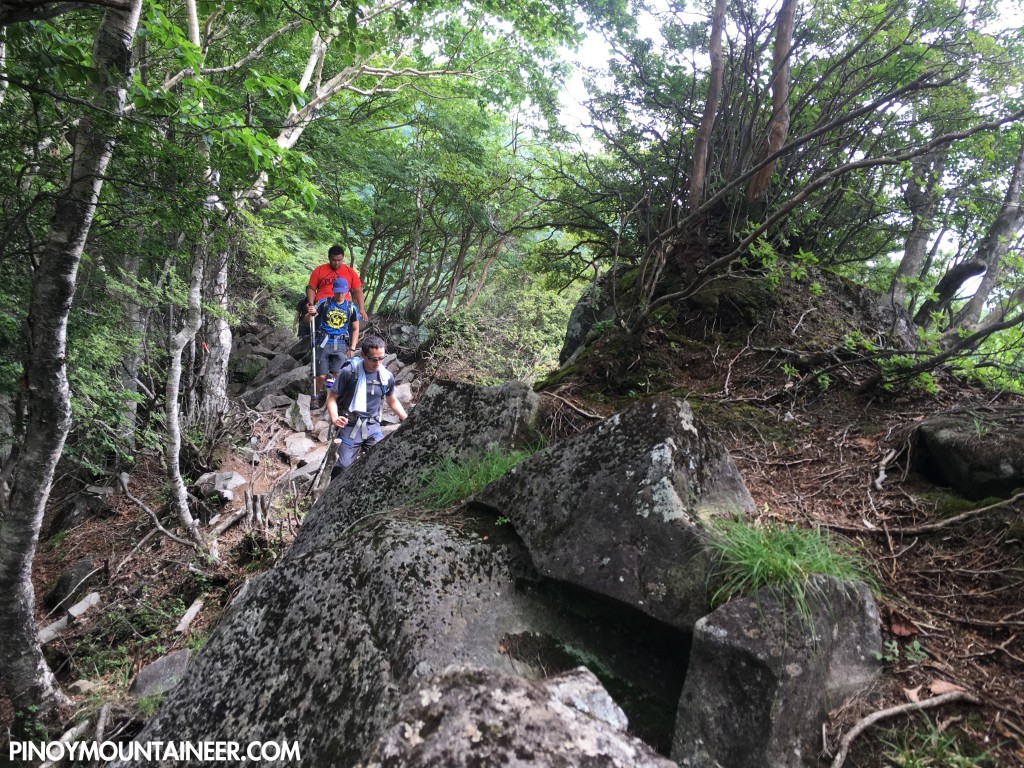
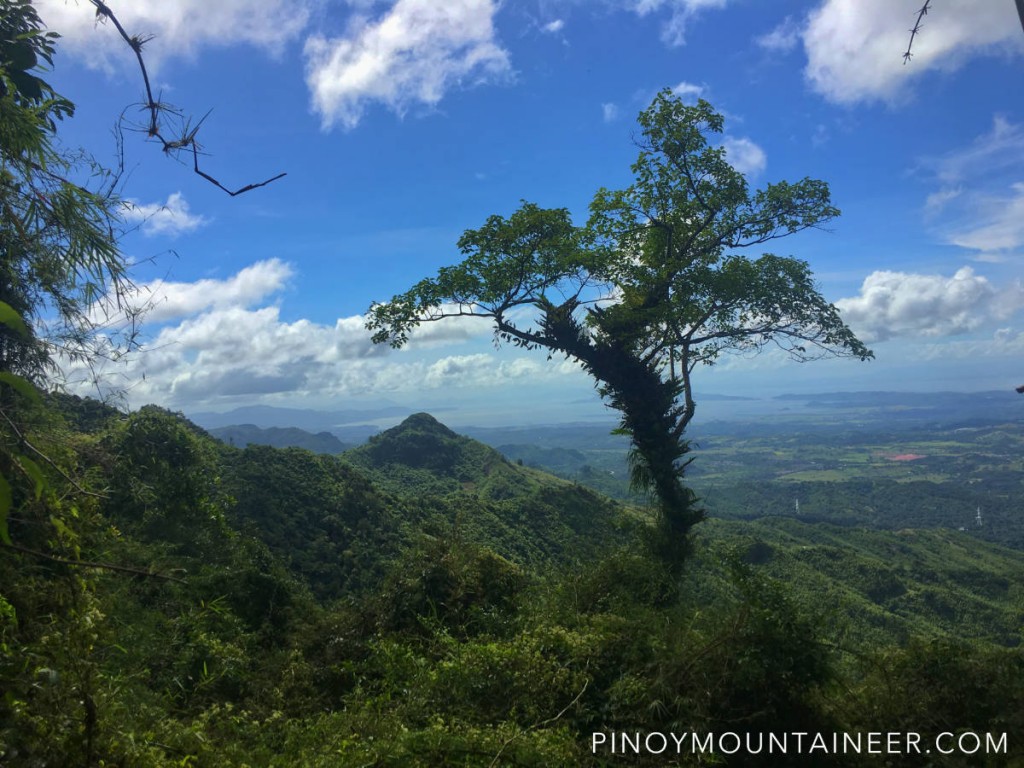
Instead of taking the usual route that first tackles Mt. Kurobi, we decided to take the gentler approach through Mt. Komagatake. It was a pleasant switchback hike through mostly-forested slopes, taking us less than an hour to get to the peak, which measures 1685m.

IMG_6503

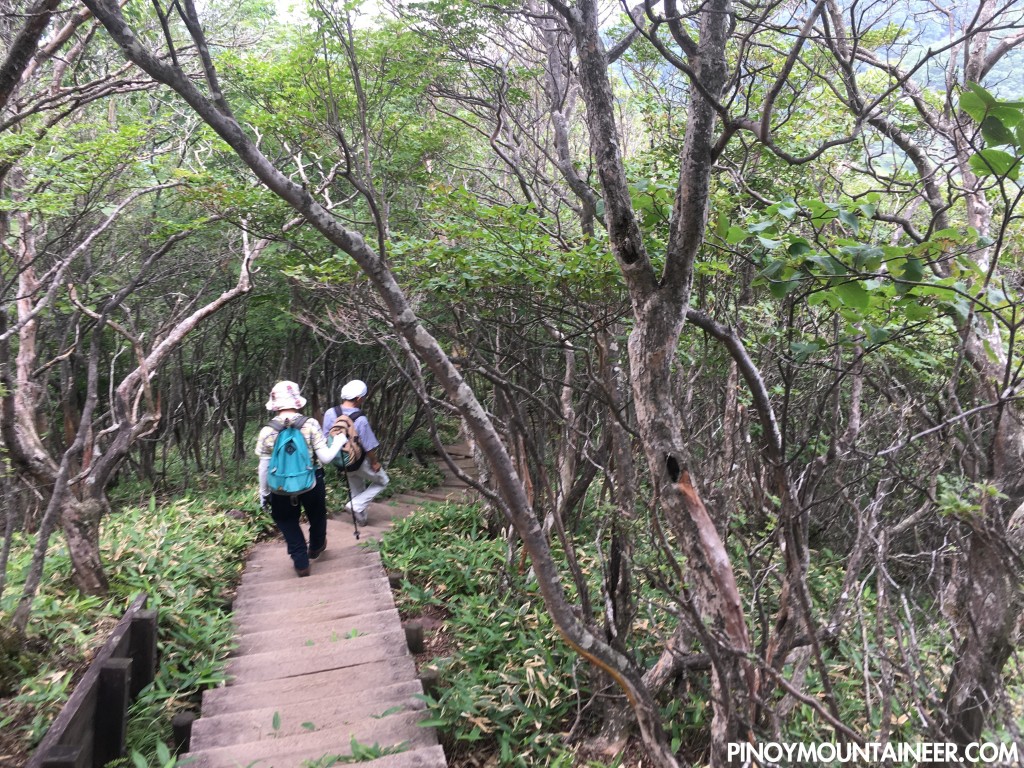
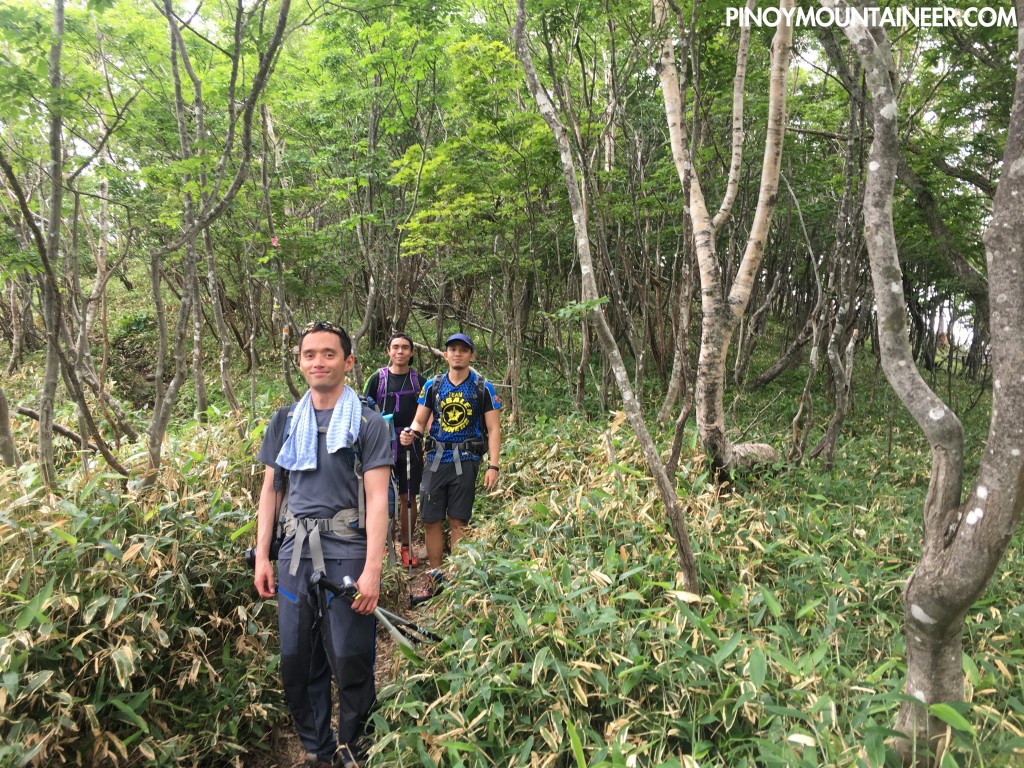
From there, we descended to a saddle connecting the two peaks, made pleasant by the Kuma bamboo grass (Sasa veitchii) that envelopes it. And then it was forest again as we approached Mt. Kurobi, which is heralded by the Kurobi Okami Shrine.
IMG_6544
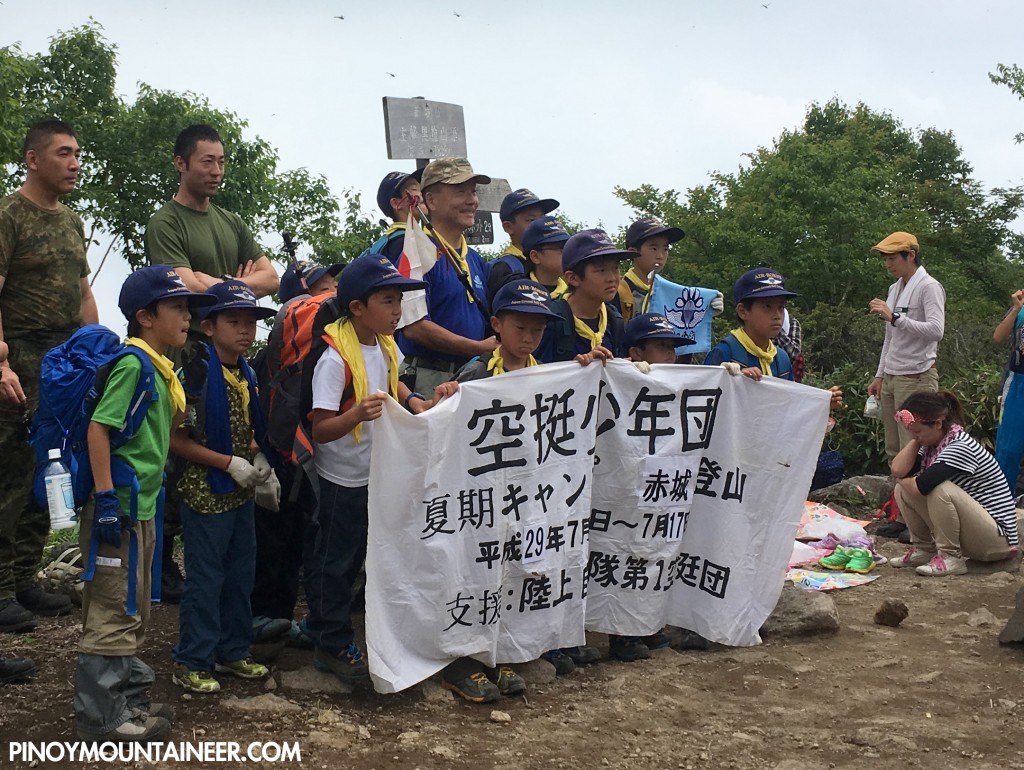
There were lots of kids when we reached the summit – a reminder that hiking is really a family activity in Japan.

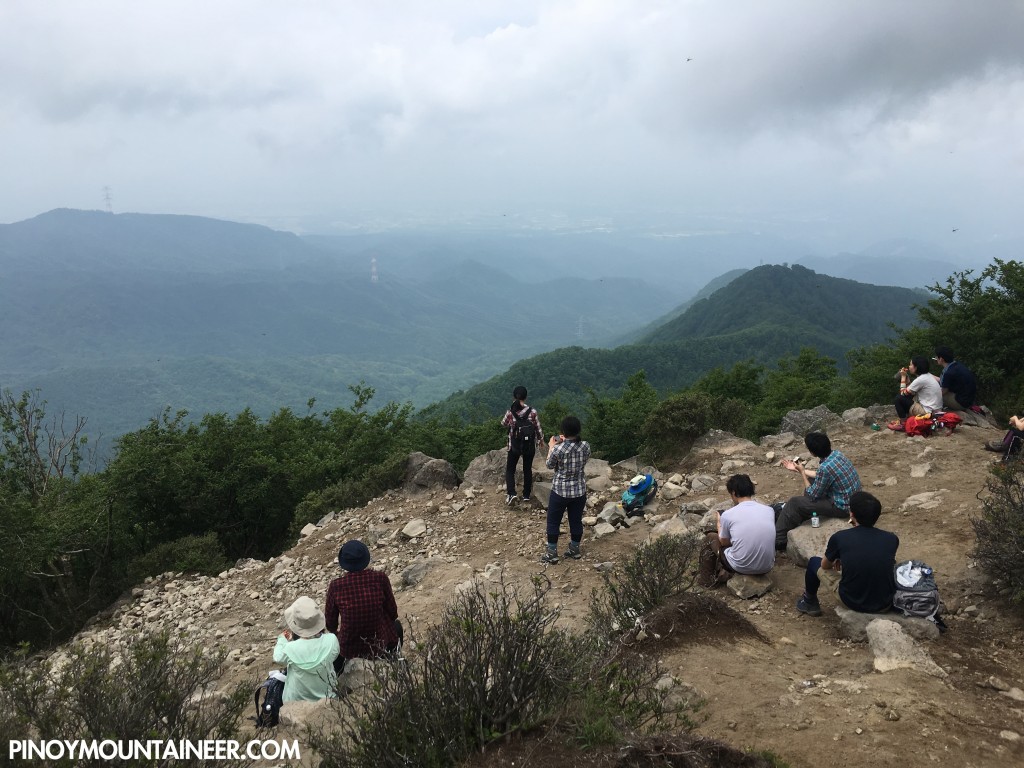
IMG_6524

Just a minute or so past the summit is a panoramic viewpoint where we had lunch.

IMG_6559

And then we descended to Lake Onuma, rushing to catch the 1345H bus back to Maebashi en route to Ueno. We made it with 12 minutes to spare! The return trip was equally long and taxing, but it was well worth it after a really wonderful hike that reminded me of Kyushu’s Mt. Kirishima! A worthy addition – the 12th – to my Hyakumeizan quest!

IMG_6504


The post Hiking matters #561: Mt. Akagi (赤城山) Kurobi-Komagatake Loop in Gunma, Japan appeared first on Pinoy Mountaineer.


Hiking matters #562: Mt. Fuji via the Fujinomiya Trail

$
0
0

DSCF0706
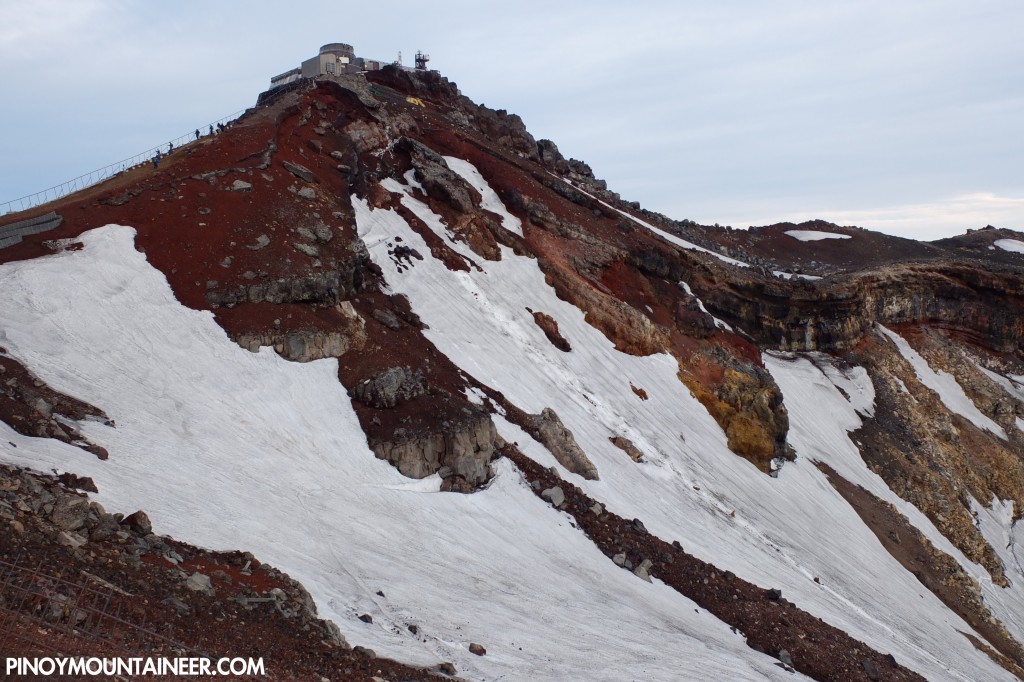
TOKYO – After two warmup hikes – Mt. Tsukuba and Mt. Akagi – the highlight of the Pinoy Mountaineer Mt. Fuji Expedition 2017 loomed ahead of us: Mt. Fuji itself, at 3776 MASL Japan’s highest peak and one of the most iconic mountains in the world. I had climbed Fuji twice in the past, but it’s always an exciting experience to up there and see its famed sunrise. Moreover, this time around we decided to go up the Fujinomiya Trail, which receives less traffic – and has a direct access to Kengamine Peak – the very highest point in Mt. Fuji.

IMG_6602
DSCF0637
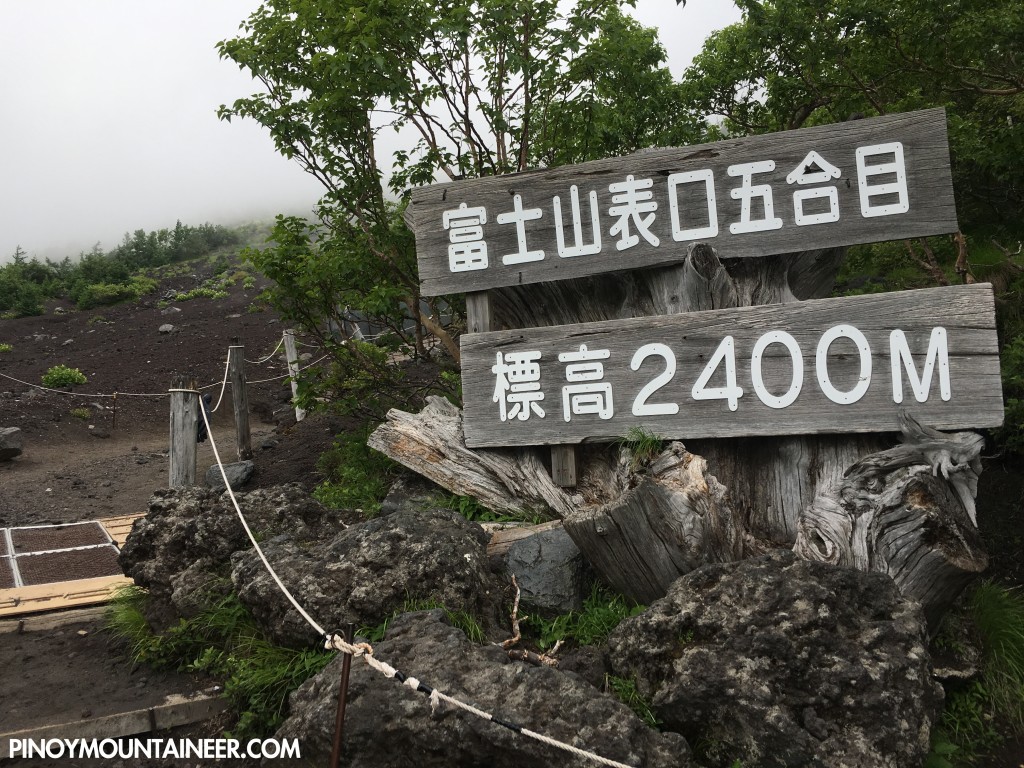
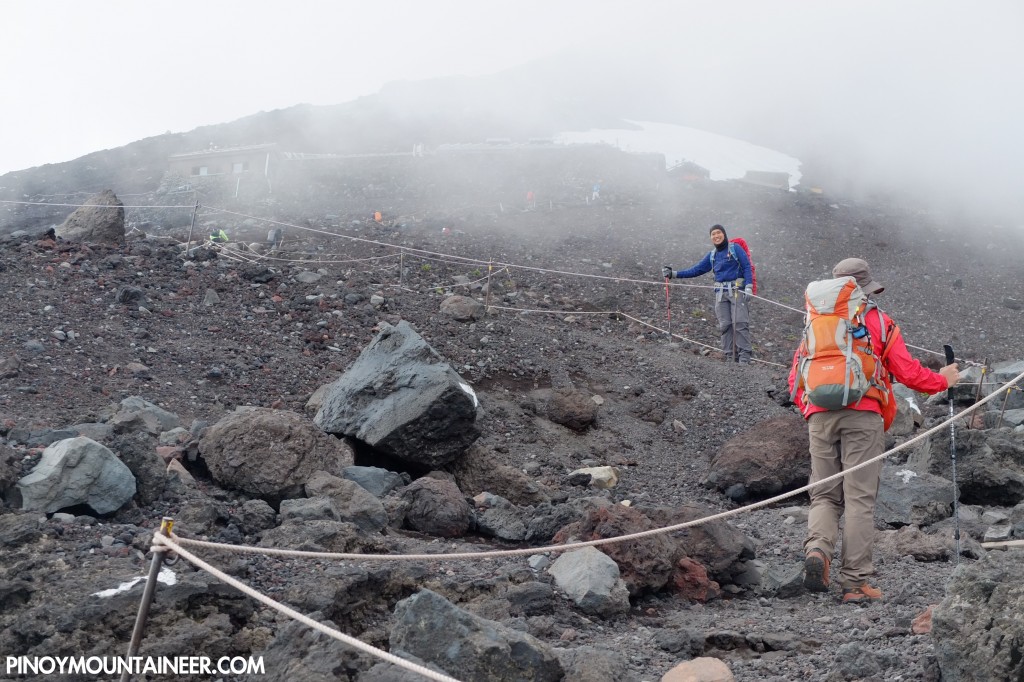
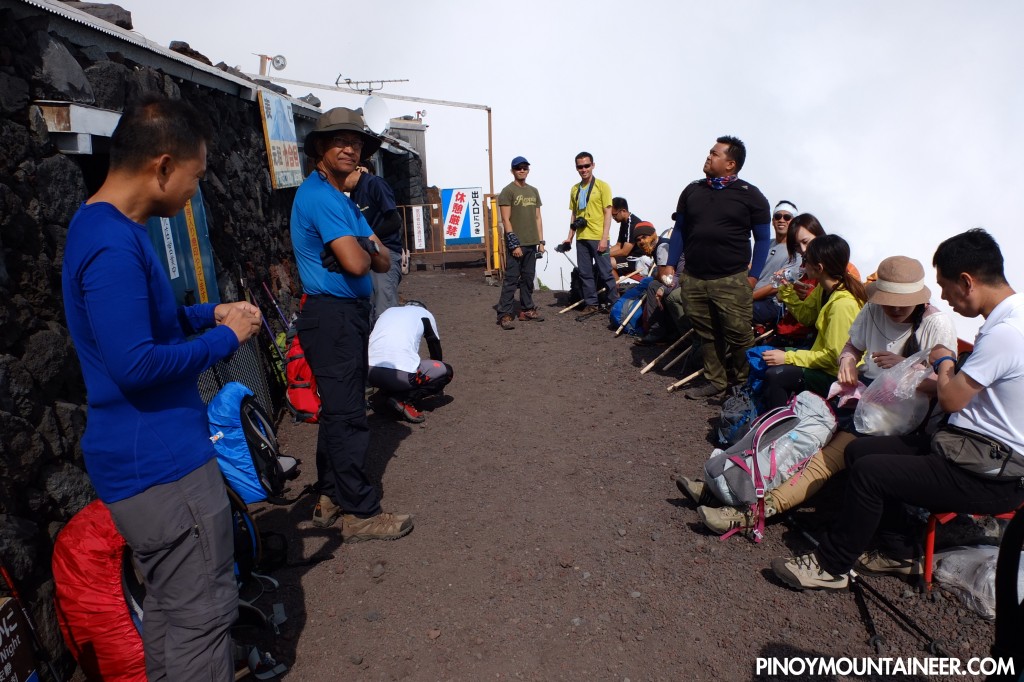
From Tokyo we took a chartered us that brought us directly to the Fujinomiya 5th Station – one of the four major trailheads of the mountain. Already 2400 MASL, the oxygen was palpably thinner. From here onwards we marched up the sandy, volcanic terrain that’s characteristic of the mountain. As most of us were not acclimatized, we took our time, taking breaks in each station and walking at a slow pace, in the hopes of avoiding altitude sickness. Fortunately the trails were well established and everyone was able to climb at their own pace.
DSCF0616

After reaching the hut past the 9th station (and actually within the summit rim itself), we had a quick dinner and retired early as is customary for the huts. We wanted to wake up early the next day as the sun was scheduled to rise at 0443H.

IMG_6592
DSCF0713
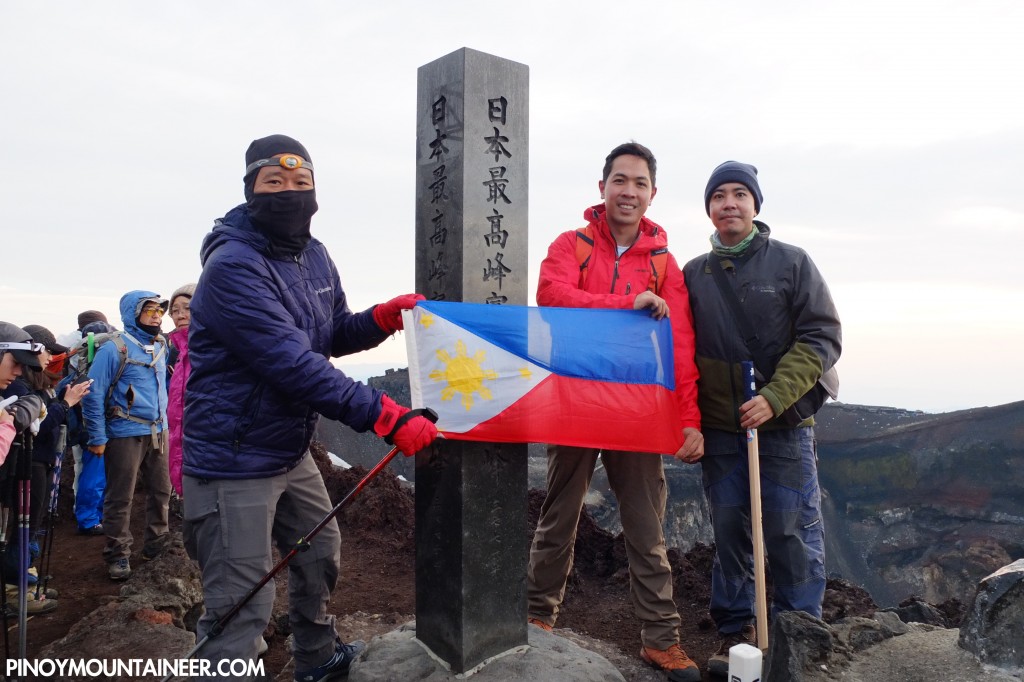
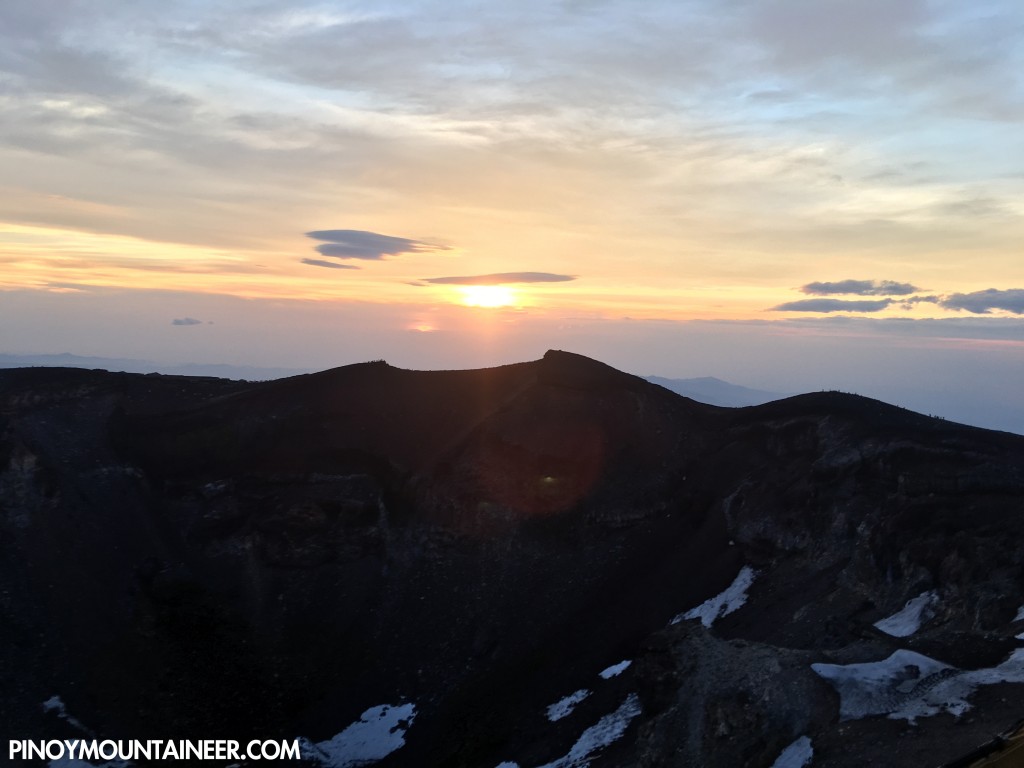
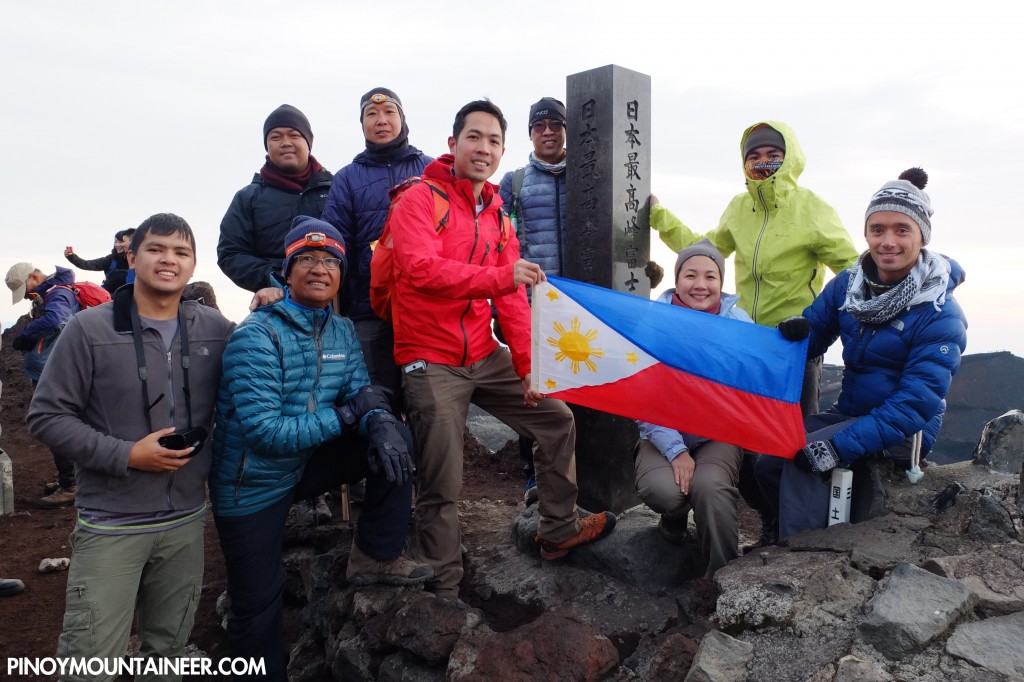
The next day, true enough, the sun rose – beautifully and majestically – as we waited from Kengamine Peak, which was just 15 minutes away from our hut. It was very cold out there – and windy too – we did not linger on the summit and started descending by 0600H. Again taking on a relaxed pace, our whole group of 17 were back at the trailhead just in time for our chartered bus which was scheduled to depart at 1200H. By 1500 – we were back in Asakusa. Congrats to everyone who made it!
IMG_6609

SUMMER HYAKUMEIZAN 2017 
Hiking matters #560: Mt. Tsukuba 11
Hiking matters #561: Mt. Akagi 12
Hiking matters #562: Mt. Fuji via Fujinomiya Trail 3
Hiking matters #563: Mt. Tateyama 13
Hiking matters #564: Mt. Tsurugi 14
Hiking matters #565: Mt. Tanzawa 15
Hiking matters #566: Mt. Kumotori 16

The post Hiking matters #562: Mt. Fuji via the Fujinomiya Trail appeared first on Pinoy Mountaineer.

Hiking matters #565: A dayhike of Mt. Tanzawa (丹沢山) in Kanagawa

$
0
0

Tanzawa2
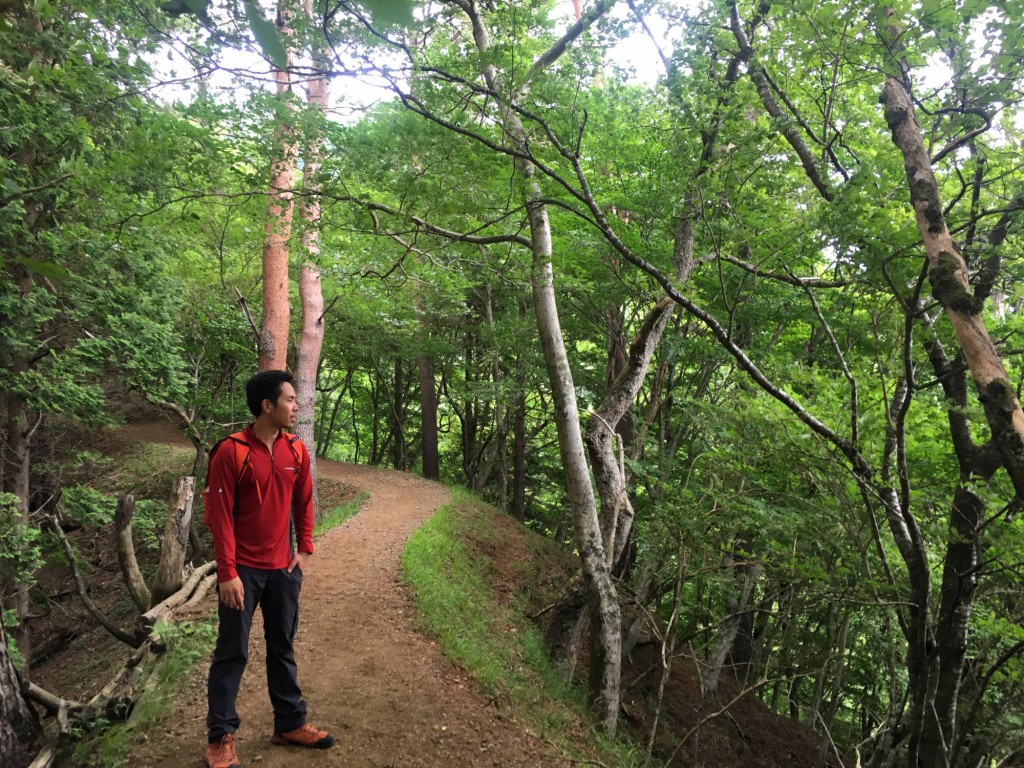
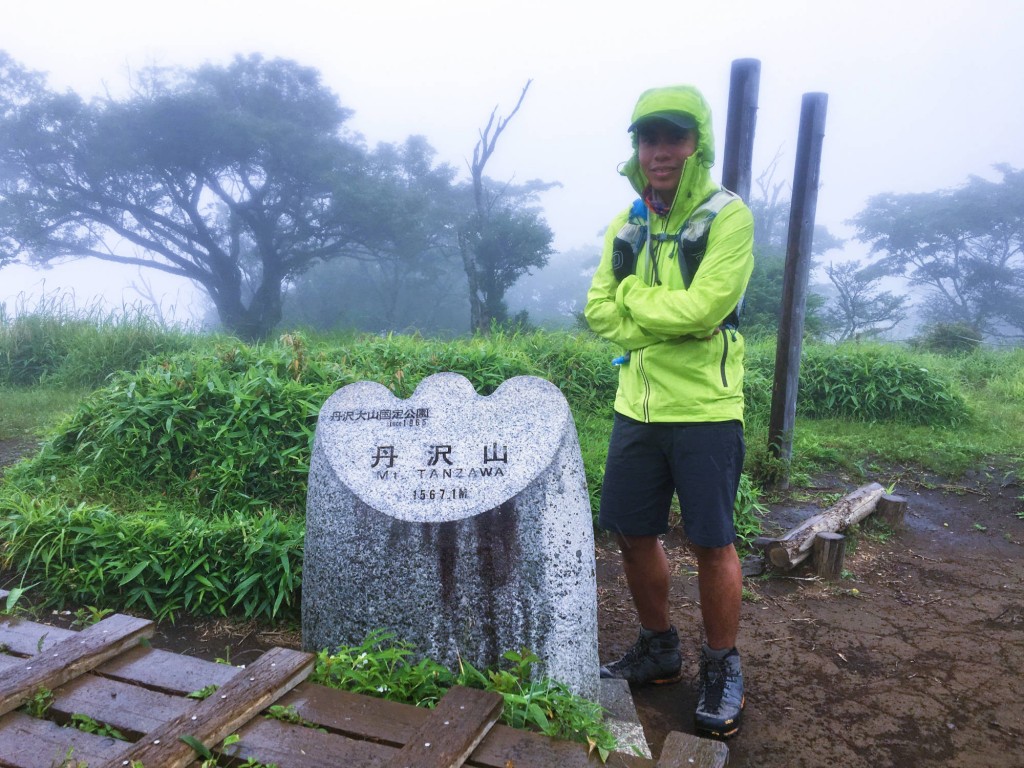
After a rest day (and Mont Bell outlet shopping) in the beautiful city of Kanzawa, Jeshua and I proceeded to do another Hyakumeizan: Mt. Tanzawa (丹沢山) west of Tokyo, near the port city of Yokohama. Notable for its forest scenery, we decided to go for it despite a dire weather forecast. From Shibusawa Station (渋沢駅), we took a bus to Okura ( 大倉) and started the hike from there.

Tanzawa3

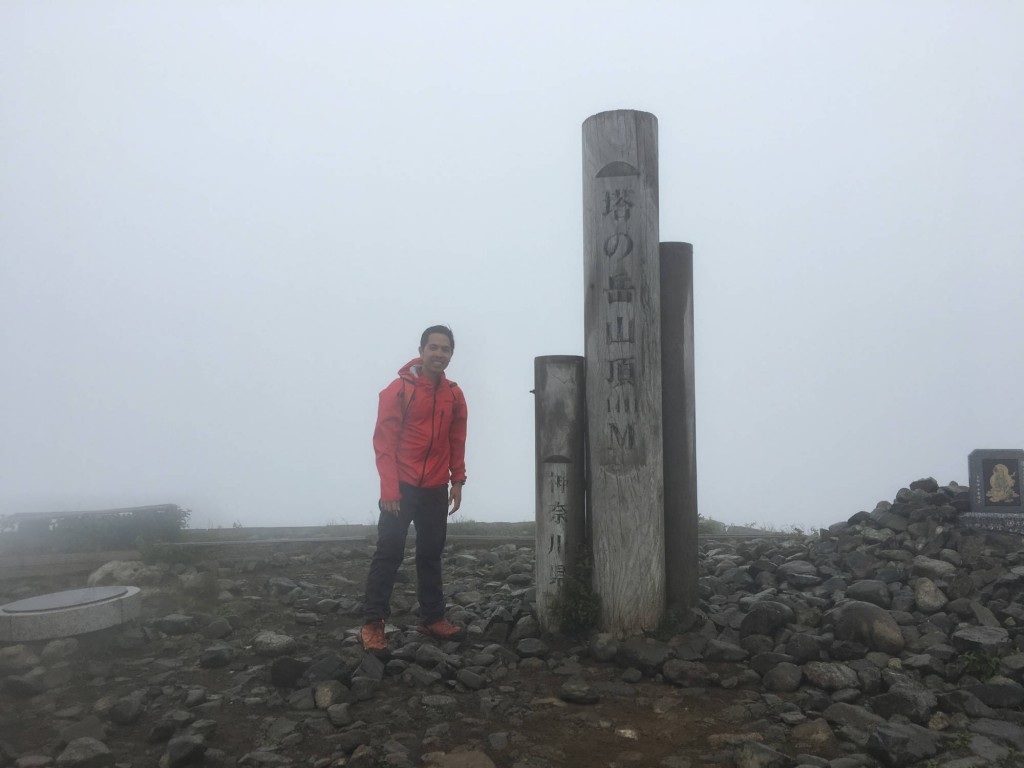
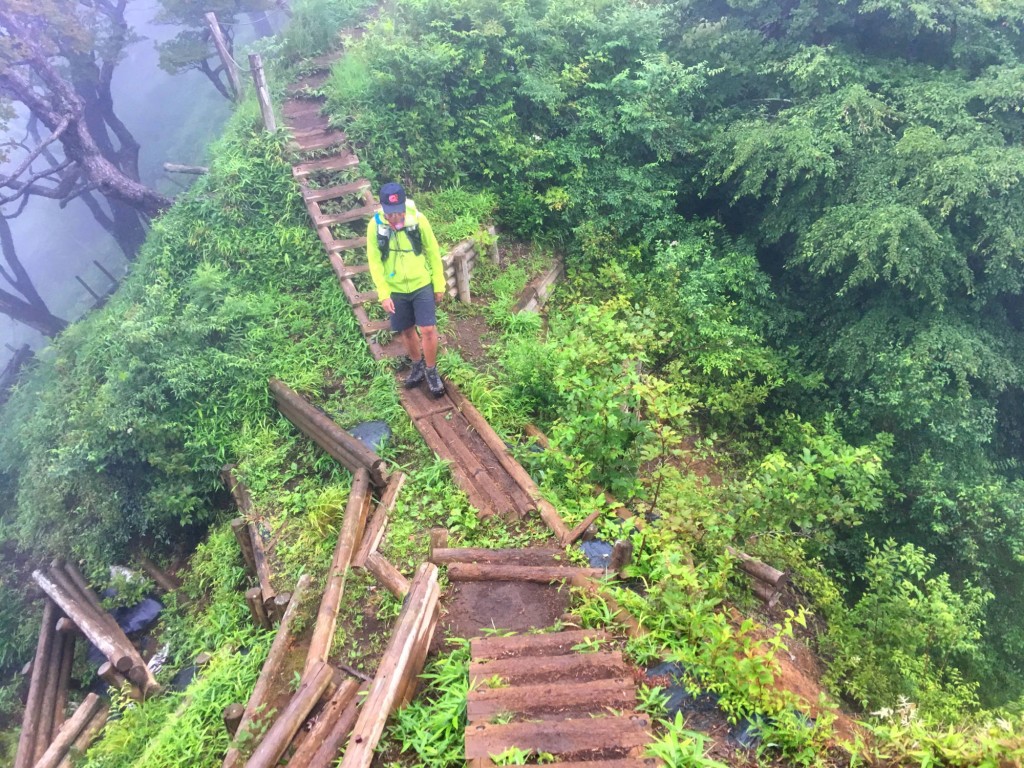
As expected it rained for much of the hike, and the views of Tokyo and Mt. Fuji were nowhere to be seen in the first peak, Tonodake (塔ノ岳), or the main peak, the 1567-meter Mt. Tanzawa. The length of the trail, over 20 kms run total and worthy of Mt. Tapulao, made us feel the weight of five mountains’ worth of hiking as we descended back!

Tanzawa1

Still, we were very happy to have completed another Hyakumeizan – my 5th of the trip, and 15th in total! After the hike we proceeded to Tokyo and I weighed whether to push through with yet another hike: Mt. Kumotori, the highest peak in Tokyo.

Tanzawa4

The post Hiking matters #565: A dayhike of Mt. Tanzawa (丹沢山) in Kanagawa appeared first on Pinoy Mountaineer.

Hiking matters #566: Mt. Kumotori (雲取山), Tokyo’s highest peak

$
0
0

Kumotori2

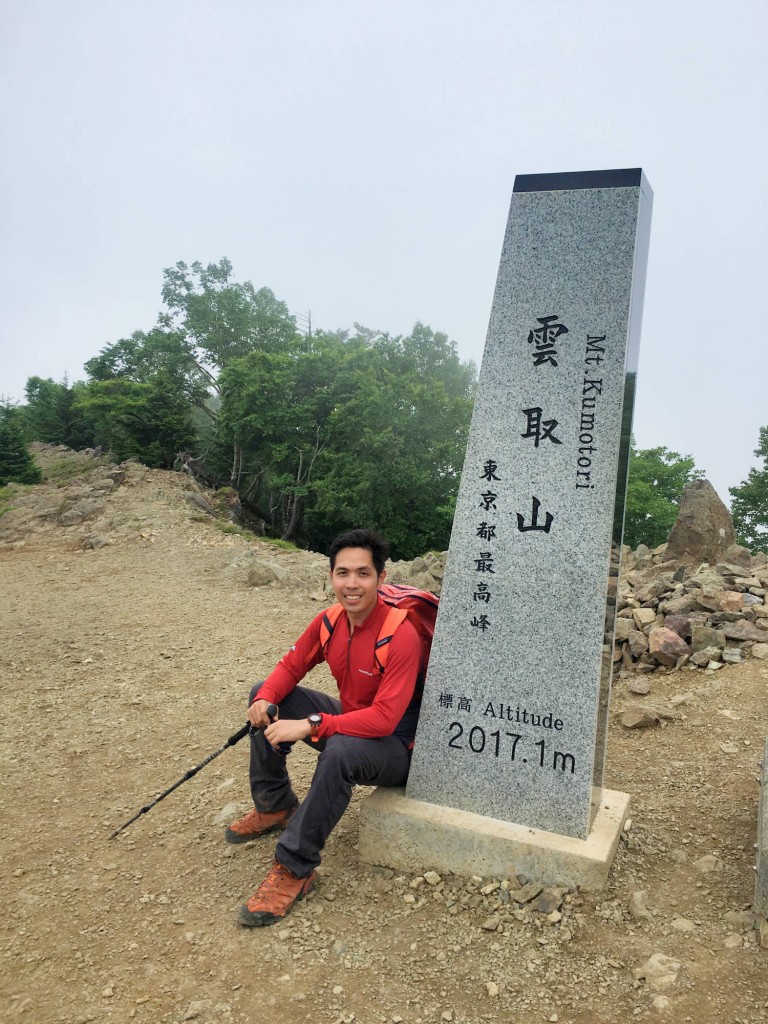
Despite my reluctance to plod on for a sixth consecutive hike, my passion won over my fatigue and I ended up doing yet another Hyakumeizan – Mt. Kumotori. Part of the Chichibu-Tama-Kai National Park, this mountain holds the special distinction of being the highest in the Tokyo metropolitan area – a well-deserved title given its elevation of 2017 MASL. Joining me this time was wunderkind Gab Mejia, who happened to also be in Tokyo at the time.

Kumotori1

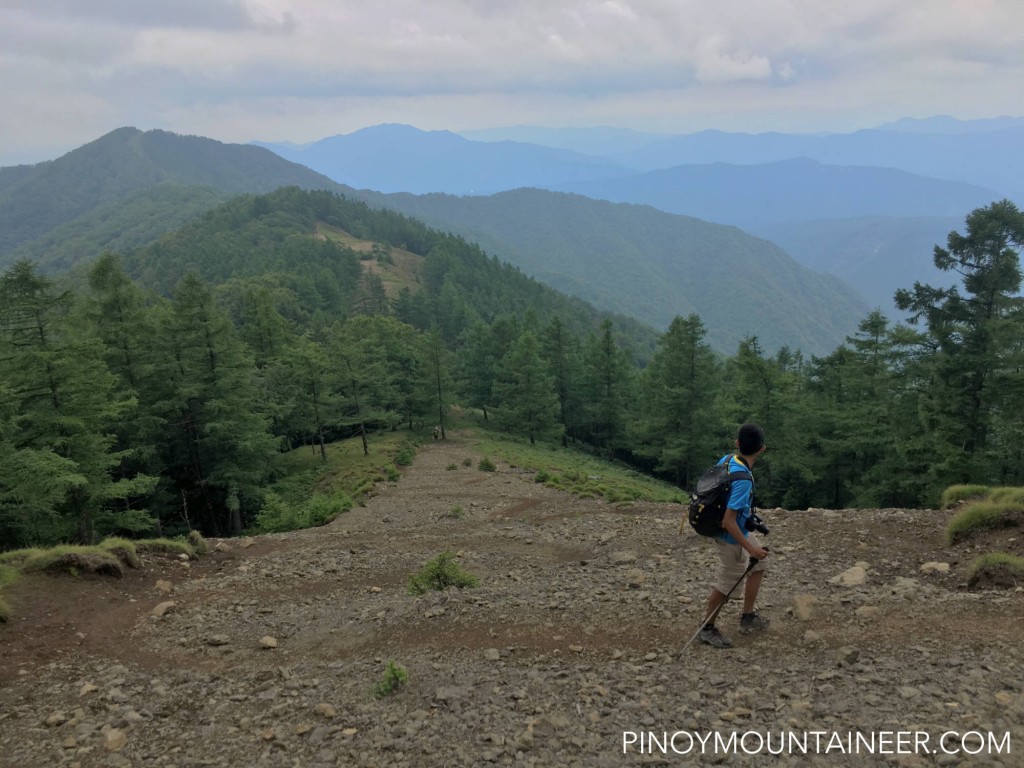
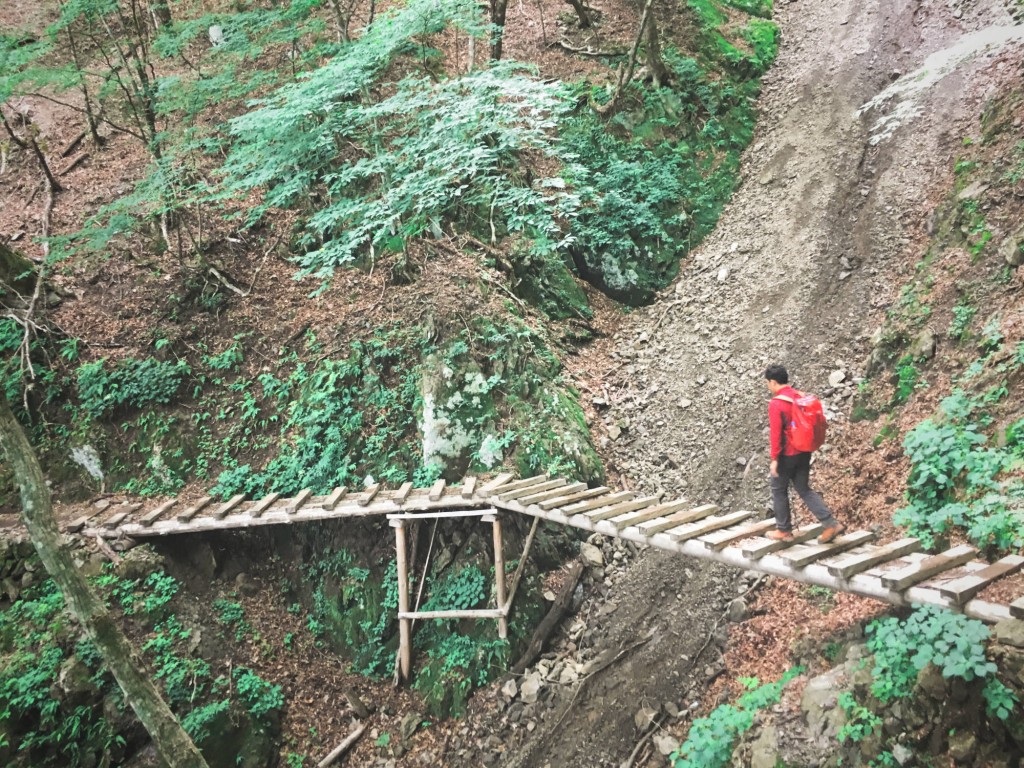
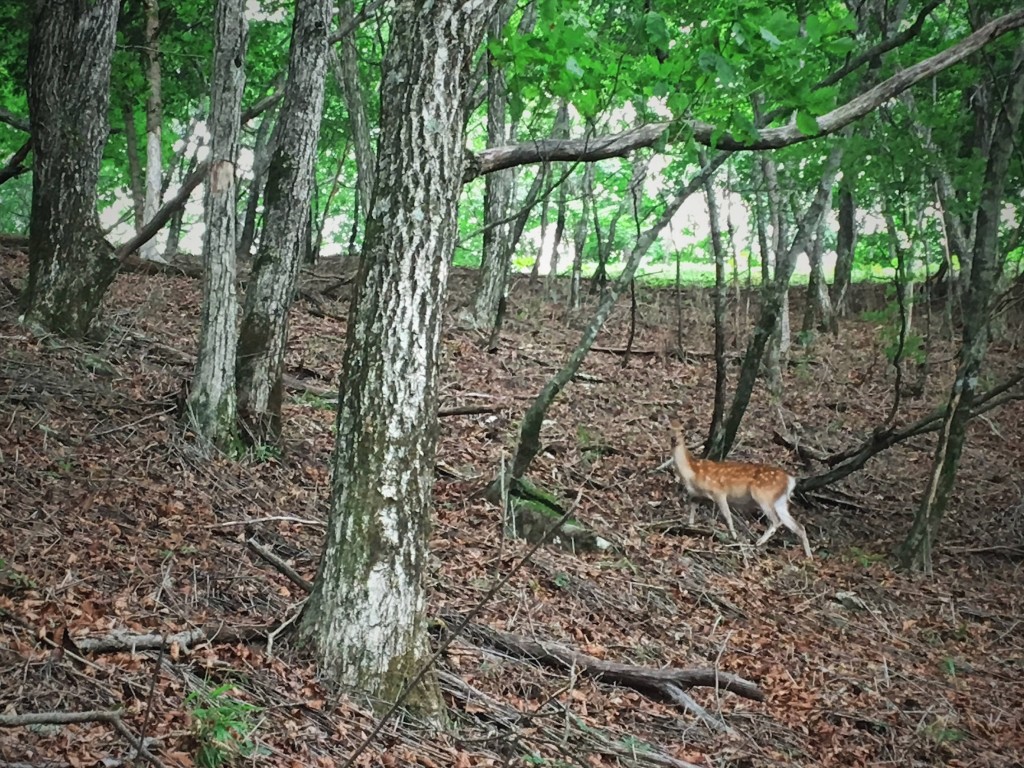
Just like Mt. Tanzawa, the hike is mostly forested, and we saw a number of deer and monkeys along the trail. Unfortunately, despite some lovely mountain views at the top, they were largely fleeting and we did not see Kumotori’s famed view of Mt. Fuji and nearby mountains. It was mostly a workout for the legs and we ended up having to run in the final kilometer to catch the bus back to Seibu-Chichibu station (西武秩父駅)!


Kumotori3

Even so I am very glad I did the hike. Gab and I ended up celebrating it in a kaitenzushi place which, to my great joy, specialized in my favorite engawa. What a fulfilling trip – I was able to add six Hyakumeizan to bring my total to 16! Looking forward to doing more this autumn!

Kumtori4


The post Hiking matters #566: Mt. Kumotori (雲取山), Tokyo’s highest peak appeared first on Pinoy Mountaineer.

Hiking matters #572: A four-day hike up Mt. Baloy Daku, a legendary mountain in Panay

$
0
0

BaloyDako1
ILOILO CITY – I am back in Iloilo after completing an exhilarating four-day hike up Mt. Baloy Daku (1958m) at the border of Antique and Iloilo! One of the toughest hikes (Difficulty 9/9) in the country – certainly in the Visayas – Baloy Daku is the one of the three mountains that comprise the veritable ‘Panay Trilogy’, alongside Mts. Madjaas and Nangtud (This trip also marks my completion of the said trilogy after Madjaas 2009 and Nangtud 2015).

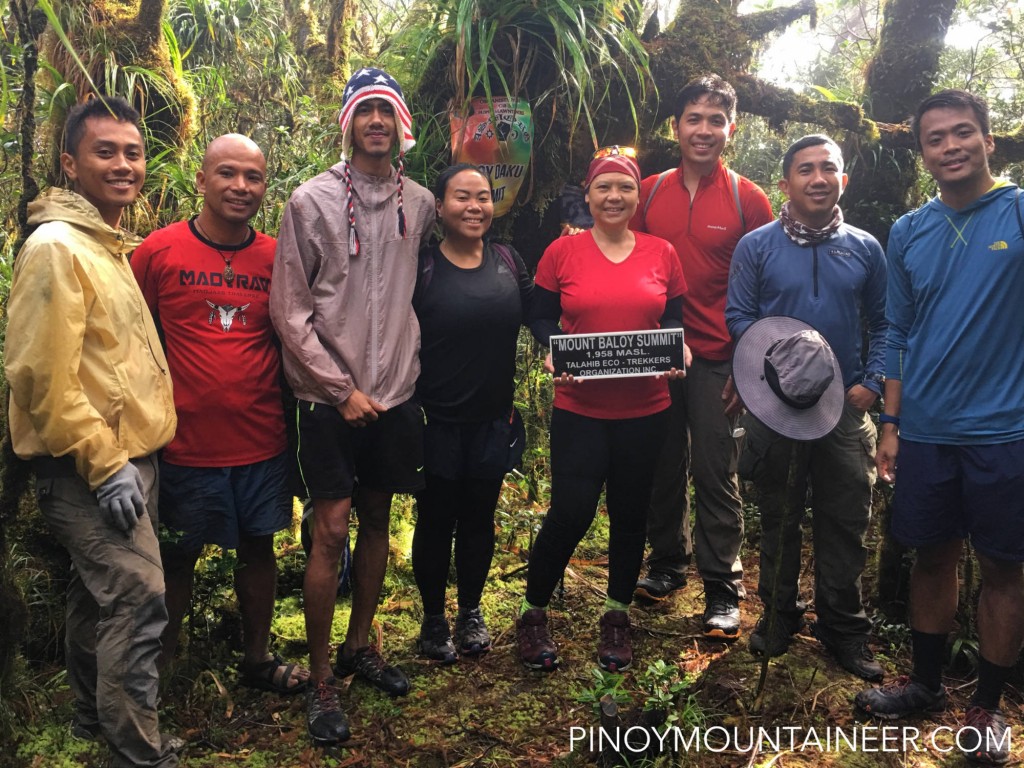
Our trip was organized by mountaineers from Antique and Iloilo: lead guide Jonathan accompanied by Kevin and Limuel. We were also joined by members of the Iraynon Bukidnon community: Junjun, Marmar, and Nestor. With me were Jovial Wanderer Christine, Carlo, and 18-time Halcon climber Cynthia. Our starting point was the Iraynon Bukidnon community of Brgy. San Agustin in Valderama, Antique – which was in itself a two-hour trek from the de facto trailhead, Brgy. Lublub.

BaloyDako8

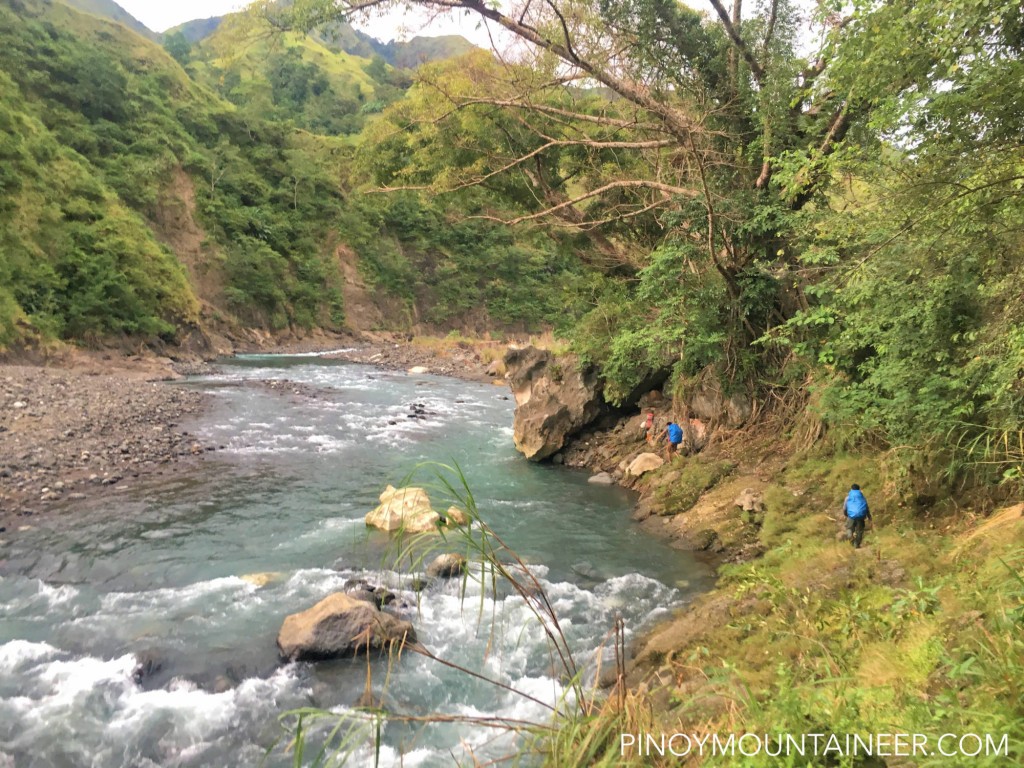
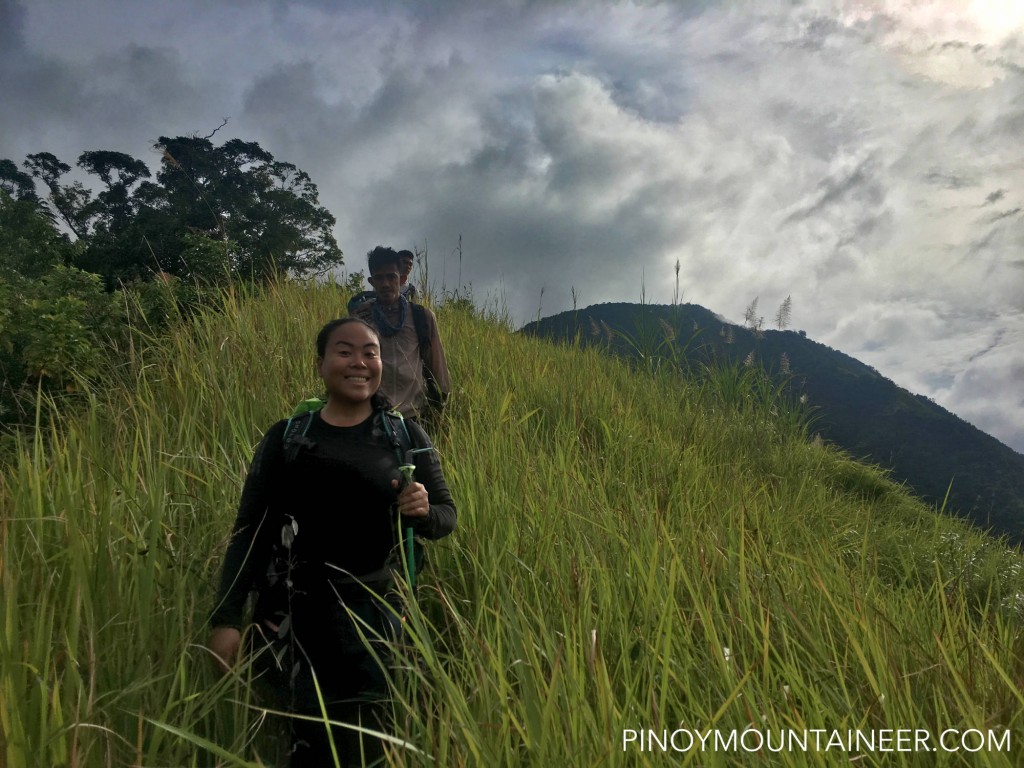
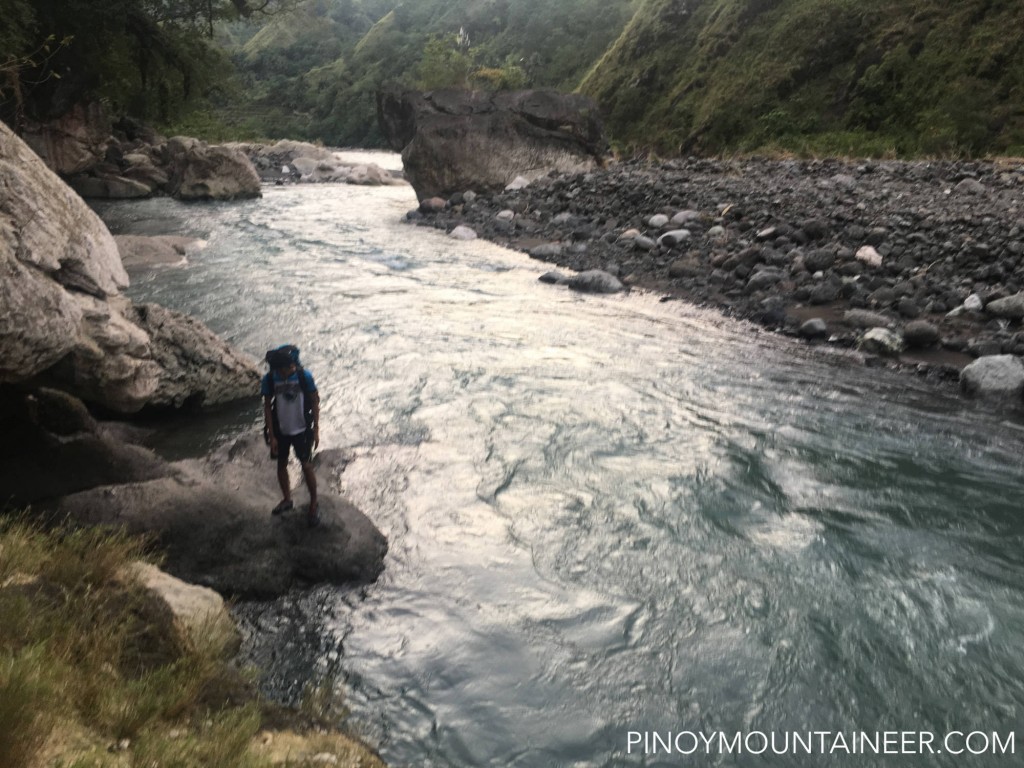
Day 1 consisted of trekking from Brgy. Lublub to Brgy. San Agustin that evoked those village to village treks in the Cordilleras: mountains, valleys, and even some rice terraces; this initial section took around 2 hours. Then we crossed the river around 10 times; some of the scrambling alongside it was breathtaking. Fortunately the water was seldom above the waist and we crossed with relative ease, ending the day by camping just at the base of Baloy proper.

Day 2 involved ascending a steep talahib slope and following a ridge line to the massif of Mt. Baloy via Mt. Baloy Gamay (“small Baloy” in contrast to the “big” (dako) summit). This day proved to be the longest, taking 11 hours (par for the course for 9/9 hikes in the country).

BaloyDako7

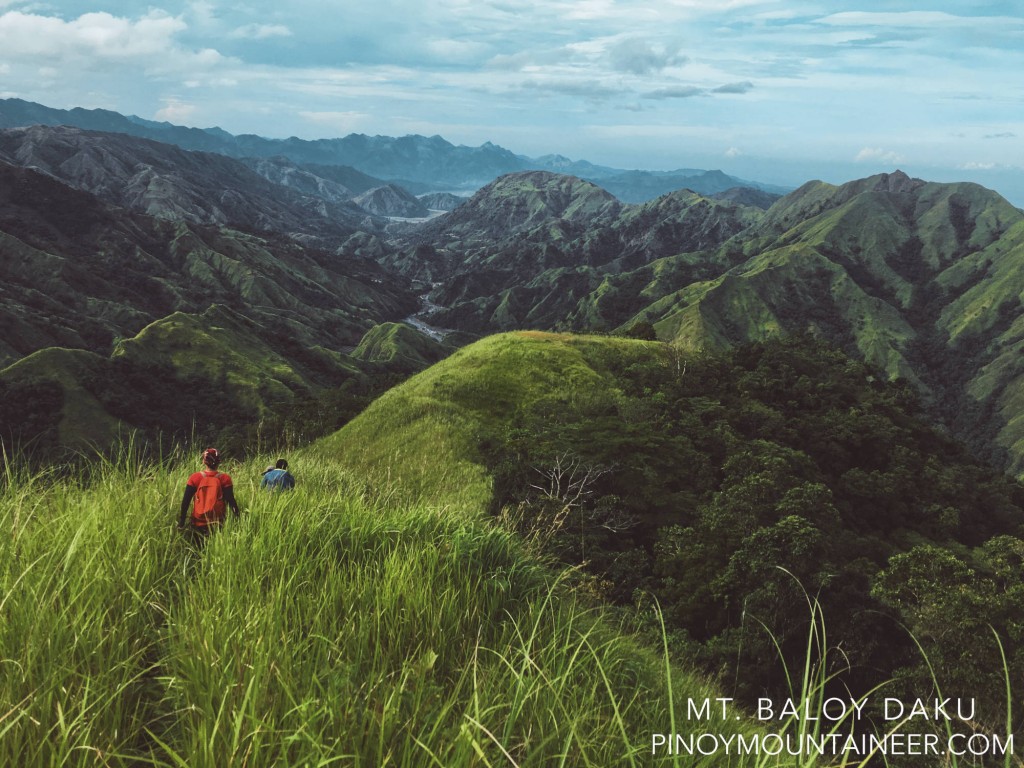
Highlights of this day include the scenic views of the Panay mountains from the ridgeline connecting Baloy Gamay to Dako; challenges include the backbreaking “monkey trail” past Gamay and the exhausting heat in the overgrown ridges. Limatik were present but are feeble compared to those in Halcon or even Makiling. We ended up in Father Agustin campsite (named after a European priest), which was around 1550 MASL.

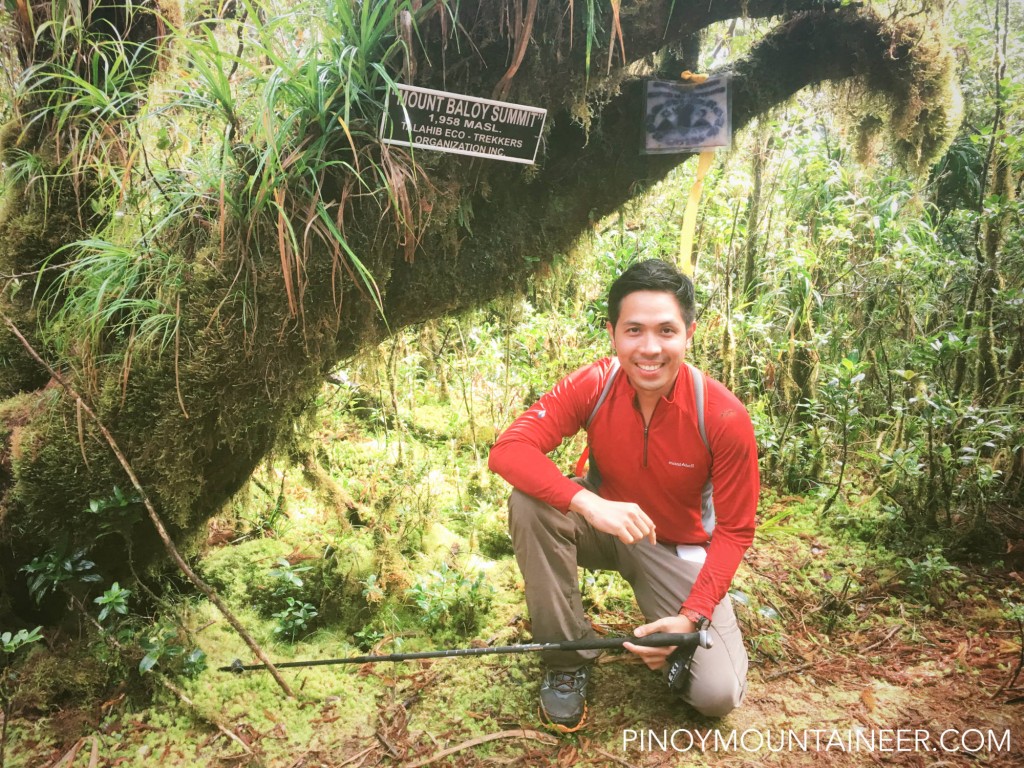
It was only on the third day that we did the summit ascent, which took us less than two hours from the campsite. The mossy forest in this section was splendid, somewhat reminiscent of Talomo or Talinis. For good measure we headed to a northerly peak just a few meters short of the official summit (1958m); two of our companions – Jonathan and Limuel – descended to another trail to mark the farthest point reached by the late hiker Lorenzo Peña. After a satisfying break at the summit and a brunch at the campsite, we resumed the trek back to Mt. Gamay. By 1600H, arriving at the place where we had lunch the day before, we decided to call it a day, bivouacking at 1400 MASL just before the rains came in.

BaloyDako4

BaloyDaku10

The fourth day was no less challenging. An early start and cloudy weather aided our cause as we headed down the river but the steep descent (from 1400 masl to 200 masl) was still quite taxing. The river crossing section – with plenty of chances to swim – was a welcome reprieve and I appreciated the varicolored rocks that adorn the riverbanks: marble white, turquoise green, and saffron red, among others.

BaloyDako6

Upon arriving at Brgy. San Agustin we were rewarded with a feast of the river’s bounty: shrimps, eel, and frogs plus organic rice from the village itself! This lunch capped off a great food journey: the sun-dried beef tapa that I was eating all time!

The trek back to the trailhead was a muddy slog through community footpaths and rice paddies but our legs were to inured to the difficulty that we just kept going. Fortuitously, we managed to reach Valderamma just as the low pressure area was beginning to unleash its fury!

BaloyDako5

Over the past few years there has been a resurgence of interest for the Panay mountains and the Antique Mountaineeing Society, Iloilo Mountaineering Club, and other groups are making all sorts of explorations in the island’s central mountain range. I salute their efforts, and hopefully I can someday follow their footsteps to do the Holy Grail of Panay mountaineering – trilogy traverse. But for now, I am very happy to have completed the three summits. Thanks to everyone who accompanied and assisted us! I will surely go back to do more hikes in this island. #PanayAngAkyat

BaloyDako9

The post Hiking matters #572: A four-day hike up Mt. Baloy Daku, a legendary mountain in Panay appeared first on Pinoy Mountaineer.

Visually-impaired teenager Jerald Polintan reaches his 2nd summit in Mt. Batulao

$
0
0

Batulao2

After joining the Zero Visibility event last year and reaching his first summit (Pico de Loro), visually-impaired teenager Jerald Polintan accomplished another milestone in October 2017 as he scaled his second summit, Mt. Batulao. Accompanied by his supportive family members, together with Pinoy Mountaineer Gideon Lasco, Daryl Comagon (who also joined last year’s event), Cynthia Sy, Wey dela Peña, and Samar-based caving expert Joni Bonfacio, the 15-year old managed to reach Batulao in less than 3 hours, reaching the 811-m peak via the New Trail.

Batulao1

Jerald, who also loves track and field, dreams of scaling more mountains in the future, including Mt. Pulag, Mt. Apo, and beyond. We can only wish all the best in reaching for this worthy goal!


Batulao3

The post Visually-impaired teenager Jerald Polintan reaches his 2nd summit in Mt. Batulao appeared first on Pinoy Mountaineer.

Iloilo Mountaineering Club reports successful Panay Trilogy traverse

$
0
0
23031720_1195920560551773_8498848419249102451_n
Photo from IMC Facebook page / Ross Lini

The Iloilo Mountaineering Club has reported a successful traverse of Panay’s three major peaks: Mt. Madjaas, Mt. Nangtud, and Mt. Baloy Daku. Dubbed as the “Panay Trilogy”, these mountains straddle the boundaries between the island’s four provinces: Aklan, Antique, Capiz, and Iloilo. Each of the mountains alone is a major climb and all of them will be part of the “100 Famous Mountains of the Philippines”.

The team members of the 16-day traverse, which officially started in October 21 and ended in November 6, 2017, were Cyril Tabion (team leader), Nicole Minsalan, Stella Justado, Daff Binobo, Bonski Mangana (not to be confused with Bong Magana); they were joined by guides from various barangays. Importantly, resupply teams were also crucial to the expedition’s success.

Pinoy Mountaineer congratulates IMC and the whole team: “This is a historic feat not just for the mountaineers of Panay, but for Philippine mountaineering. Connecting these three mountains in a long-distance trail has always been a ‘holy grail’ and overcoming it will surely inspire pioneering explorations all over the country. Hopefully the trail itself will remain viable and sustainable: a world-class long-distance trail that will benefit the local communities.”

The post Iloilo Mountaineering Club reports successful Panay Trilogy traverse appeared first on Pinoy Mountaineer.

“May kasama kasi kaming babae”: Women’s issues on the trail

$
0
0

PAT
by Pat Labitoria

Hiking is a challenge – of course many of us reading this already know this by heart and experience. But for us women, hiking comes with extra challenges that are unique only to us.

From staying safety to being the topic of dirty jokes- this article hopes to bring to light some issues and concerns we, women, have to additionally endure in the toughest of terrains. As simple as they may sound, we carry these concerns like additional weights in our backpacks but do not let them impede us on pursuing our dream summits.

Hopefully, presenting these concerns not only raise awareness, but also inspire actions to have more women-sensitive trails, and hiking behavior, especially now that more women are going to the mountains.

Safety

Our first and foremost concern is safety. When I say this- it is more than the “buwis buhay” trails that borders on nothing but death, but the threat of “human predators” and creeps. It is a subconscious fear that lives within us women: that in every dark corner or those places with few people- there is always the possibility of someone (usually male) going to attack us. This is the reason not so many of us can hike alone, or go on in a hike with new people by ourselves.

During my first solo hike, my guide was a very nice guy who silently led me to a particular island’s highest point. No matter how nice he was though, there was a point during the hike when I was seized by a fear that this bolo wielding man can do anything he wanted with me in the forest, if he decided to. It was not a nice feeling and it lessened by enjoyment of the trail. I felt bad all the more because I was having bad thoughts about a good person. But this is how it is to be a woman- no matter how strong and independent you think you are. The fear will always be there hovering inside the mind.

Recommendation: For women hiking alone, it will be good to hire a woman guide if you think that will be more comfortable for you. If you are a participant in a group, you may pair-up with a buddy you trust.

For trail managers: it is best to balance the number of women and men guides so that women hikers have a choice.

To the men: We are sorry if we feel threatened by your presence sometimes. We can’t help it; since the dawn of times, there have been many assaults made by men to women. This feeling of threat may have already ingrained itself in our DNAs so that we take more precaution for the survival of our group.

Red Days + Hygiene

That time of the month is definitely a major, major concern for women that some just skip a hike whenever they have their periods. For those who push through, the red days mark a time of more suffering, and inconvenience on the trail.

First of all, it hurts when we have our periods- sometimes we have trouble knowing where. It makes us feel sluggish and fatigued, have headaches, nausea, and bouts of menstrual cramps which to me feels like having my insides ripped. It is a monthly torture where some can really be bed-ridden for a few days because of it.

Second, unluckily having a period on hike is very inconvenient. Without much access to water and a washroom, hygiene becomes a problem. We might not show our concern because we do not want to be labelled as “maarte”, but we cringe in silent helplessness worrying about how to clean ourselves especially during long hikes. Additionally, we have to add extra things to our already packed bags to solve our hygiene problems.

Recommendations: When someone backs out of a hike because she is having her period, be more understanding. The inconvenience we can overcome, but sometimes, it is hard to overcome the pain the red days bring.

On the trail: don’t make a joke out of someone suffering from her period. Don’t laugh at us and please be more patient with us during these times. Physically, we will not be on our best hiking self so we will be hiking slightly slower; we might also get more emotional so bear with our dramas, and our bouts of anger.

For trail managers: it will be nice to have a small outhouse near established campsites. A simple covered wooden stall where women can do their personal business will definitely do and be a lot of help.

For the women: be sure to bring down your trash. Leave no trace principle still applies to us even in the most inconvenient of times.

Dirty Jokes and talks with sexual content

We value the company of men during hikes- it offers other perspectives on things that women do not see and in other times, it makes us feel safer. However, when men gather and talks steer on the dirty jokes, we feel uncomfortable. When the conversation starts to involve another woman, we feel violated as though we, ourselves, are the topic. We can laugh about it with the guys, but the truth is, in those times we feel disrespected too because women have a connection with other women. We understand each other’s joys and pains, so we feel upset when you disrespect other members of our team.

Recommendation: For the guys who are with us, please know when your jokes are getting overboard. Be sensitive to the effects of your words. It might sound fun but it might already be offensive.

Discrimination

Discrimination on the trail often involves belittling the abilities of women sometimes through jokes and in other times, when showing “concern”. Below are two examples I have experienced:

Once I overheard someone saying that they finished a hike later than usual because of the women in the group. “Marami kasing mga babae eh” (there are too many women). Although it was said as a joke, it is easy to take offense. And I believe any woman who hears such will do.

Discrimination can also be hidden beneath some comments. In rigorous ascents, for example, or in muddy and slippery trails, I often hear such words as “naku, mahihirapan ang mga babae dito” (women will find this trail difficult) when in reality, even the men are having difficulties.

Recommendation: Easy on the words, guys! We know that men are stronger than women physically (most of the time but not always!)- that is why we double our efforts to prepare ourselves before hikes. If you are truly concerned for our safety, be concerned not because you see us as lesser beings that are weaker that you, but because we are hikers who are experiencing the same challenging trail you are facing.

PS: Other women may have more issues and concerns I missed in writing this. Speak up so that we can have better experiences in the mountains!

Pat Labitoria is an environmentalist, mountaineer, and trail runner.

The post “May kasama kasi kaming babae”: Women’s issues on the trail appeared first on Pinoy Mountaineer.


How to avoid leg cramps (pulikat) while hiking

$
0
0
Pulikat
Photo courtesy of Kevin Jason Manuel

by Gideon Lasco, MD

Leg cramps (pulikat in Tagalog) is a common condition experienced by hikers, particularly in long ascents and descents, and especially in hot and humid weather. It is caused by a number of factors, including lack of training and conditioning for the affected muscle groups, dehydration, and electrolyte imbalance, but the predisposition to cramping can vary from person to person. Here are some steps to prevent cramps when hiking:

1. Do some uphill and downhill jogging to prepare for the hike. Muscles are very specific to particular tasks, which is why even the most experienced marathoner can sometimes feel tired when faced with a steep ascent. The leg muscles engaged in hiking are also specific: Uphill hikes involve mainly the butt muscle (gluteus maximus) and that of the thigh (quadriceps femoris or quads), with some involved of the hamstrings, gastrocnemius, and others. Going downhill, on the other hand, involve the quadriceps, which function as a ‘brake’ for the body. Preparing the muscles for these specific motions can help – and of course, if you hike regularly, this won’t be a problem.

2. Do some muscle stretching right before the hike. This is good practice especially when attempting strenuous walks.

2. Warm up first. Because hiking itself is an aerobic activity, this simply means hiking on a slow to moderate pace at the beginning – before speeding up to your preferred pace.

3. Hydrate adequately. There is no hard and fast rule as to how much water you should drink: this largely depends the climate (including sun exposure) the intensity of the hike, and individual variation. In the Philippines, 300-500 mL of water per hour of hiking is recommended on ordinary hiking trails.

4. Replenish those electrolytes. As we sweat during the hike, we lose sodium and potassium: two vital electrolytes in our body. Aside from sports drinks, juices and coconut water can replace electrolytes, and so can some light snacks along the way. Most hikers don’t have to worry about this but if you’re prone to muscle cramping or if you’re hiking an intense trail, consider bringing electrolyte-rich foods and beverages.

5. Pace yourself. Slowing down in intense parts of the trail like steep ascents, and taking short breaks, can help prevent cramping.

FIRST AID FOR CRAMPS WHEN HIKING

But what if the cramps are already there? The first thing you should do is to rest, drink some water, replenish electrolytes (sports drinks, ORS, buko juice can do the trick), and gently stretch the affected muscle. Some people report some efficacy when massaging the affected muscle. Medicines like pain relievers are NOT needed to treat an ordinary cramp, which normally goes by away on its own after a few minutes.

Avoid applying ice, contracting the muscle, or forcing yourself to continue while you’re experiencing cramps.

Take note also that some medications like donepezil, neostigmine, and raloxifene can cause cramps. So can anti-cholesterol medications like atorvastatin. Also, certain medical conditions and vitamin deficiencies can also cause cramps. If cramping persists, even when the trail isn’t hard, or when you find myself being exceptionally prone to cramping as compared to your hike buddies, you may want to seek a consultation with a doctor.

The post How to avoid leg cramps (pulikat) while hiking appeared first on Pinoy Mountaineer.

Letter to a young mountaineer, XI: The friends inside your backpack

$
0
0

by Gideon Lasco

Friendship is not a word one would normally use with non-humans, let alone non-living things, but it is a good way to think of your relationship with your hiking gear. As you keep hiking, you will keep accumulating all kinds of products, and like good friends, you must treat them with care.

I still remember my first bits and pieces of hiking gear: A red Ground Zero trekking pants, a Kovea stove, and a Coleman tent. All three joined me in my first hike up Mt. Apo, and all three participated in some of my earliest adventures.

The trekking pants was a gift from a high school classmate and I used it everywhere; it has probably joined me in over 50 mountains; after 12 years, it is still amazingly intact and wearable – save for some scratches it incurred from the thorns of Mt. Mantalingajan and the rough edges of Mt. Guiting-Guiting.

The Kovea stove – also 12 years old – is also still in good working condition: it has gone through highs and lows: including the high attitude of Snow Mountain in Taiwan and its low temperatures; in that hike, we forgot to bring a lighter but the long-broken igniter of the stove miraculously worked! It was one of those mini-triumphs that only hiking and camping can bring.

As for the Coleman tent, I gave to our guide in Mt. Kanlaon – Kuya Rey Estelloso – after it completed the highest peaks of Luzon, Mindanao, and finally, Visayas; I later heard it was put to very good (and frequent) use until it was finally retired. It was also a very memorable tent because I used it since my Eagle Scout days in high school. A very basic tent that wouldn’t have withstood a night in Tarak Ridge, it was nonetheless my companion in my first Pulag hike in 2003, back when the Ambangeg-Ambangeg hike was a three-day affair. And it was also the tent where I sat, sleepless, on that humiliating – but ultimately-enlightening – night in Mt. Apo in 2005; where I mistook the raging river for a storm, and lightning for shooting stars.

Many other pieces of gear came and went. Some got wrecked, including a pair of La Sportiva shoes that I foolishly dipped into a fumarole in Cagua Volcano, and a G2-tested Merrells that was mistakenly baked in heat of the summer sun (I retired it that same year, leaving it in my dorm in Tokyo after a hike up Mt. Fuji). Some clothes are more durable than others: I still cling on to my Patagonia ultra-light down jacket, the Merino wool layers I got a a longtime ago, and an ever-durable earth pad, that scaffolds my backpack.

Others simply got too old, not because of sheer age, but because of the wear and tear of being under the possession of someone who hikes an average of 30-40 mountains a year. The mesh pockets of backpacks, unfortunately, don’t last that long in overgrown trails such as those you find in Mt. Baloy Dako in Antique or the veritable Talomo-Apo traverse back when it was rarely done.

Losing them is another possibility, especially when it comes to small items like headlamps or trekking poles. I’ve lost count of how many trekking poles I’ve left behind, and my only consolation is the thought that someone picked them up and put them to good use.

Why I am mentioning my experiences with hiking gear? Because I want you to know that they are part of your hiking journeys, and you must value them not just for the utility they give, but for the memories they have shared with you – and the way they have formed part of your habitus as a mountaineer. Things, after all, are not static, like fine leather shoes that get more comfortable as you wear them more, hiking gear can grow into you; they can become more comfortable, and you can also learn to use them more efficiency: you may even learn new uses for them: like the trekking poles that can become part of your tent system. By using and cherishing them, they become a more valuable, useful, and enjoyable part of your adventure.

The alternative is to view them, just like many other things in our modern lives, as mere objects of consumption: as items that one can quickly grow tired of – and easily replace. Being fashionable, of course, is a nice bonus, and I will not deny that I consider it too when I choose the designs and the colors of hiking gear I buy. But in the mountains, function must always come first. And, if one is to espouse an ethos of responsible living, one must not consume (or purchase) more than what is needed. Hence, the need to resist a society that wants you to keep buying.

Hence, the need to treat one’s hiking gear as friends.

Of course, it is also good to have extras, but there is really a danger of accumulating too much gear. At one point I had eight pairs of hiking shoes! I only keep four now: one for the alpine expeditions, one for multi-day hikes, and two for dayhikes: one as a reserve. The rest, I give away to friends or mountain guides.

One important challenge – which we rarely consider  – is allowing our hiking gear to be useful. They were designed for the outdoors, and there they must be as much as possible, not in your basement. Let go of your outdoor gear if you’re no longer using them, and give them to someone else who will be able to maximize them. When you buy something, it’s your responsibility to use it.  Things, like humans, must be allowed to live out their purpose.

What about brands, you may ask. I have no problem with them, but take note that brands are mere signifiers – not things-in-themselves. When they signify quality, and you’ve developed a trust in a certain brand, then by all means, patronize it. The problem is when the brand becomes an end in itself, chosen for itself and not for the durability, comfort, or other attributes you’ve learned to associate with it. In my experience, products coming from the same brand can vary in quality, so you must learn to evaluate the model – not the brand – itself. If the brand happens to be a “fashionable” one, then let it be a happy coincidence, not a decisive one. Take note, too, that some of the best brands in the world may be ones you’ve never heard of.

One final note about hiking gear is that you should never judge others by the gear they have or the clothes they wear. Unfortunately, people who are “all new” or “branded” gear are mocked for their attempt to appear rich or fashionable, while those who buy second-hand gear are mocked for the opposite reasons. As I keep emphasizing, people you meet in the outdoors come from all walks of life, and what may be luxurious for some may be quotidian for others. Also, some may be beginners who need to be educated – not ridiculed.

And the best way to educate is to lead by example. As an outdoorsman, you should know how beautiful – yet how fragile – our planet is, and this is a perspective that you must strive to share. By being responsible about your gear, you also teach the importance of consuming only what you need; of striving for minimal impact not just outdoors but in our everyday lives.

It has been said that new friends are silver, old friends are gold. As you continue your hiking journey, don’t forget to treasure the friends inside your backpack.

Manila
November 21, 2017


LETTERS TO A YOUNG MOUNTAINEER
Personal essays by Gideon Lasco
I: A letter to a young mountaineer
II: Why do accidents happen?
III: Of doing and loving
IV: A difficult situation
V: Wise words from an old man
VI: The Philippines that I love
VII: The calling
VIII: The girl who climbs mountains
IX: A mountaineer’s legacy
X: What beginners can teach us
XI: The friends inside your backpack
XII: Unfollowing one’s self in social media

The post Letter to a young mountaineer, XI: The friends inside your backpack appeared first on Pinoy Mountaineer.

Letter to a young mountaineer, XII: Unfollowing one’s self in social media

$
0
0

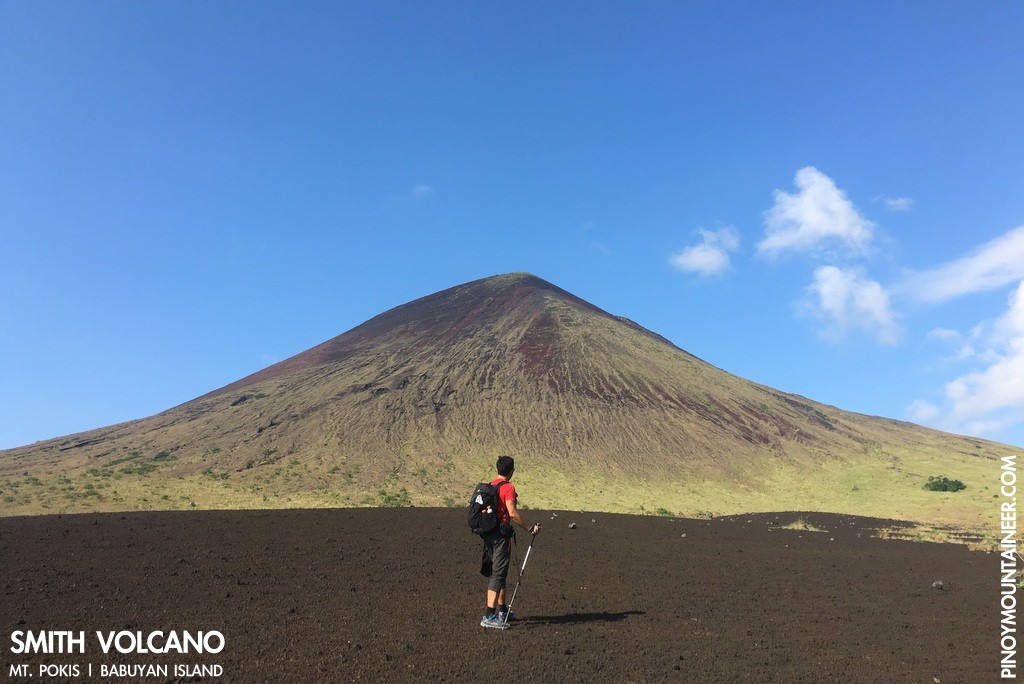
Smith Volcano Babuyan
You opened a Facebook account and people started ‘following’ you, amazed by your adventures. Slowly but steadily, your number of followers increased, which gave you some pride and confidence that you’re doing something worthwhile. But when someone commented saying you were just a poser, you got hurt, because you feel that with your presence in social media, people have forgotten that you’re in the mountains much more. You realize how easily people judge others on the basis of a single post or a single photo – and you now ask me whether social media can truly be a beneficial experience.

And my response is, first and foremost, you have to learn to unfollow yourself in social media. Why are you even affected by what people feel about your social media existence? Perhaps you have become addicted to it, like so many others. After all, it is the people who have a lot of followers who tend to be addicted to social media the most. There is an excitement in anticipating all the likes and shares your posts will get.

Unfollow yourself – that is, learn to let go of your social media presence, even from time to time. Strive for an appreciation of outdoors that’s deeper and more fundamental than the opportunity to share it to others. Find a reason to enjoy the experience of climbing mountains even if there were no Facebook, and even if the whole world goes offline.

Second, you can end up following your followers by catering to what they like to see and hear, and in the process, lose your originality. Photos and memes can get so many likes – so much more than writeups and essays. Posting about popular mountains will also attract more attention – compared to relatively-unknown (but more exciting and technical ones). Let social media be a place where you share your adventures, but don’t let it shape your adventures themselves.

Also, there will be times when you will have to speak out about controversial issues, and in the process, be criticized by others. They would prefer that you just post about nice things, and beautiful pictures. They would prefer that you avoid talking about inconvenient truths. But you have to learn to hold your ground.  You have to be prepared to lose followers if you want to gain more of them – and loyal ones.

Of course, there is a way to talk about hard issues softly; there is a way to deliver messages with tact and respect. Here, the challenge is to “follow” yourself but from the perspective of others, that is, putting yourself on the shoes (or smartphone) of a stranger and imagine how your messages will appear to them. For your friends and longtime followers, your life is the context by which they will judge your posts. But your audience goes beyond people who are familiar with your life, and thus your posts must be able to stand on their own.

Accept criticism humbly and joyfully. Sometimes, there are people you feel are just waiting for you to make a mistake in your posts: be it a factual error – or a typographical one. If they are correct on any point, no matter how petty, give them the glory and the honor of having corrected you; and let go of any pride.

Of course, there are times when you cannot resist the urge to write a witty retort. There was a time when I happened to hike in various countries several weeks in a row, and I have been posting all about them, someone tartly commented: “Wow, you’re climbing mountains abroad, why don’t you climb our mountains first?” As someone who has climbed over 170 mountains around the country – including many where very few venture – I felt exasperated and angrily responded to that comment by sharing a link to my climbing log. In retrospect, I realize that I should just have ignored it.

Always remember: The best way to fight hate in social media is not to fight it at all.

Finally, you should realize that while you can’t please everybody, you can still inspire others, and it is for them that you must sharing your adventures. We often focus on one hateful comment, forgetting the many others who express their appreciation. We feel we have to respond to those who accuse us of something bad, but we ignore those who complement us about something good. Whenever you post a picture on a summit, perhaps there are those who will feel jealous. But many more will be inspired to reach for their own summits, and they are reason enough for you to keep posting.

And so I will end this by urging you to take heart from the people who follow you: let the ability to inspire them be the inspiration from which you can draw strength. When I was hiking up Mt. Elbrus in Europe, we were under pressure to reach the summit by 1100H, else, we have to turn back. It was a daunting task for us who were not really used to hiking above 5000 meters above sea level, but during that sojourn through the snow and ice, lots of things will come to your mind, and one of the things that inspired me was that thought that I was doing it not just for myself, but for the many others I can inspire by reaching the summit.

Social media has become part of our lives now, but like a mountain ahead of us, it’s a matter of choice whether we would think of it as an obstacle to avoid – or as an adventure to overcome.

Manila
November 22, 2017

LETTERS TO A YOUNG MOUNTAINEER
Personal essays by Gideon Lasco
I: A letter to a young mountaineer
II: Why do accidents happen?
III: Of doing and loving
IV: A difficult situation
V: Wise words from an old man
VI: The Philippines that I love
VII: The calling
VIII: The girl who climbs mountains
IX: A mountaineer’s legacy
X: What beginners can teach us
XI: The friends inside your backpack
XII: Unfollowing one’s self in social media

The post Letter to a young mountaineer, XII: Unfollowing one’s self in social media appeared first on Pinoy Mountaineer.

Hiking matters #573: Mt. Canumay, a worthwhile dayhike in Antipolo, Rizal

$
0
0

Canumay1
ANTIPOLO, RIZAL – I really enjoyed hiking up Mt. Canumay in Sitio Canumay, Brgy. San Jose, Antipolo today. Though easily still over an hour away from Antipolo proper, this hiking destination stands out among the many mountains of Rizal given its unique location (neither Tanay nor Montalban) and the relatively-pristine state of its forests. The views, too, aren’t bad! And it has a bit of everything – with the notable exception of limestone formations.

The hike officially starts in the ‘tribal hall’ in Sitio Canumay but in practice it starts at the point when the vehicle can no longer pass the oftentimes-muddy road; I found myself walking a good 2 kilometres before reaching the hall.

Canumay4

Past it, the trail goes through some rice fields before ascending into an open slope that’s reminiscent of Mt. Balagbag. Fortunately, it was a pleasant day with a benign mix of clouds and some sun so we just breezed through this part. Eventually, we reached a military outpost where we had to register – thankfully they were more lax now as compared to just a few months ago.

And then we enter the forest, which offer occasional wonderful glimpses of Laguna de Bay. I’m used to look at the lake from Laguna with Rizal behind Talim Island, so I was very glad to look at it from the opposite side. A modest summit with a respectable elevation – 980 MASL – ensued, and although the trail was a bit steep towards the end of the trail, it was not at all difficult or perilous.

canumay2

Although it could have been a shorter hike, we decided to do the full loop and we were glad to have done so, as we saw other features on the shorter, descending leg, including a small waterfall and a cave which would have been a nice rest stop. According to the guide, there are other trails in the area that could potentially lead to higher peaks.

From the tribal hall we started at 0824H and got back by 1325H, but the entire trek took longer as we still walked to our vehicle 2 kms away from the hall on the road to Sitio Canumay. Even so, it turned out to be a really great dayhike!

Canumay3

The post Hiking matters #573: Mt. Canumay, a worthwhile dayhike in Antipolo, Rizal appeared first on Pinoy Mountaineer.

“Go before the crowds discover it!”: Dutch hikers offer praise for Kibungan

$
0
0

24829433_1661381157247249_528381879_n
by Jip op den Kamp and Anita Hardon

Blogger’s note: Jip and Anita are Dutch hikers who have traveled extensively in the Philippines and around the world. 

Go to Kabungan before the crowds will discover it!

Went to the Cordillera at North Luzon? To Sagada or Bontoc? After many long hours of travel got bored and dusted between thousands of fastfood-eating tourists? Traffic congestions in towns and even worse: in the middle of the rice fields? Noise everywhere? Long rows for making your picture at the Gungal rock on Mt. Ulap? Disappointed by all this?

Go to Kibungan! Hidden gem in the rocky wall of beauties in the southern parts of the Cordillera. Silence, steep rice terraces, great hikes through steep rice terraces and beautiful shaped mountains.
And yes: they have hanging coffins too.

The locals are proud of their own variety of rice. The young people proudly preserve the farming of their parents, so dont go away, which keeps a healthy community and saves the thousand year-old riceterraces from extinction.

Kibungan used to be isolated, but a few years ago they opened a new road and it only takes just over 2 hours from Baguio, and since there is a new fast road from Manila it takes only 4 hrs from Manila to Baguio.

Kibungan offers easy hikes through the rice terraces and to the beautiful waterfall or warm nature wells.
There are also great hikes for more athletic folks to Mt. Tagpaya. We did the 2-day-tour: one day up, stay over in a tent or in the church of the local barangay, and one day down.

Longer hikes include a three-day Kibungan Circuit. Or a 5-day hike to La Union and the coast.

Our 2-day eco-tour started in Kibungan at the municipality-building, where we met local guide Charleston. This nice young guide speaks good English and proved to be very caring.

At the nicely-operated municipality we paid a registration fee of 160 pesos and since we went up in the mountains our blood pressure was checked in the little, well functioning medical centre.

Charleston took us with his landrover tot the trailhead jump off, some 15 minutes further, at 920 m. From there we took a beautiful, paved path through the rice terraces. Paved, so no slippering. We descended tot the ewarm well at the junction of two rivers, at 800 m.
24891865_1661380937247271_998746850_n
After a nice swim we started climbing to Charleston’s grandparents, living in a small barangay at 900 m.
After a rest in the local church the climb of Mt Tagpaya started. A beautiful climb, steep but doable, with grand open views over beautiful shaped mountains and steep rice terraces everywere along the trail. The path was proteced at dangerous parts with dug-out steps and fences.

The climb mounted to a campsite at 1445 m. Then we followed a rolling path to another barangay, where Charleston made us an nice meal and where we spent de night in the local church. By the way: The nights in the Cordillera are cold; bring warm clothes! (And in the mountains is no electricity: bring a powerbank).

The next day we proceeded our climb to Mt. Tagpaya at 1775 m. After enjoying the incredible views we started the descent. Steep and long, but beautiful, and we got rewarded with a fresh dive in the river down at the rice terraces.

Guide Charleston was happy to bring us back to Baguio, so we had no difficult transfers. What a great hike!

Go to Kibgungan before the crowds discover it!

24989337_1661380963913935_1851352861_n

Photos courtesy of Charleston Pesigon.

The post “Go before the crowds discover it!”: Dutch hikers offer praise for Kibungan appeared first on Pinoy Mountaineer.

Hiking matters #575: Karangahake Mountain (544m) in the Coromandels of New Zealand

$
0
0

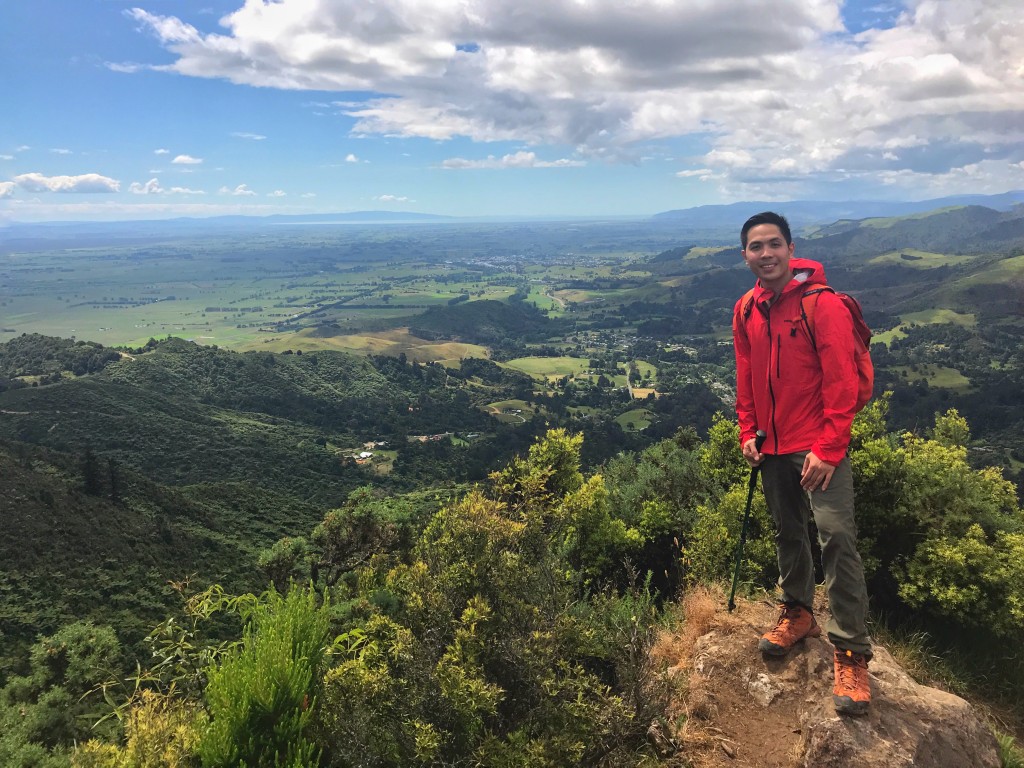
IMG_1479
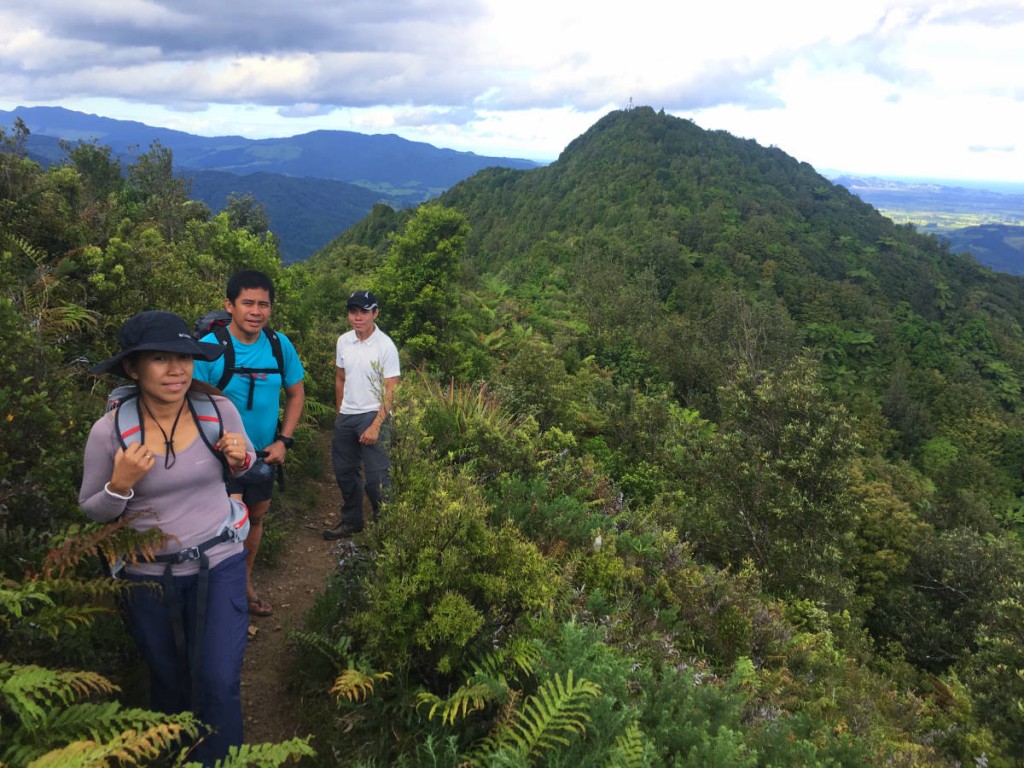
QUEENSTOWN, NEW ZEALAND – For my final big adventure of the year I decided to head to New Zealand, joined by my Hyakumeizan buddy Jeshua Sales and my good friends from Tacloban – Edgardo and Jezebel Nalda. On our first full day in North Island, we drove east from Auckland and decided to head east to the Coromandel region. Unfortunately, the trail to The Pinnacles was closed and we had to settle for the easier Karangahake Mountain atop the same-named gorge.
karangahake3
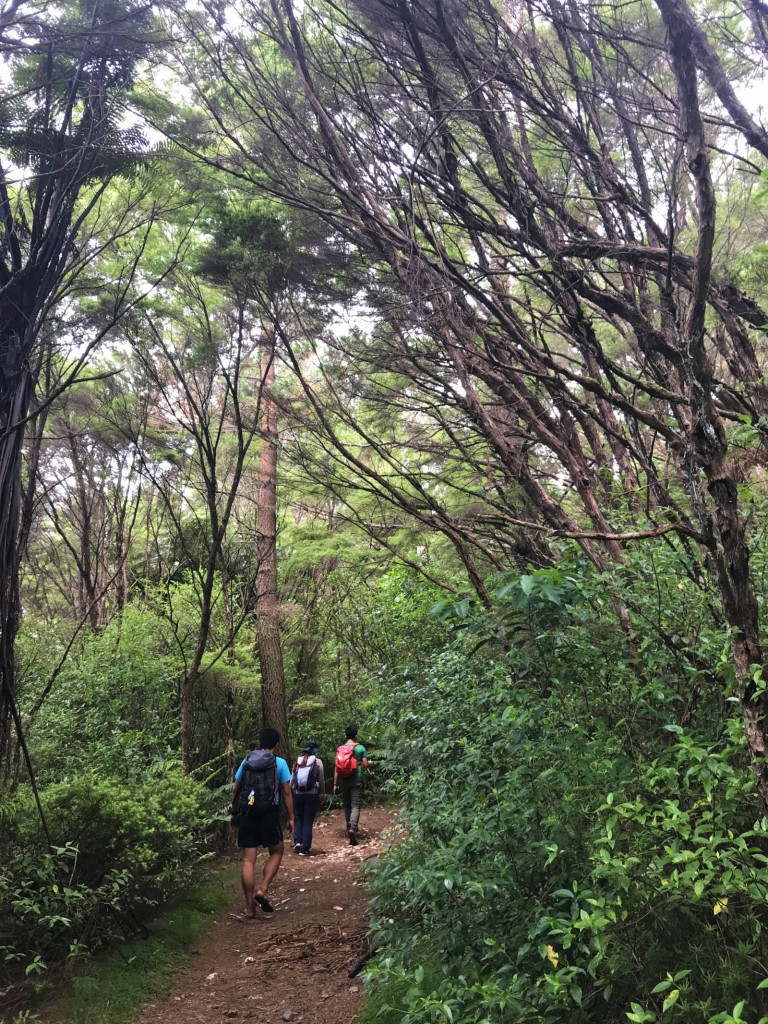
We started the trek in Karangahake Reserve car park, walked up a beautiful forest, and after two hours, reached the summit, which at 544 MASL was marked by a metal triangle marker. Reminiscent of the Sierra Madre mountains and even Mt. Lanaya in Cebu, Karangahake was a very nice reminder of the diversity of landscapes in New Zealand. After a quick descent, we made our way to Rotorua where we continued our adventure.
karangahake2
TRAMPING IN NEW ZEALAND (2017)
Hiking matters #575: Karangahake Mountain in the Coromandels
Hiking matters #576: Mt. Taranaki (Egmont), highest in NZ’s North Island
Hiking matters #577: Tongariro Alpine Crossing
Hiking matters #578: Ben Lomond, Queenstown’s favourite dayhike
Hiking matters #579: Roy’s Peak in Wanaka

The post Hiking matters #575: Karangahake Mountain (544m) in the Coromandels of New Zealand appeared first on Pinoy Mountaineer.

Hiking matters #576: Mt. Taranaki, highest in North Island, New Zealand

$
0
0

Taranaki
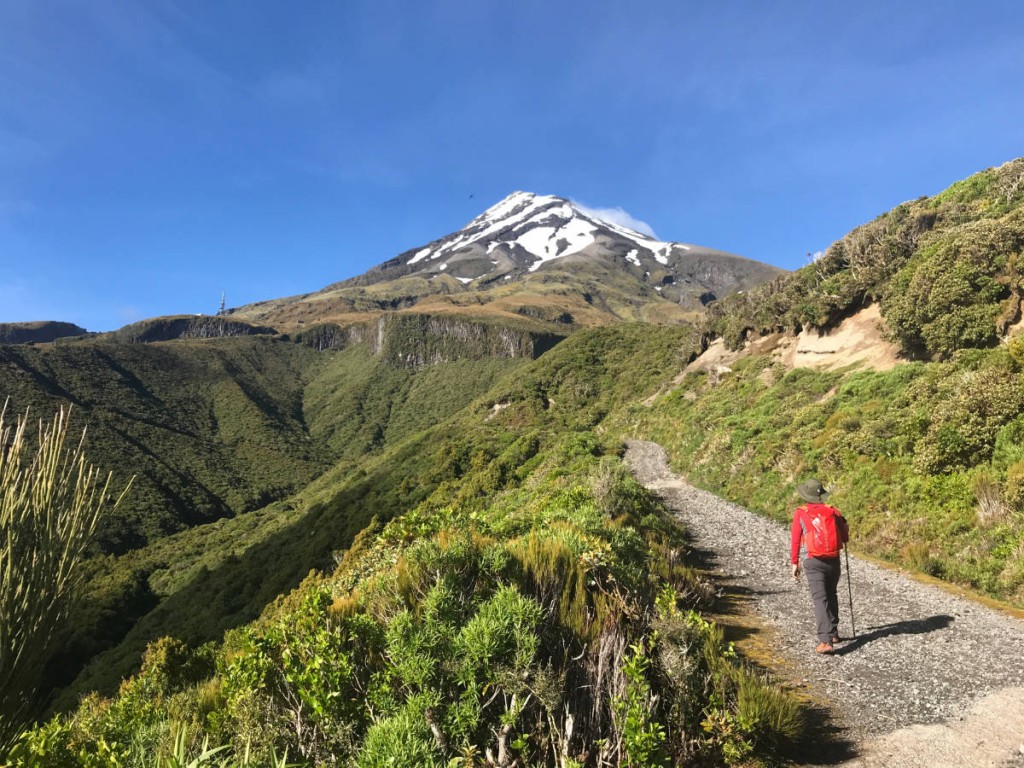
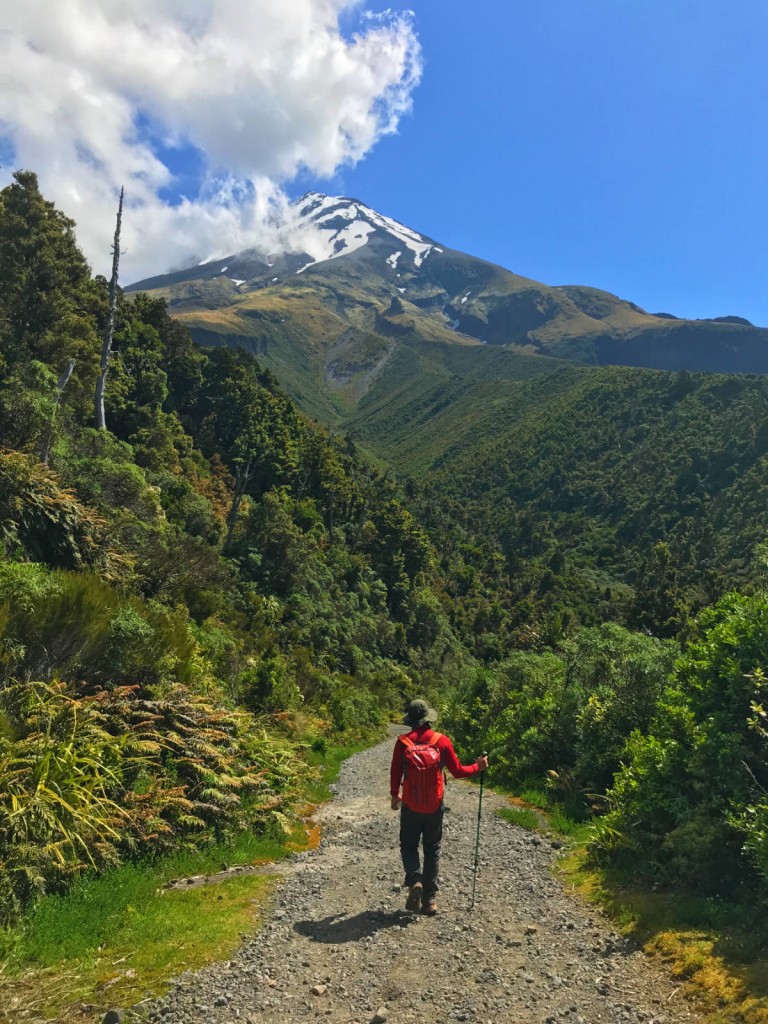
QUEENSTOWN, NEW ZEALAND – From Mt. Karangahake we proceeded to Rotorua to see some Maori cultural sites, geologic wonders, and kiwi birds. Then we took the long drive to New Plymouth – over 300 kms – to climb Mt. Taranaki – formerly known as Mt. Egmont – at 2518m the highest mountain in North Island.
Taranaki6
The mountain is located in the southwest coast of New Zealand and has volatile weather conditions, which had led to deaths and injuries in the past. According to the park ranger, Sir Edmund Hillary called it “the world’s most dangerous mountain”. Fortunately, we had perfect weather.

The first part of the hike was, delightfully, just on a wide path – the “Translator Road” – and was somewhat reminiscent of a hike up Mt. Tapulao. This section terminates in the communications tower and the private Tahurangi Lodge which is located around 1500 MASL.

Taranaki4

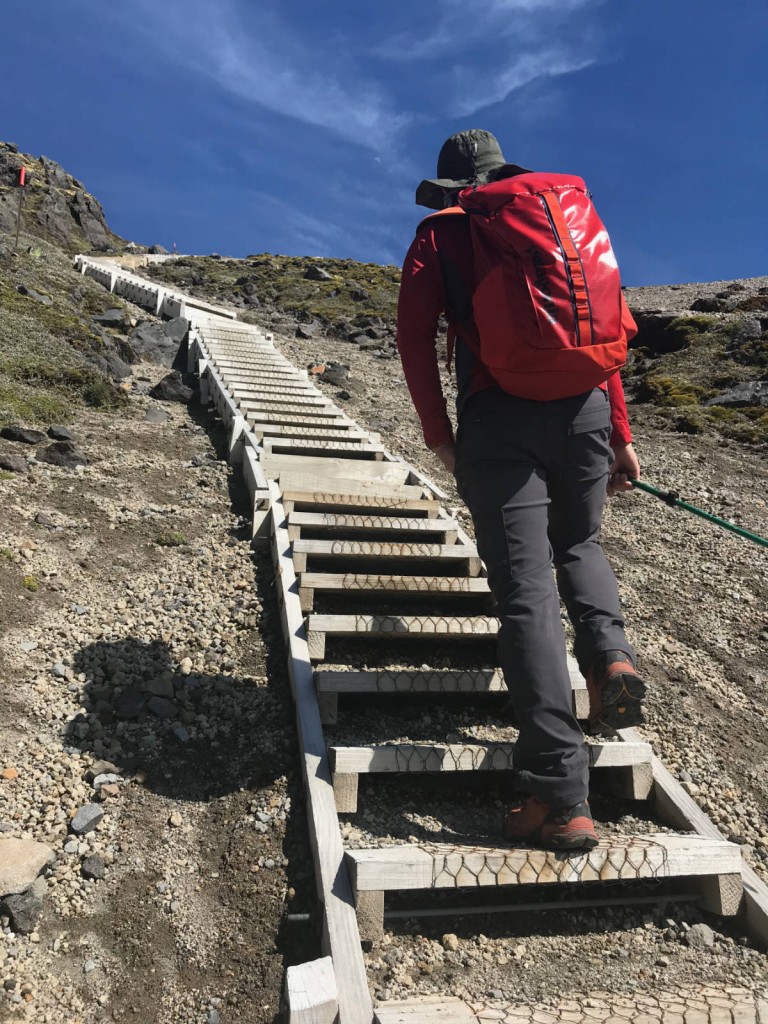
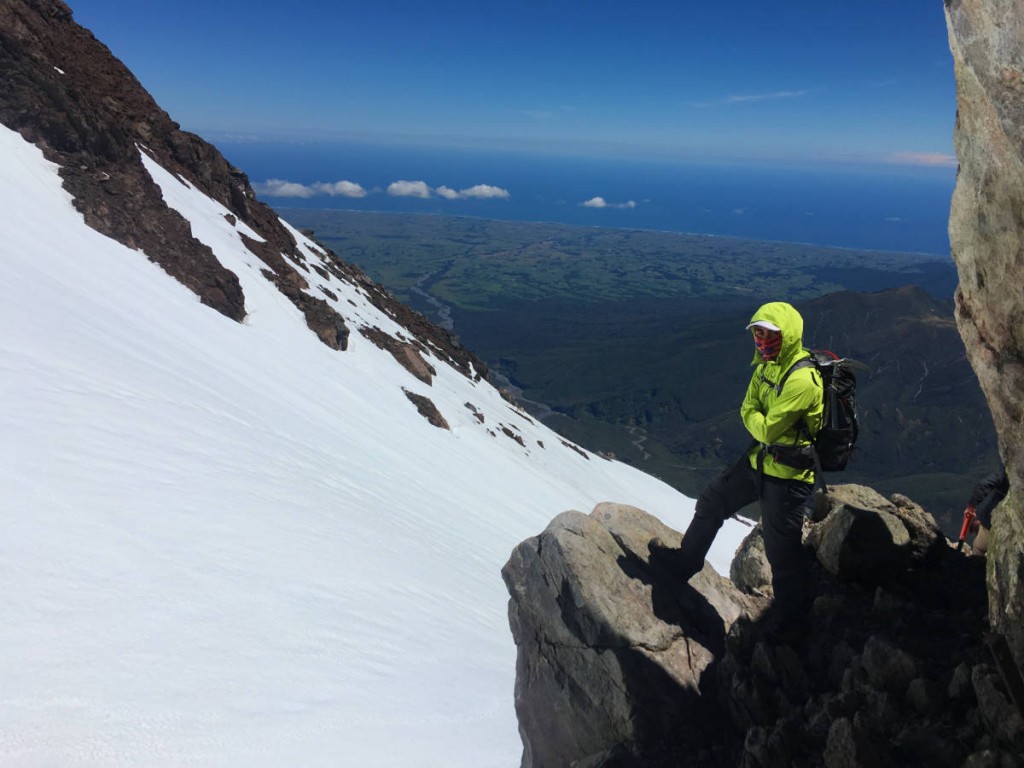
Past the lodge, the serious tramping begins: after entering some cleft of the mountain – the Hongis Valley – one follows a flight of stairs to reach open, scree slopes made of scoria (volcanic) rock. This slope becomes increasingly steeper to a point called “The Lizard” when it will require some scrambling. Finally, the crater, around 2400 MASL, will be reached.

Taranaki2

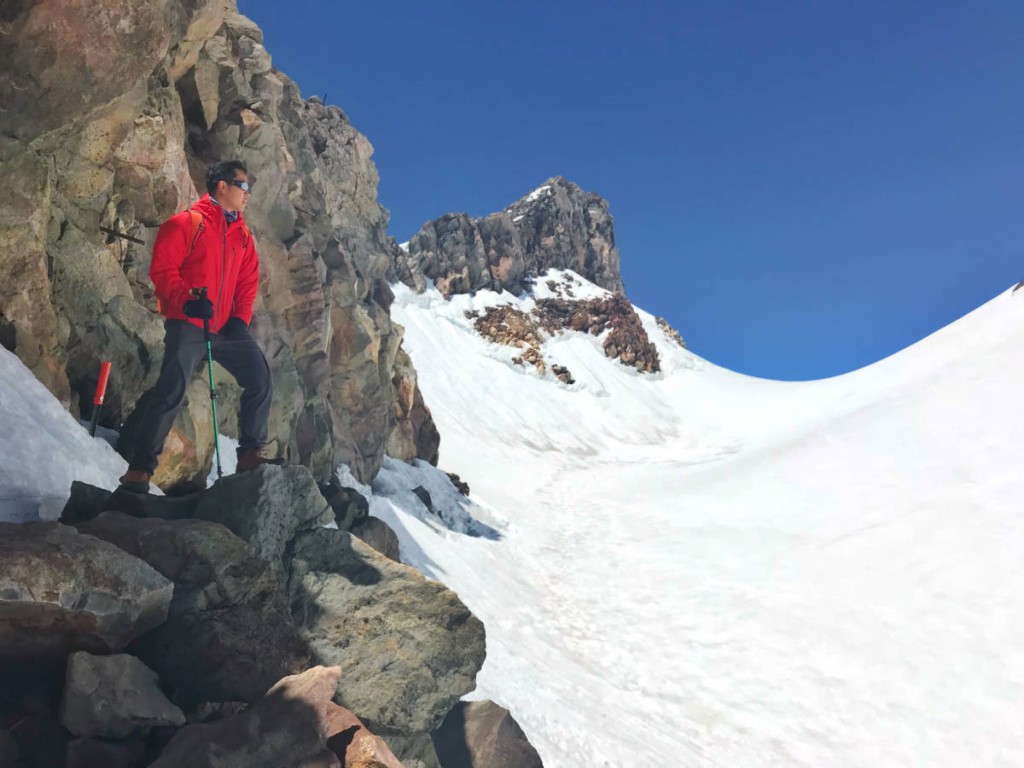
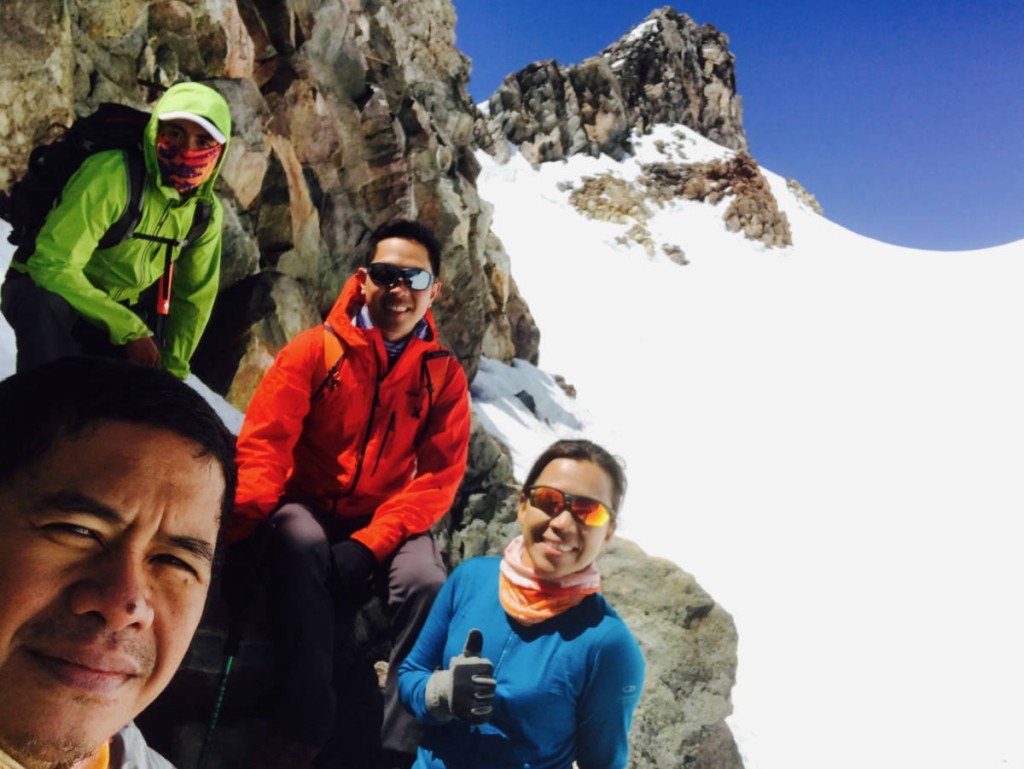
From the crater rim, there is the option to continue all the way to the very summit, but unfortunately it was still covered with snow and although we brought crampons and ice axes, we did not want to risk it especially since the local mountaineers themselves were not keen to make an attempt to reach the top. So we had to content ourselves with having reached the crater, which was more than enough for the day’s adventure.

Taranaki3

The descent was much easier, although the scree descent was a bit tricky. And although we were on a jubilant mood when we reached the North Egmont Visitor Centre, we really did not have time to celebrate  or rest as we had to immediately drive to Tongariro National Park, where we do another challenging dayhike: the famed Tongariro Alpine Crossing.

Taranaki5

The post Hiking matters #576: Mt. Taranaki, highest in North Island, New Zealand appeared first on Pinoy Mountaineer.


Hiking matters #577: The Tongariro Alpine Crossing in New Zealand

$
0
0
Tongariro 2
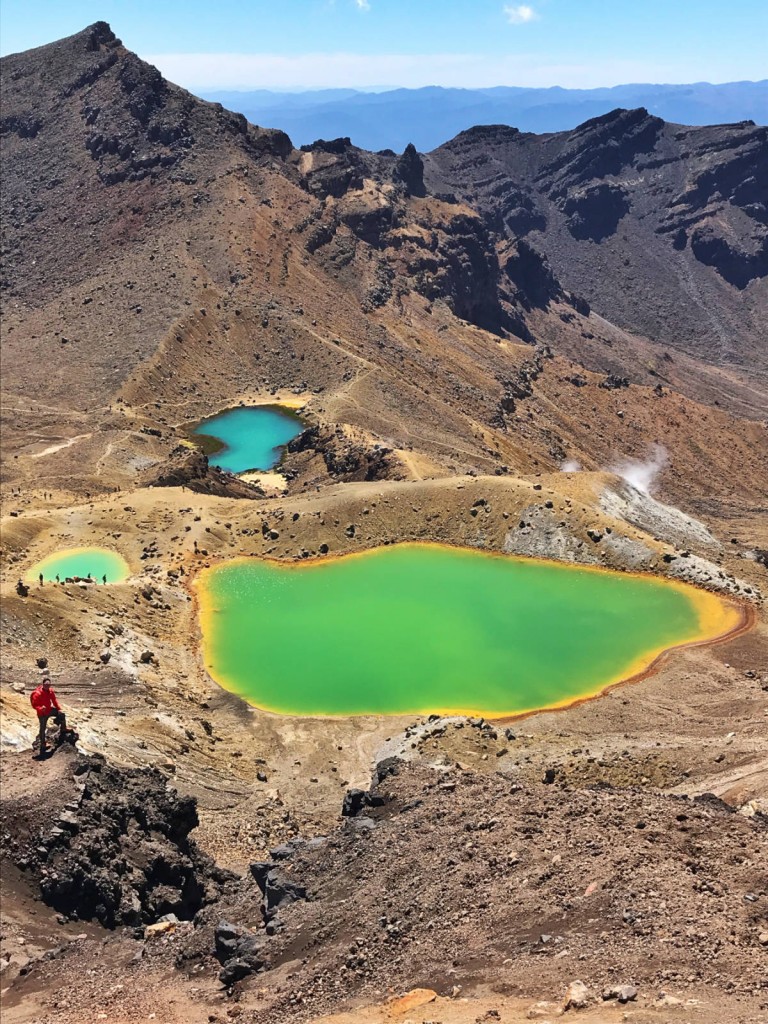
The Emerald Lakes of Tongariro Alpine Crossing.

QUEENSTOWN, NEW ZEALAND – One day after climbing Mt. Taranaki, we did what is widely-regarded as the most famous dayhike in New Zealand, the 19.4-km Tongariro Alpine Crossing. A World Heritage Site, it is known for its stunning, otherworldly scenery that was used as a filming location for Mordor in Lord of the Rings.
tongariro5
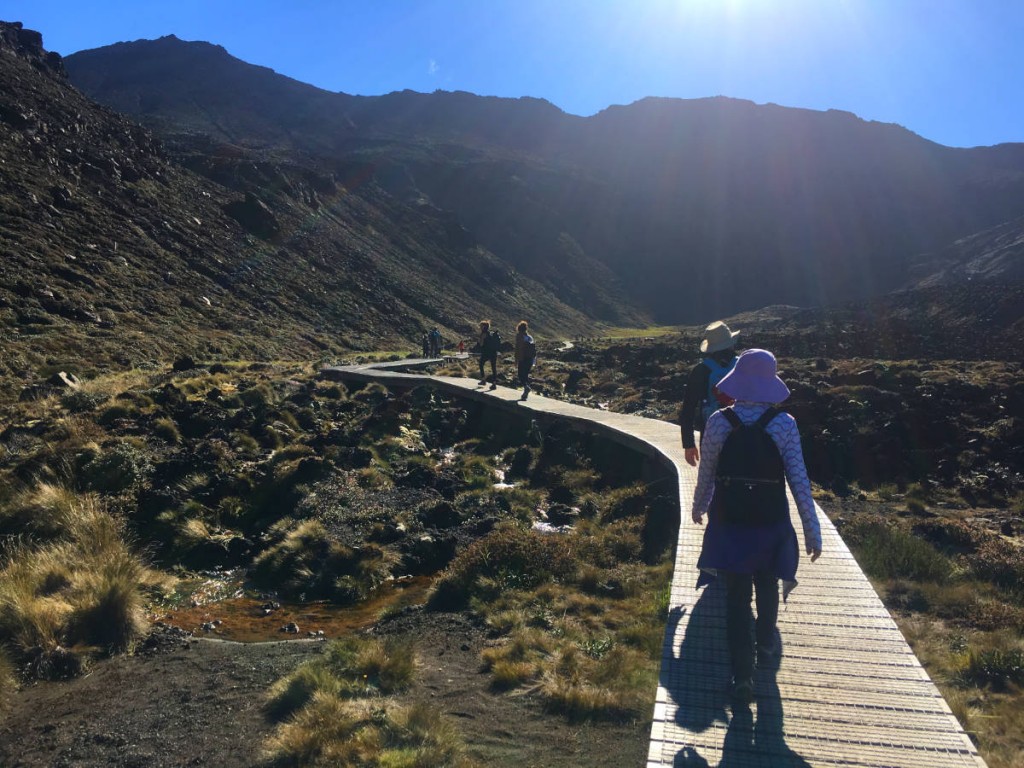
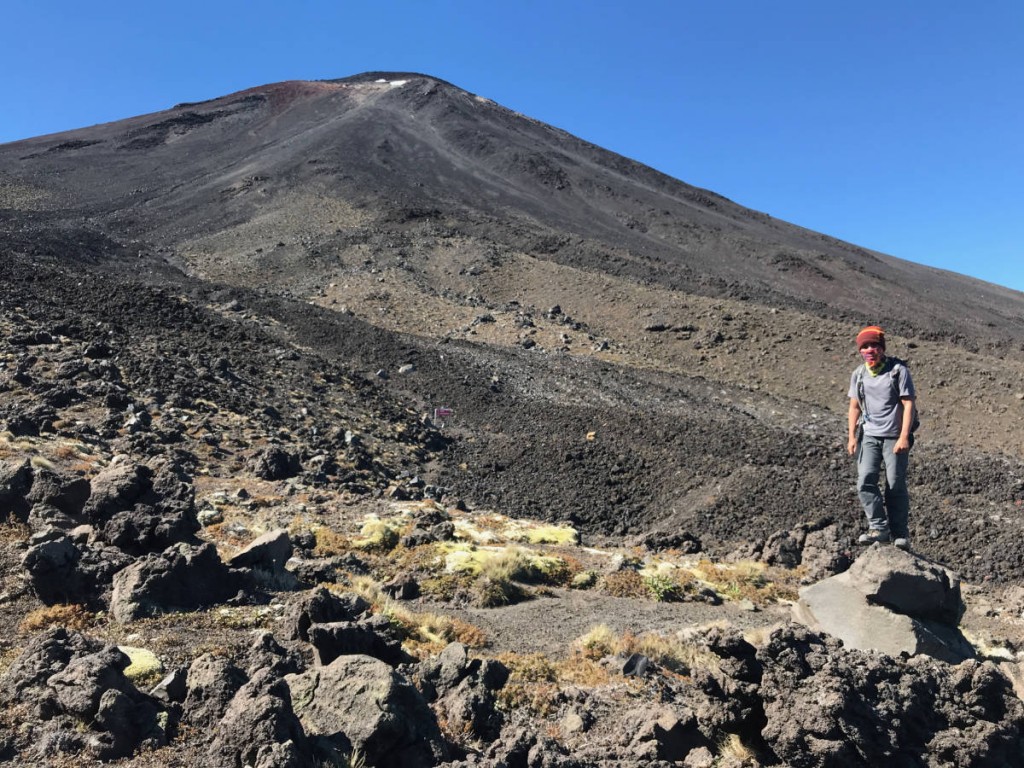
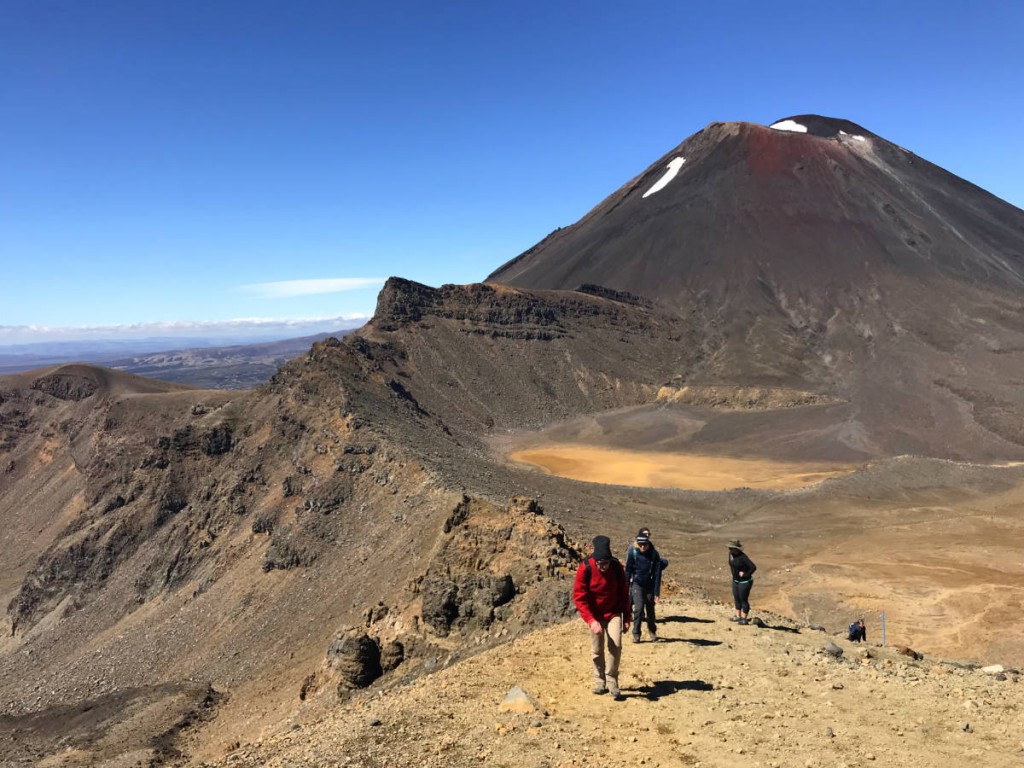
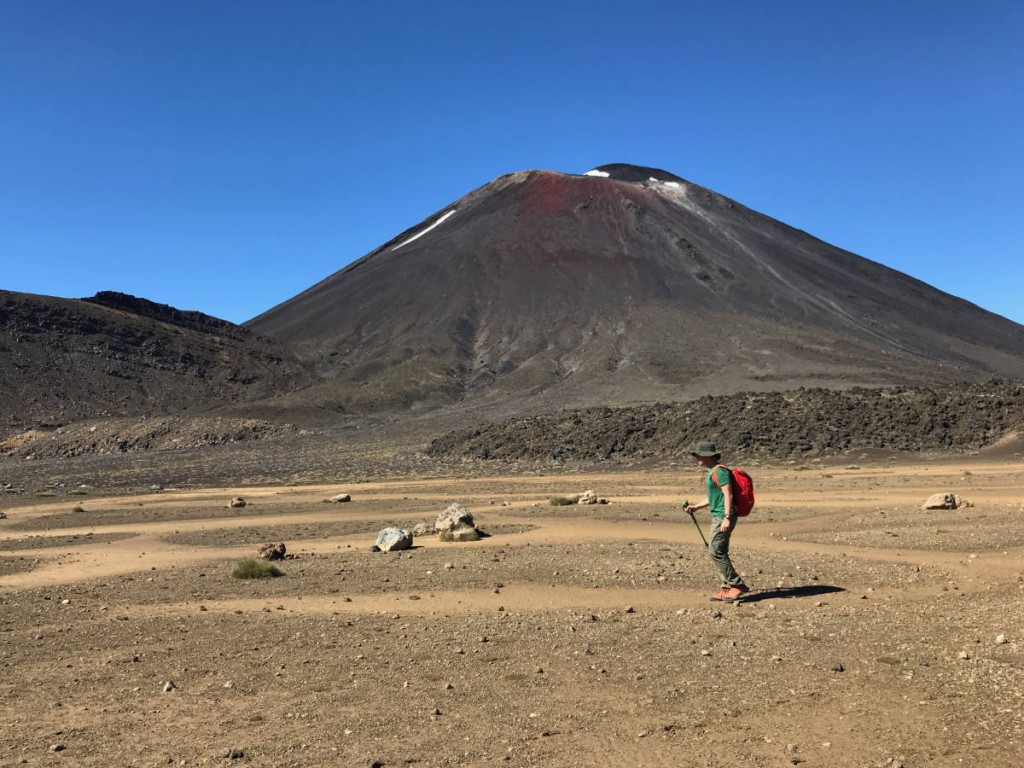
From our lodge in National Park we drove to Ketatahi Car Park, where a shuttle service picked us up and brought us to the other end (and traditional start) of the traverse, Mangatepopo Road End. From here, the trek was mostly flat and easy, that is, until we arrived at Soda Springs. From this point the trail becomes steep but also scenic as one comes close to Mount Ngauruhoe – the actual Mount Doom in the LOTR movies.

Tongariro3
A plateau ensues, and then another hike up to the Red Crater. It is at this point when the fabled turquoise lakes of Tongariro one into view, truly mesmerising amid the volcanic, earthen, background. Coming from Taranaki, the ascents and descents were fairly easy, but I must add that there is an additional element here of the weather: as with many other alpine hikes, it was hot and cold at the same time.

Tongariro

There was still some snow in Mount Ngauruhoe, which is actually a peak that can be reached through hiking and scrambling. Unfortunately, we did not have time to do some peakbagging but the Red Crater was a worthy hike nonetheless, at 1886m the highest point reached in the traverse.

tongariro4
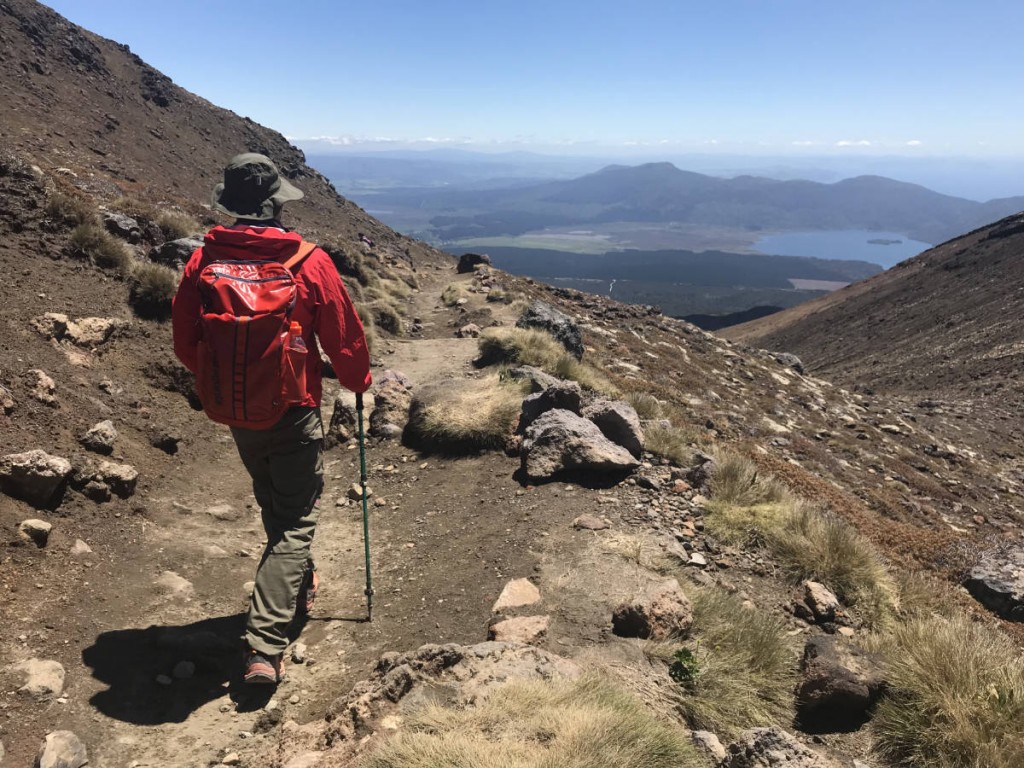
The Red Crater and the lakes may have been the highlight, but the hike is just halfway at the Emerald Lakes! It continues through open tussock land and eventually some woodland, until we finally reached the Ketatahi Car Park. This section – which has Ketatahi Shelter as a stop – actually felt the longest, in part because there are no longer any attractions to look forward to, and in part because it actually is.

We completed the traverse in 6 hours 30 minutes, including the stops we took for photos. From the car park, we took another 300+ kilometre drive to Auckland, essentially completing the North Island leg of our New Zealand adventure. From Auckland we boarded a plane to Queenstown, where the second leg our adventure continued.


tongariro7

The post Hiking matters #577: The Tongariro Alpine Crossing in New Zealand appeared first on Pinoy Mountaineer.

Hiking matters #578: Ben Lomond, Queenstown’s iconic dayhike

$
0
0

BenLomond2
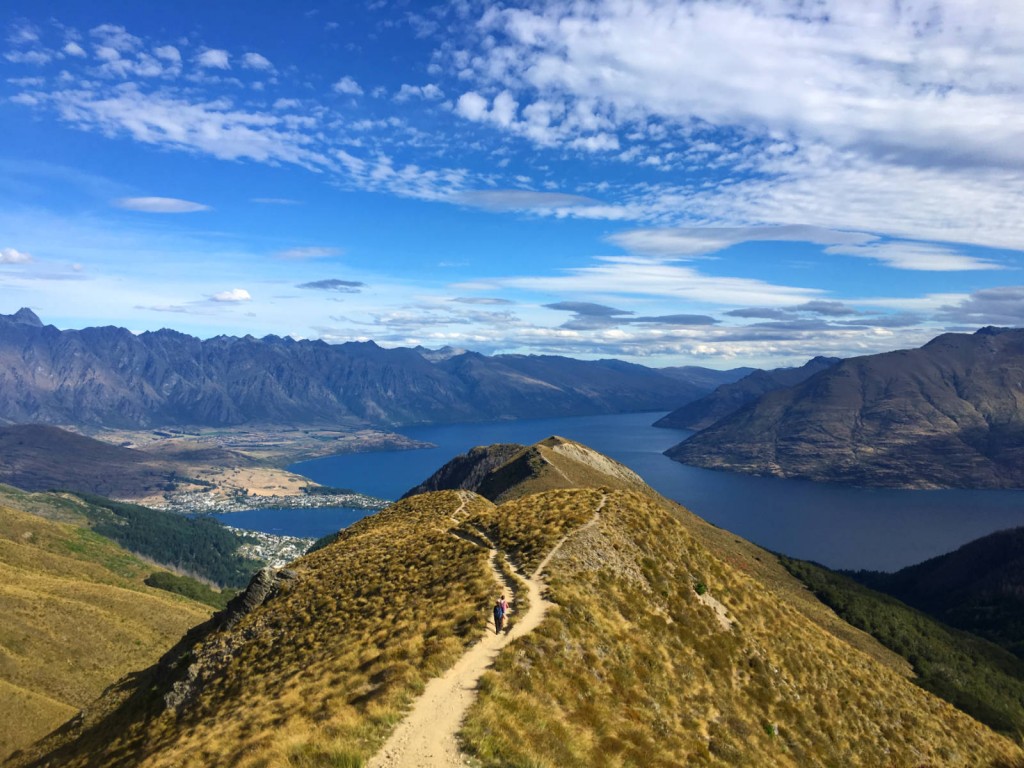
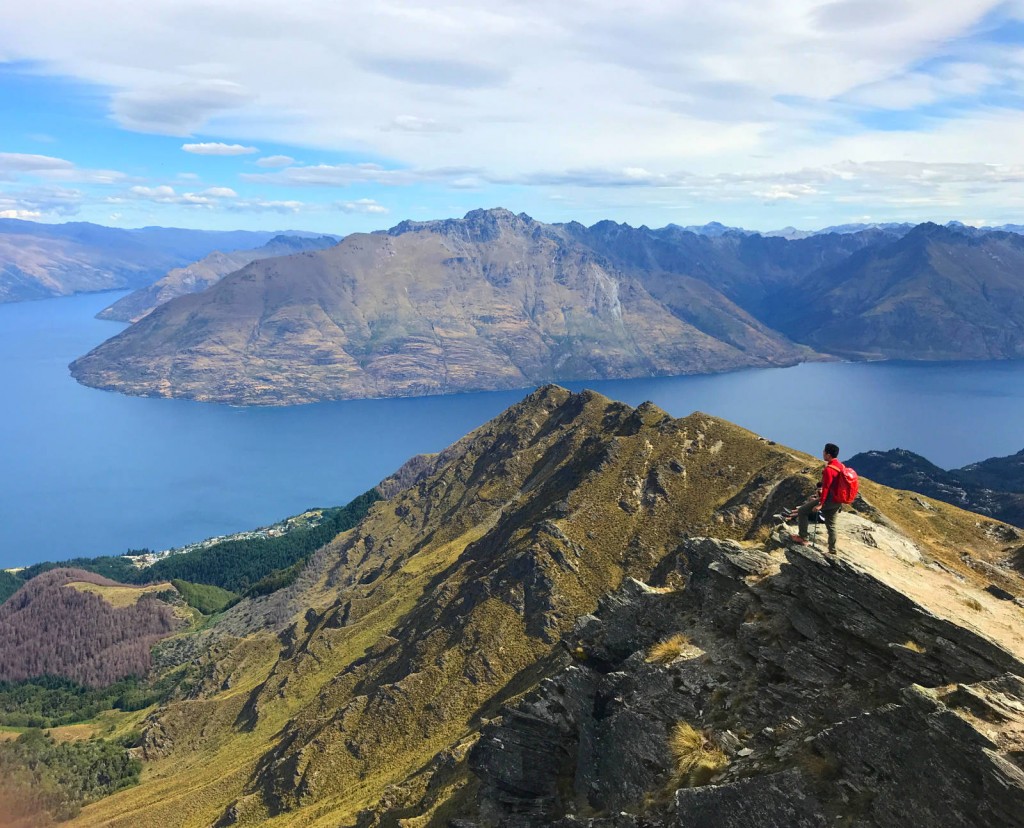
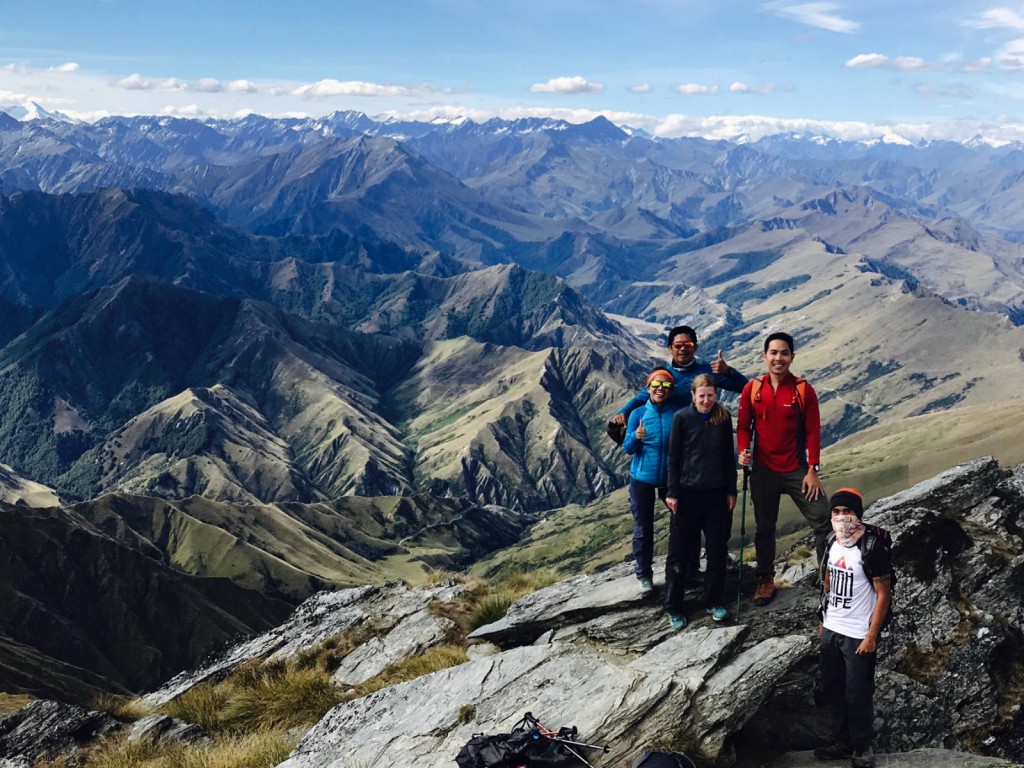
QUEENSTOWN – Upon arrival in Queenstown we were awestruck by the many mountains that surrounded the town and Lake Wakatipu. Thus instead of driving all the way to Milford Sound or even Te Anau we just decided to maximise on the tramping that the area has to offer. Fortunately, we’ve got good company: on our first full day, Iron Lady Jo Steven – my companion in many hikes – drove over to join us for a hike up Ben Lomond – another one of New Zealand’s favourite dayhikes.
BenLomond3
Ben Lomond is named after a mountain of the same name in Scotland, and I actually visited that region when I did sections of the West Highland Way in 2015 (see Hiking matters #481). As I would find out in the hike, the choice was not just based on the fact that many Kiwis (like the Iron Lady) have Scottish descent, but New Zealand’s Ben Lomond actually reminded me of the Scottish Highlands.
BenLomond4
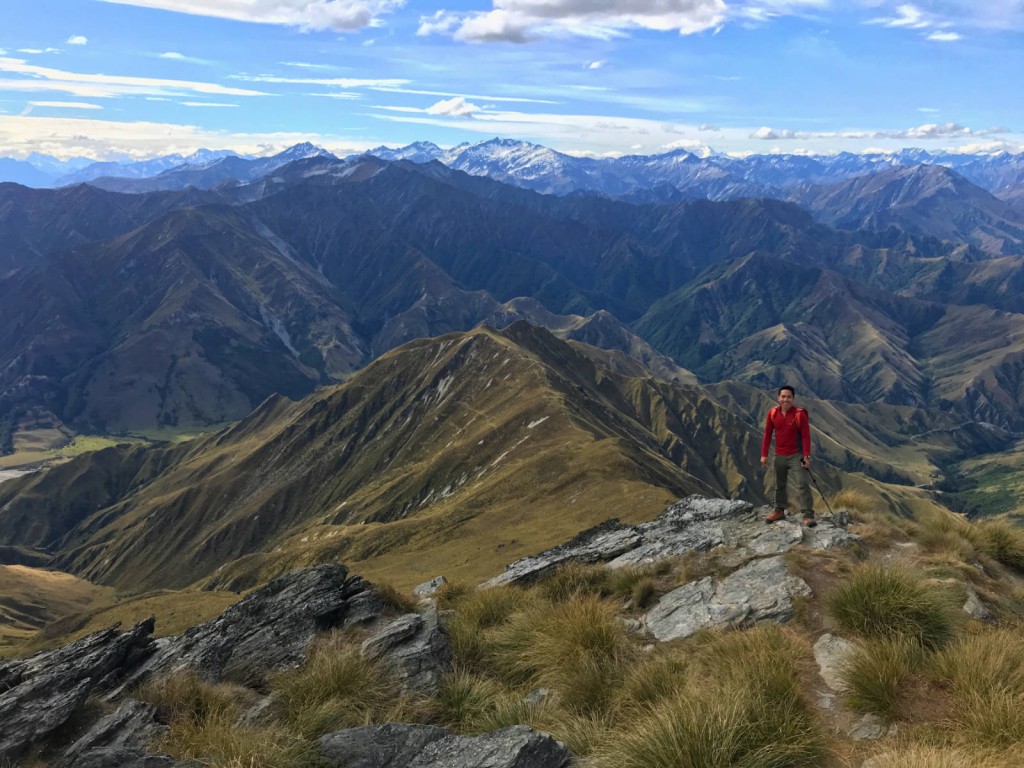
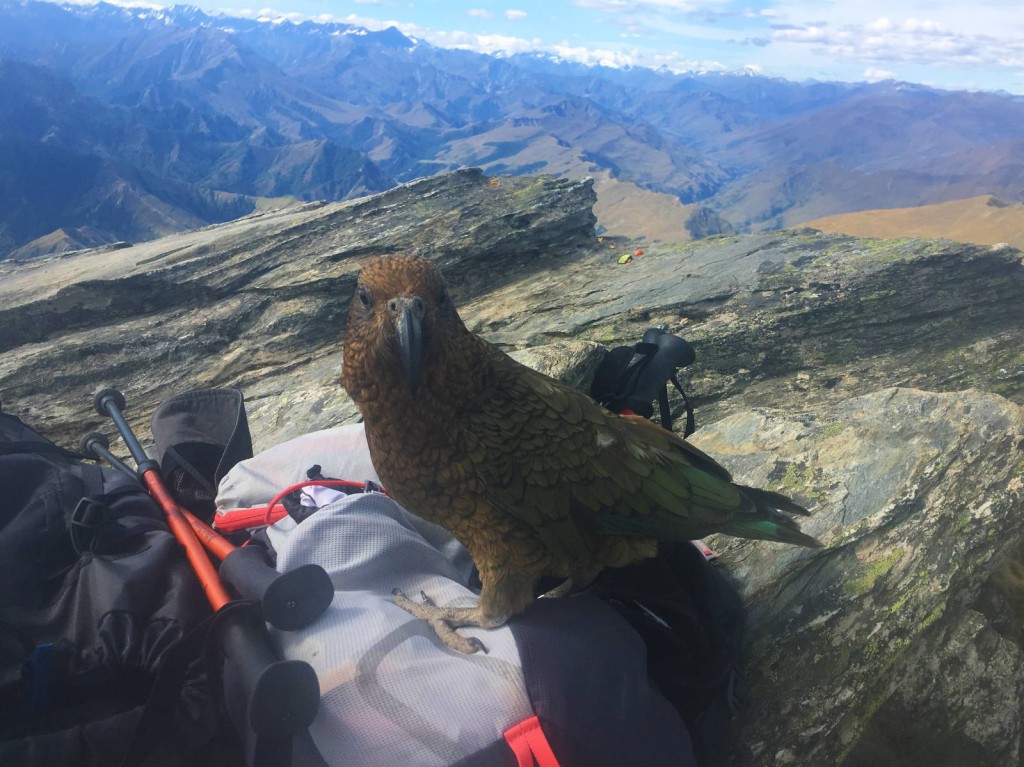
From our AirBnb in Queenstown Ben Lomond was just a 10-minute drive, but instead of taking the easier trail from the One Mile Roundabout that featured native beech trees before emerging into a Batulao-like grassland slopes featuring expansive views of Lake Wakatipu and the surrounding mountains, including the Remarkables range and even the snowcapped range of Mount Aspiring. A kea – the “clown of the mountains” – showed up at the peak, providing us with some moments of levity, after a challenging final scramble up the summit.

BenLomond1

It was a quick way down – I would consider the mountain just a bit tougher than Batulao in terms of difficulty (4/9). Because the sun doesn’t wet until 9:30 pm, we had plenty of time to go to town for some gelato, and back to our apartment where we celebrated with some lamb chops and craft beer. But as always, our celebrations were modest as we always had an adventure waiting the following day, and in our case, Roy’s Peak Track.

BenLomond5

The post Hiking matters #578: Ben Lomond, Queenstown’s iconic dayhike appeared first on Pinoy Mountaineer.

Hiking matters #579: Roy’s Peak Track in Wanaka, New Zealand

$
0
0

Roy1
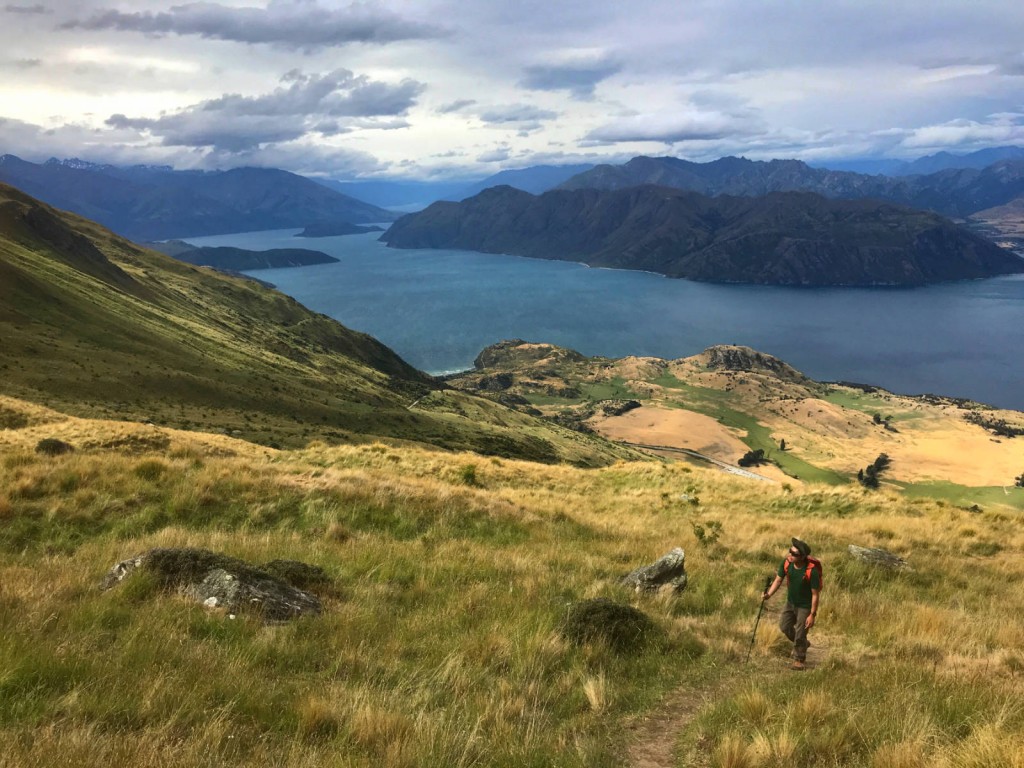
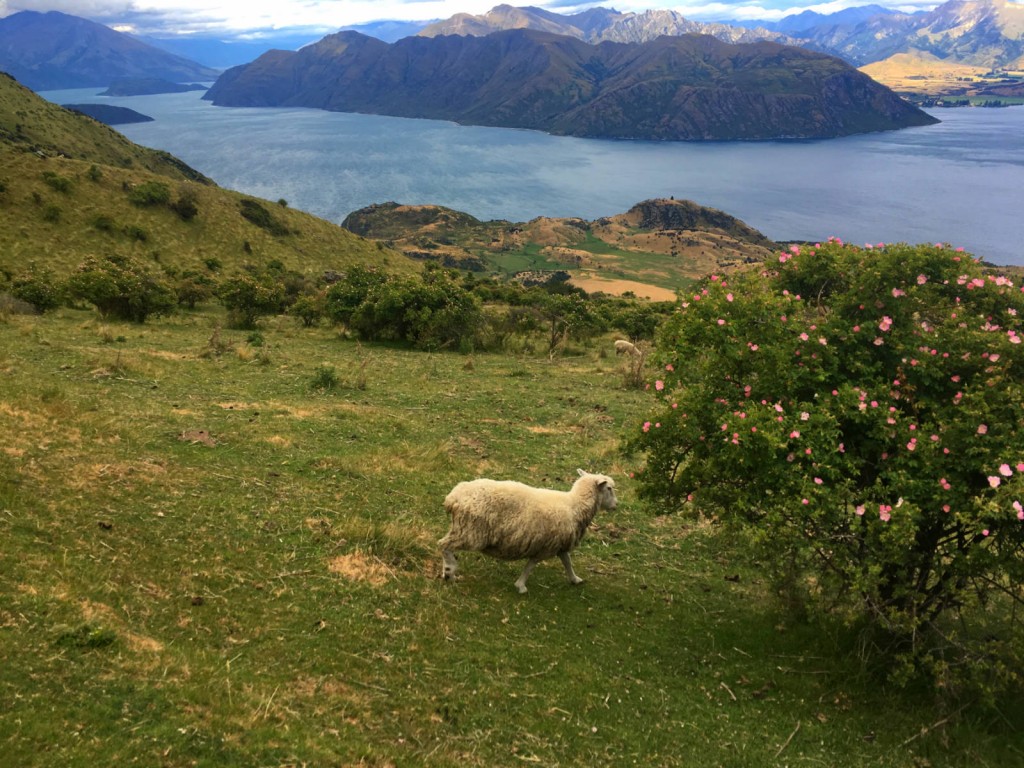
QUEENSTOWN – Because we’ve been doing so much tramping and driving the day after Ben Lomond was intended to be a rest day, but Jeshua and I nonetheless managed to end up in Wanaka (an hour drive from Queenstown), and with Roy’s Peak looming, we decided to check it out anyway. If Ben Lomond offered views of Lake Wakatipu, Roy’s Peak featured Lake Wanaka, and its proximity to Mount Aspiring gave it a higher scenic potential.
Roy2
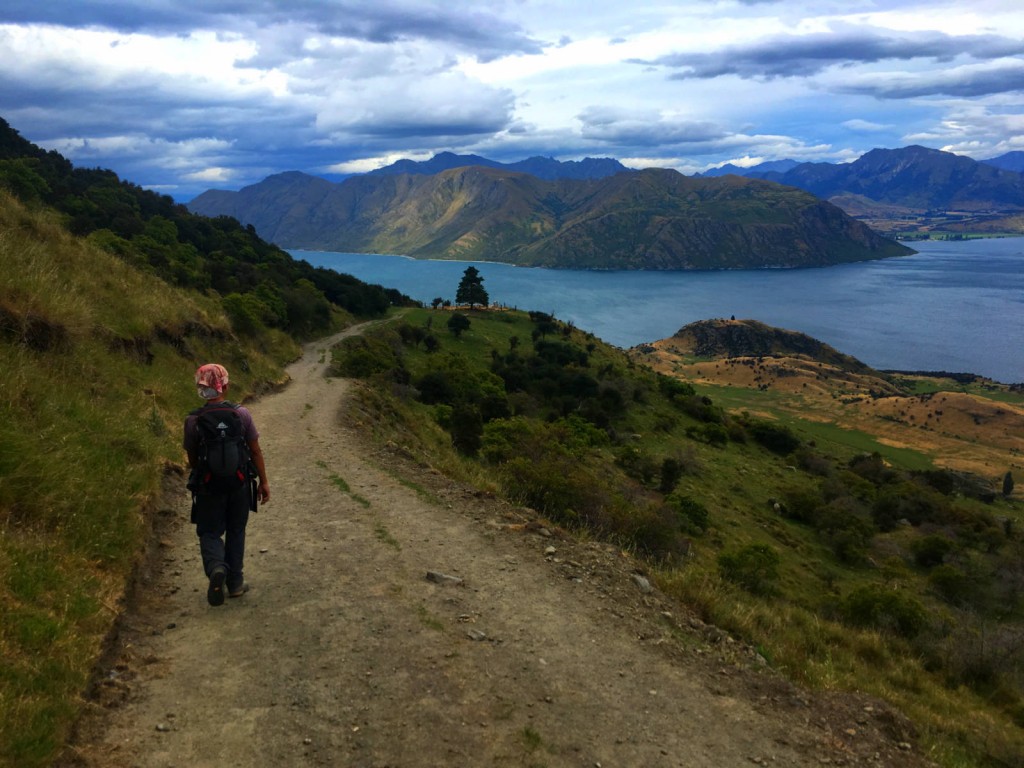
The trail, however, is mostly a rough road, and since we had cloudy weather, it looked like a gloomier version of our Ben Lomond hike. Still, we decided to walk up the track, reaching over 1300 MASL (out of 1578m), if only as an exercise. We didn’t go all the way to the summit though, deciding to conserve our energy for what would prove to be the toughest climb of our entire adventure: Single Cone, the summit of the Remarkables range.

Roy3

PS: We also enjoyed the Black Peak ice cream in Wanaka, its lakeside views, and the Crown Range drive back to Queenstown.

The post Hiking matters #579: Roy’s Peak Track in Wanaka, New Zealand appeared first on Pinoy Mountaineer.

Hiking matters #580: Climbing up Single Cone, summit of the Remarkables range in New Zealand

$
0
0

Single1
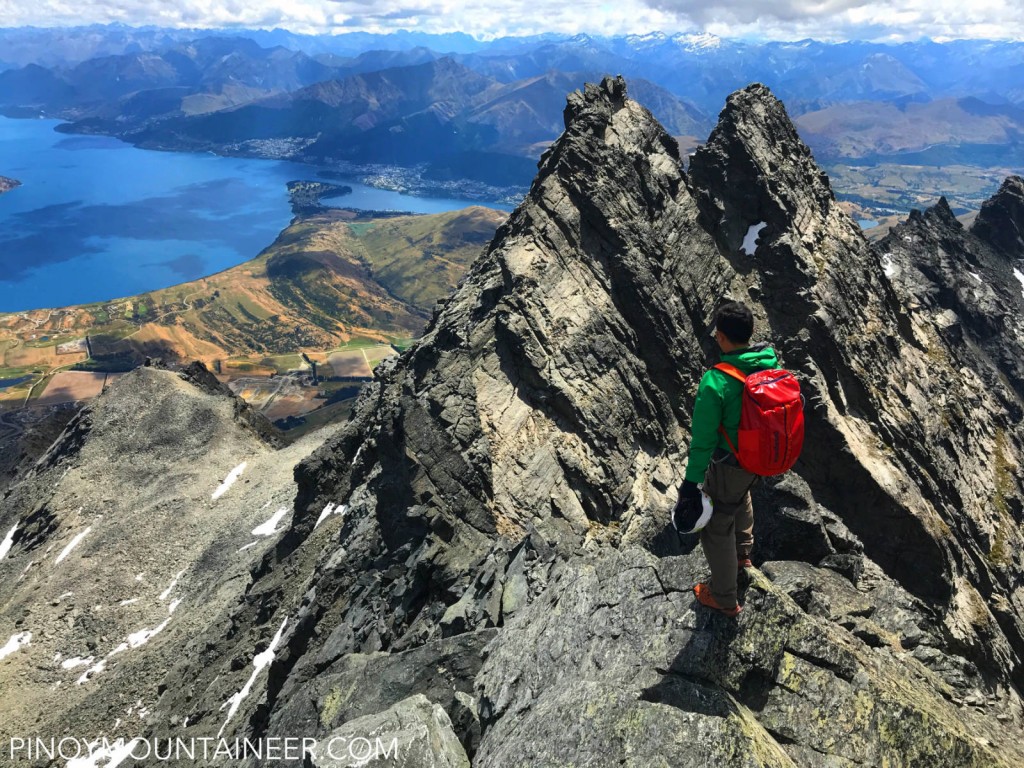
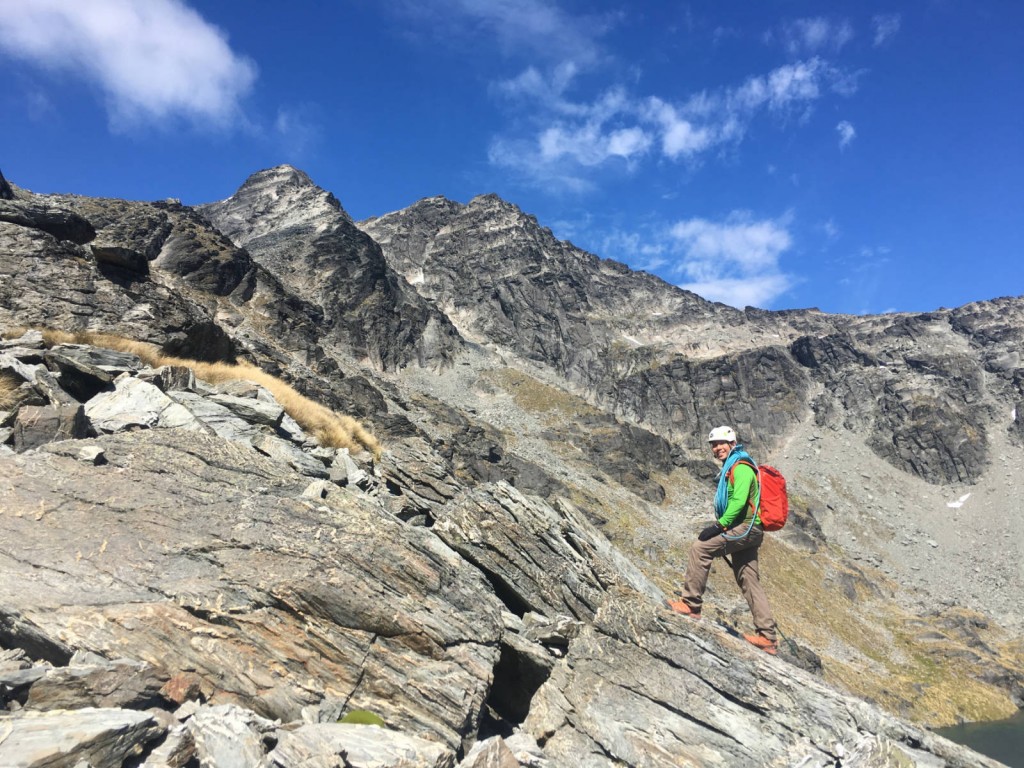
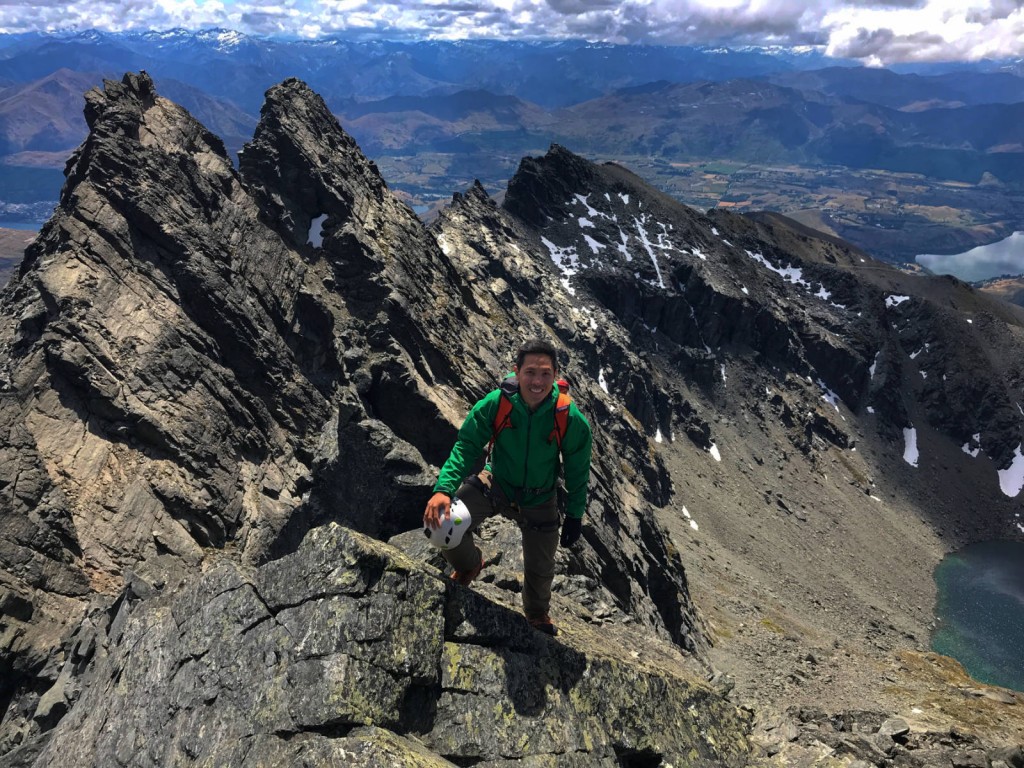
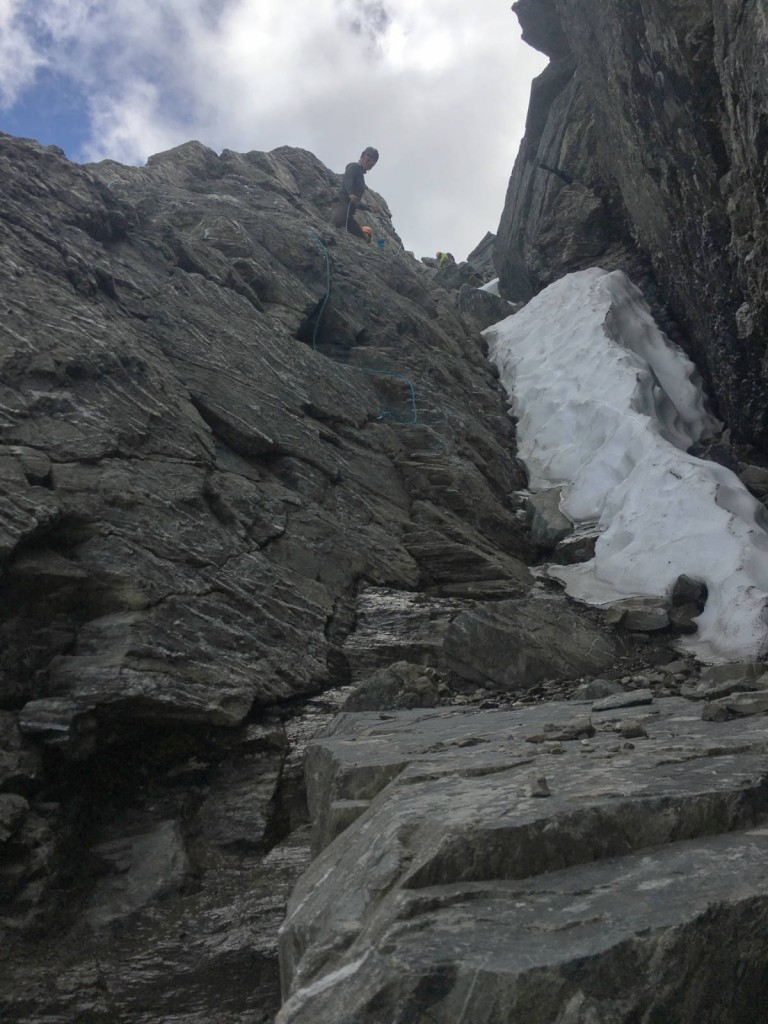
QUEENSTOWN – A day after Roy’s Peak Track we went up Single Cone (2318m), which we now consider to be the mountaineering highlight of our trip. This rock peak – the actual summit of the Remarkables range, required a multi-pitch climb after tramping and scrambling, and we had to bring ropes and climbing gear to do it, making it much more of a challenge (special mention to Pastor Noel Suministrado and Daryl Comagon for the advice).

SINGLE3
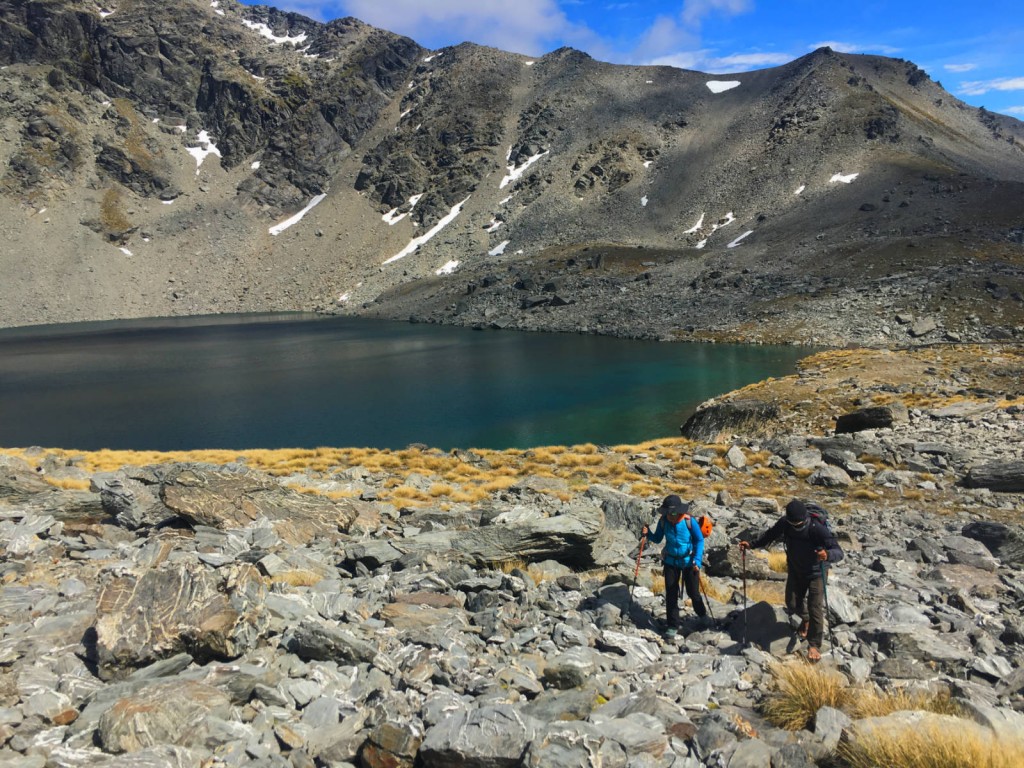
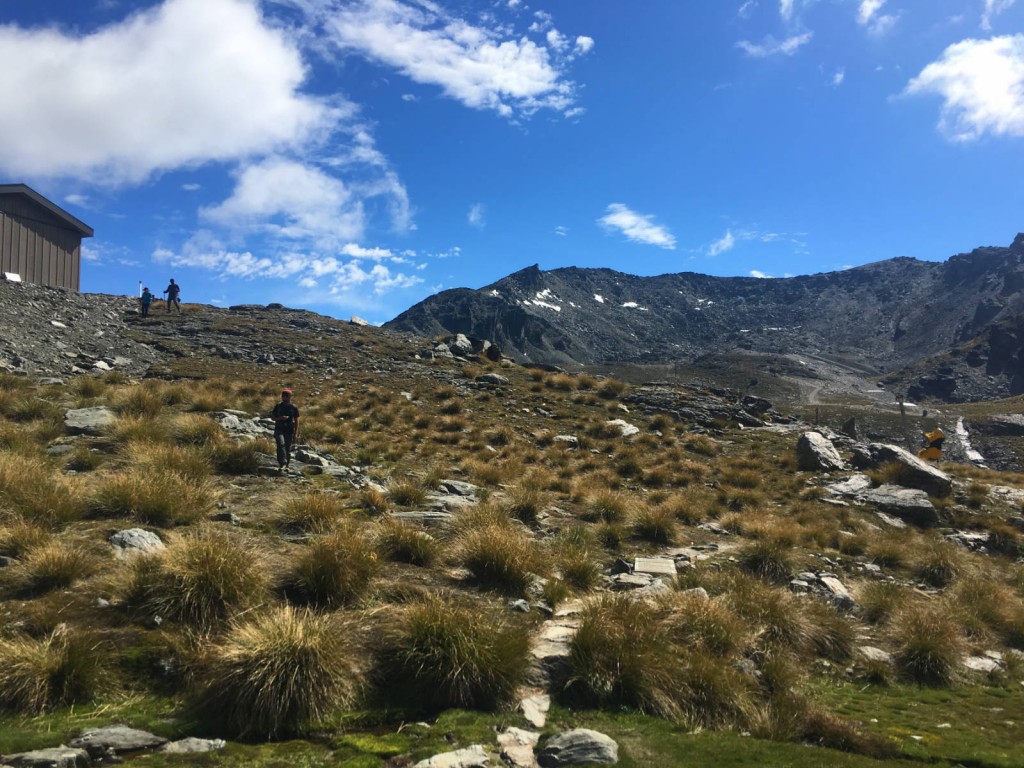
From our Airbnb in Queenstown we drove up to the Remarkable Ski Area, which is already over 1600 MASL and a scenic – if precarious – drive up a gravel road. The first leg involved a simple walk up to Lake Alta – filming location for Dimrill Dale in Lord of the Rings.
SINGLE6
The second, far more challenging leg, meanwhile, involved scrambling up to reach the base of Single Cone itself, via Wye Pass, which is just slightly below 2000m. This reminded me of the scree slopes in the Taiwanese high mountains. We proceeded south to reach the southeast ridge, and then scrambled up some slab of rocks.
SINGLE2

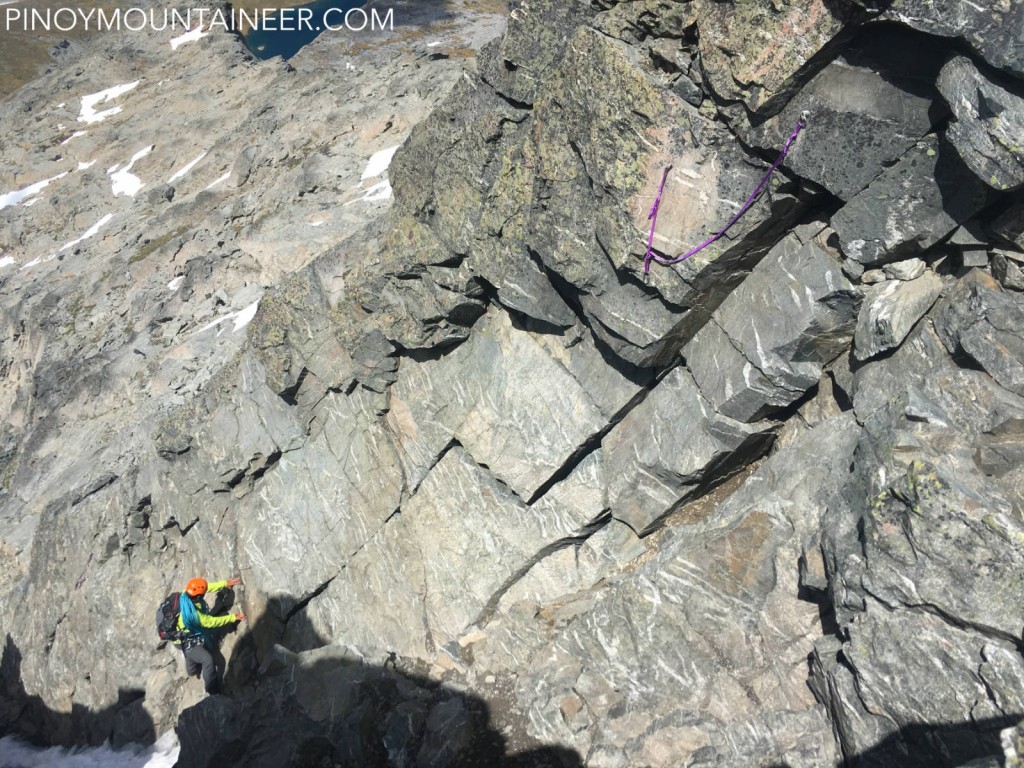
Finally, it was time for the multi-pitch climb. We settled for the standard approach, via the Southeast Face, which entailed negotiating our way up a chimney (YDS 4 to 5.2). Fortunately, much of the snow had receded and we were able to reach the summit – after much excitement – at around 1332H.
SINGLE8
The descent was just as tricky as the ascent, but after abseiling down the technical portion things got much easier and we managed to take some time off in Lake Alta before returning to the trailhead.
SINGLE7
What a great climb! Very thankful that we decided to push through and that the weather cooperated. Hopefully someday we’ll be experienced enough to attempt a traverse from Double Cone to Single Cone.

SINGLL5


The post Hiking matters #580: Climbing up Single Cone, summit of the Remarkables range in New Zealand appeared first on Pinoy Mountaineer.

Hiking matters #581: Hiking in Lindis Pass and Mt. John

$
0
0

lindis
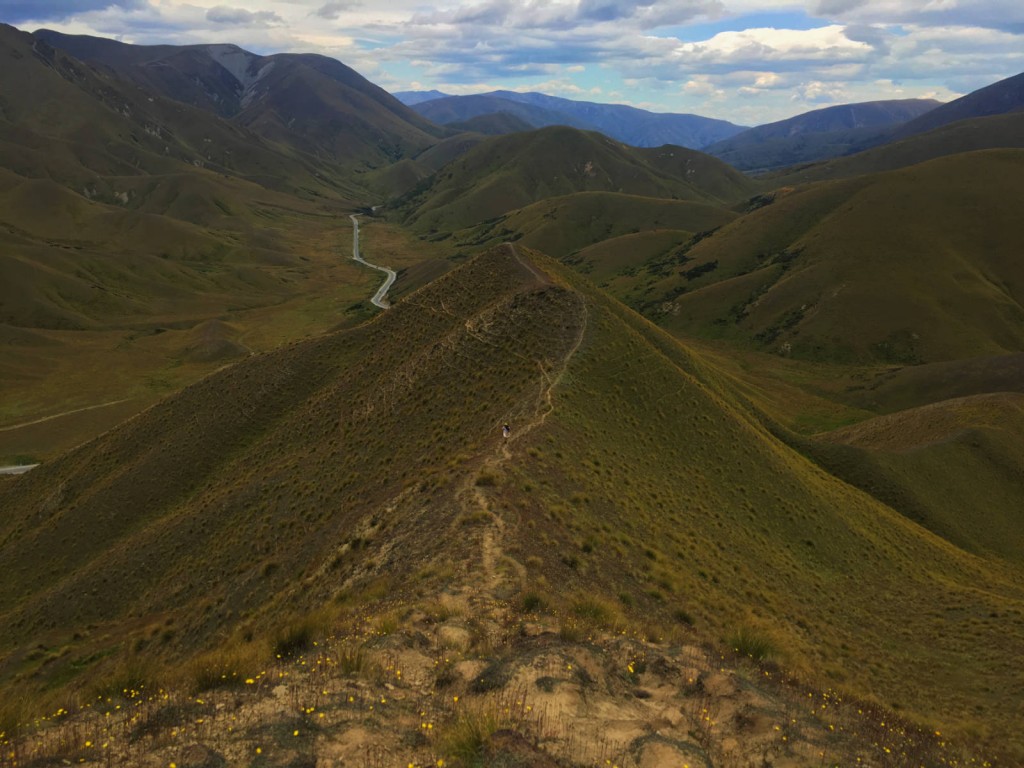
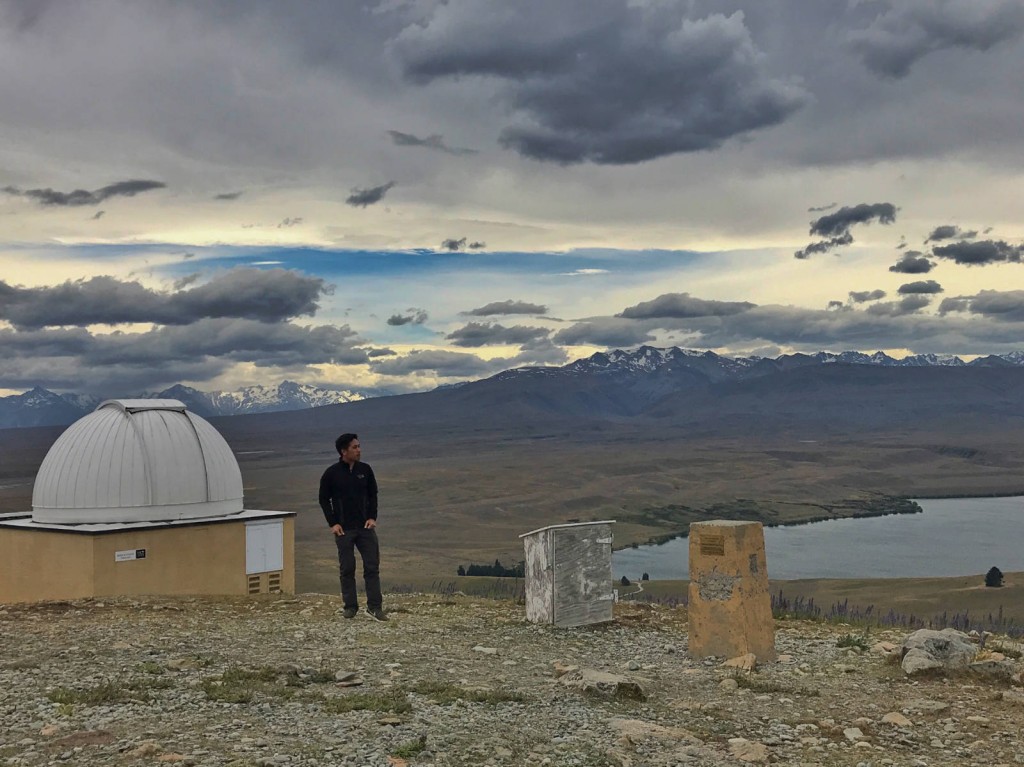
CHRISTCHURCH – From Queenstown we drove the 500-km stretch of roads to Christchurch but we took “hiking breaks” along the way, most notably a peak in Lindis Pass, and the Summit Circuit Track around Mt. John in Tekapo.
lindis2
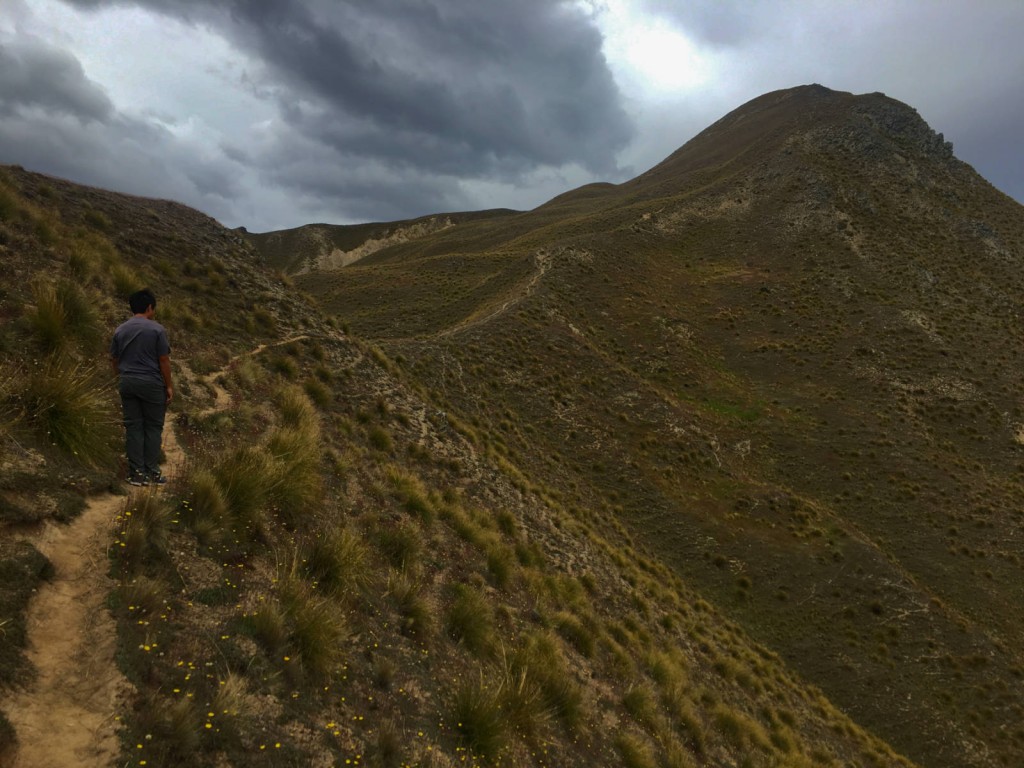
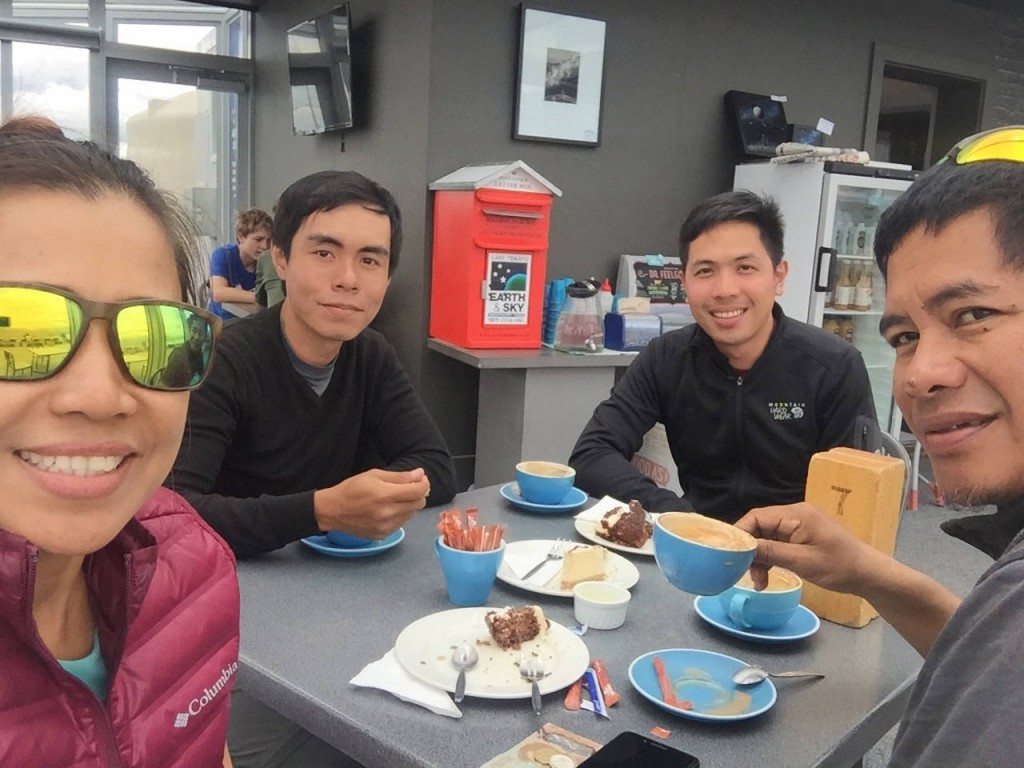
Lindis Pass was a scenic highland area which one can appreciate even just by driving through it: the snow tussock grassland is reminiscent of that of Mt. Pulag. Meanwhile, Mt. John is a beautiful viewpoint that offers stunning views of Lake Tekapo and the mountains of Mt. Cook National Park. The Astro Cafe was a good rest spot for us as we prepared to finish the long drive to Christchurch.
lindis 4
Overall I was very delighted with our tramping trip in New Zealand, and hopefully I can go back in the future to do some of South Island’s Great Walks, technical climbs, and alpine peaks. Thank you very much to Jeshua, Uncle Tom and Tita Jezebel Nalda for joining me in this unforgettable adventure!
IMG_9325

The post Hiking matters #581: Hiking in Lindis Pass and Mt. John appeared first on Pinoy Mountaineer.

Viewing all 610 articles
Browse latest View live