by Kevin Jason Manuel
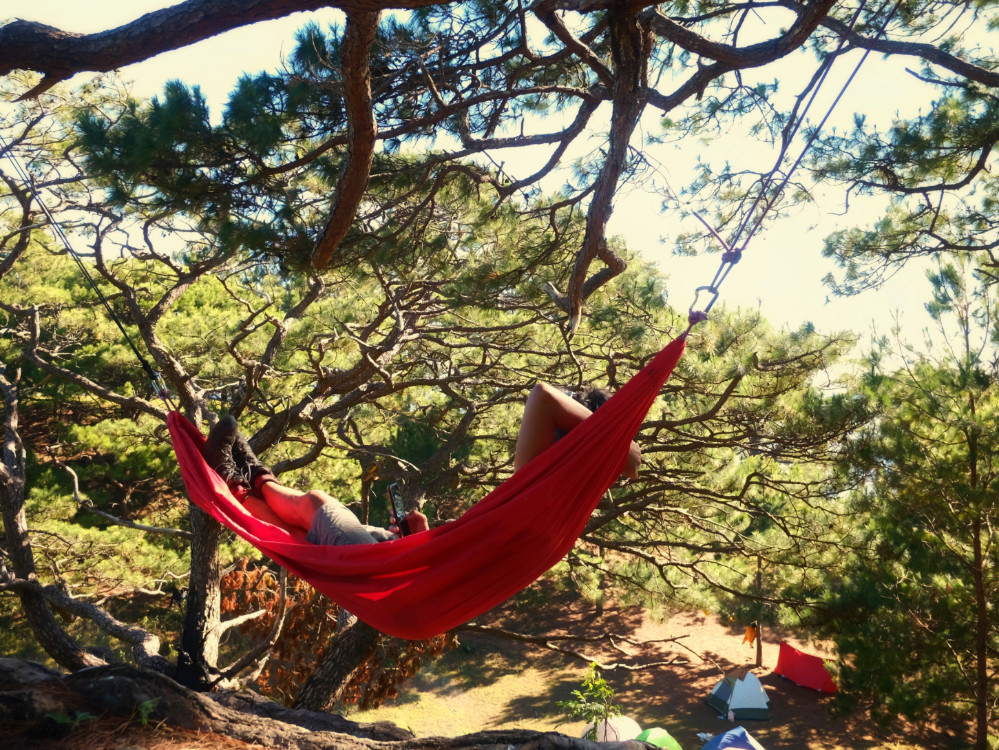
A hammock and tarp setup is awesome. They’re incredibly lightweight, take up very little space in your backpack, versatile, easy to set-up, and comfortable. Done right, you’ll sleep like a baby. The biggest advantage is that you’re off the ground. Less bugs, no rocks or roots or uneven surfaces to worry your back. You’re insulated from the cold earth, and when it rains, you won’t worry about water seeping through.
Of course, the main consideration to hammock-camping is the availability of trees or posts to tie your ropes to. We recommend asking around first if it’s going to be a problem. But as luck would have it, there are but a very few mountains where it’s absolutely impossible to hang a hammock from. In these situations, simply convert your tarp-hammock to a tarp-bivvy setup since your hammock easily doubles as a sleeping bag.
Important Notes:
Bring good lengths of rope. I use two 10-metre lengths of 6mm static rope. I’ve always got this with me, even if I’m not hanging. Rope is always a good thing as you get to practice ropemanship. “ropeman-whaaa?” I can hear the newbies say. Ropemanship–it’s the ancient art of tying knots and whatnot. A good knowledge of knots is critical as the last thing you’ll want is to come crashing down to the ground.
For starters, the four knots you’ll need to have intimate knowledge about are the prussik, tensionless hitch, tautline, and bowline. Between those four, you’re pretty much sold on what you need to do.
Also, having sturdy rope always available will help you in a variety of situations–from crossing rivers, to going down steep descents, to tying up your drunk buddies.
Having good lengths of rope will almost always ensure that you could pick a good location so your setup will have a shallow angle. The sharper or deeper the angle, the more uncomfortable you’ll be.
Think about your sleep system. An inflatable sleeping pad or insulation material is absolutely critical to stay warm in cold climates. Add a nice fleece jacket, thick socks, and maybe a thin inner sleeping bag. The layering will ensure a warm and cozy slumber.
Have a reliable tarp. I use a 10 by 10 feet tarp that’s been with me for nearly a decade. It’s got a reinforced ridge-line and multiple tie-outs which helps it withstand immense downpours of rain and strong winds. You could string it up multiple ways and all that room underneath it can be used for kitchen and cooking purposes.
Carabiners, or what i like to think of as “mountaineer’s bling-bling,” are a great way to keep rain from running from your hanging lines and on to your hammock. Of course you could simply fashion a drip line as well. But I like having a functional use for the carabiners I always bring along.
There are a few types of hammocks to choose from. Single-ply, double-ply, a cocoon-type, and one that’s got a bug net fitted. The only one I wouldn’t recommend are those made of inter-woven strings as they’re only good if you’re anticipating a night in hellish temperatures.
As with everything else in your gear, familiarise yourself on how to set it up properly. Take your time to study the best way to pitch your tarp, the angle of your setup, and adjustments that need to be done to seal you off from crazy-strong rain.
And believe me, once you start hanging, you’ll fall in love with it.
The post A beginner’s guide to hammock camping appeared first on Pinoy Mountaineer.
