Quantcast
Channel: Pinoy Mountaineer
Viewing all 610 articles
Browse latest View live

Hiking matters #592: Mt. Banahaw de Tayabas, the “other side” of Southern Tagalog’s highest peak

$
0
0

32459345_10204733551336013_8763658833642913792_n
Mt. Banahaw is a complex volcano with a U-shaped crater that faces south; on the West lies Unang Dungaw which is the terminal point of the Dolores Trail , on the North lies Ikatlong Dungaw of the Nagcarlan Trail, while on the East lies the summit of Mt. Banahaw de Tayabas – which is not currently connected to the rest of the crater rim, being separated by a 150-meter ravine from Ikatlong Dungaw. I first hiked Unang Dungaw in 2003 (see Hiking matters #59) and have come back in 2011 (see Hiking matters #168); I did Mt. Banahaw via the Nagcarlan side with Sky Biscocho in 2013 (see Hiking matters #364 ). Last weekend I was very happy that I had the opportunity to finally complete the rim by going on a two-day hike up Mt. Banahaw de Tayabas.
32389457_10204733537415665_318064211127173120_n
Mt. Banahaw remains technically closed but the more accurate term is “restricted”; permits can actually availed of from the Protected Area Office of the Mts. Banahaw-San Cristobal Protected Landscape. Once a request is made and approved, the permit is directly transmitted to the guides themselves to make sure that no counterfeit permits are honoured (Our hike was issued Permit No. 2018-028 issued May 7, 2018). There is actually a guide association in Tayabas, and this small-scale hiking, with just one group permitted at a time, is a good way to make sure that the ‘Holy Mountain’ is protected from the abuse it endured in the past.
32477298_10204733533855576_8745839095936188416_n
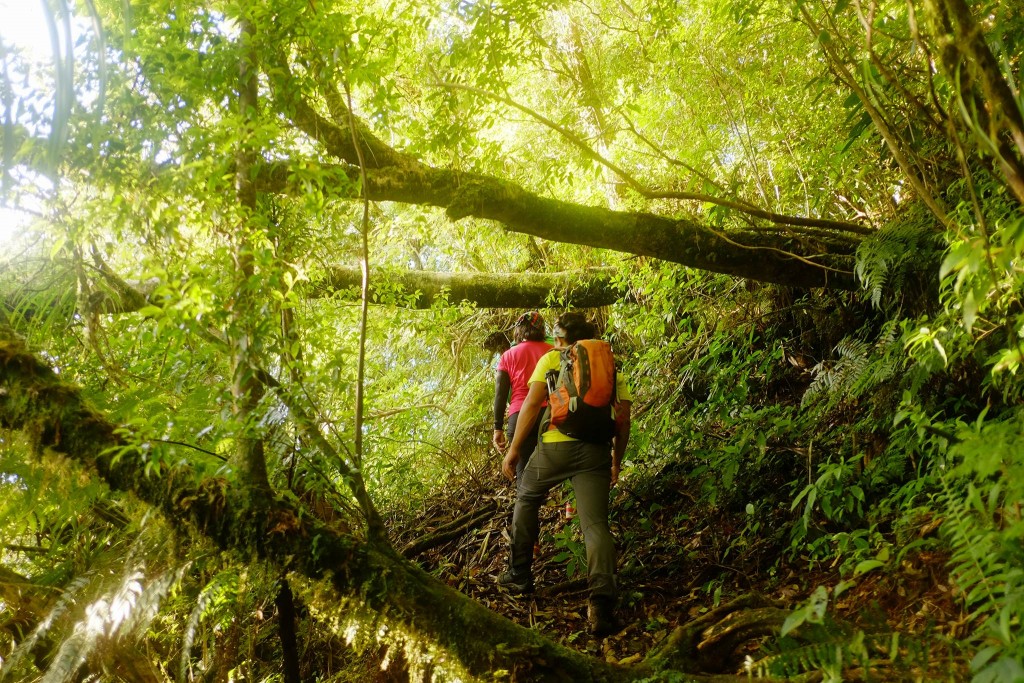
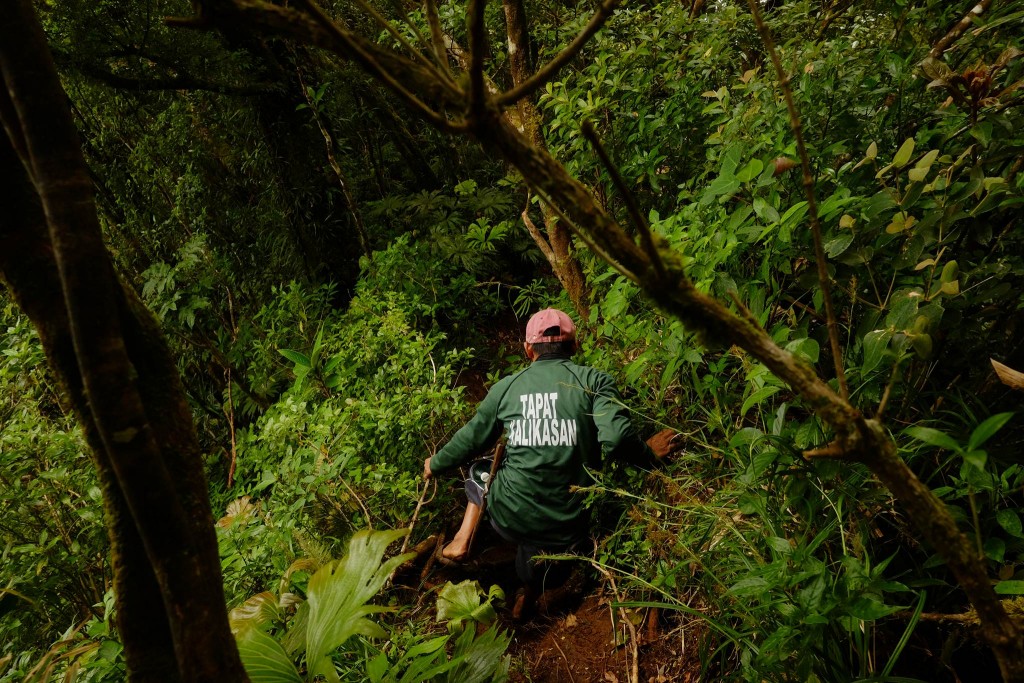
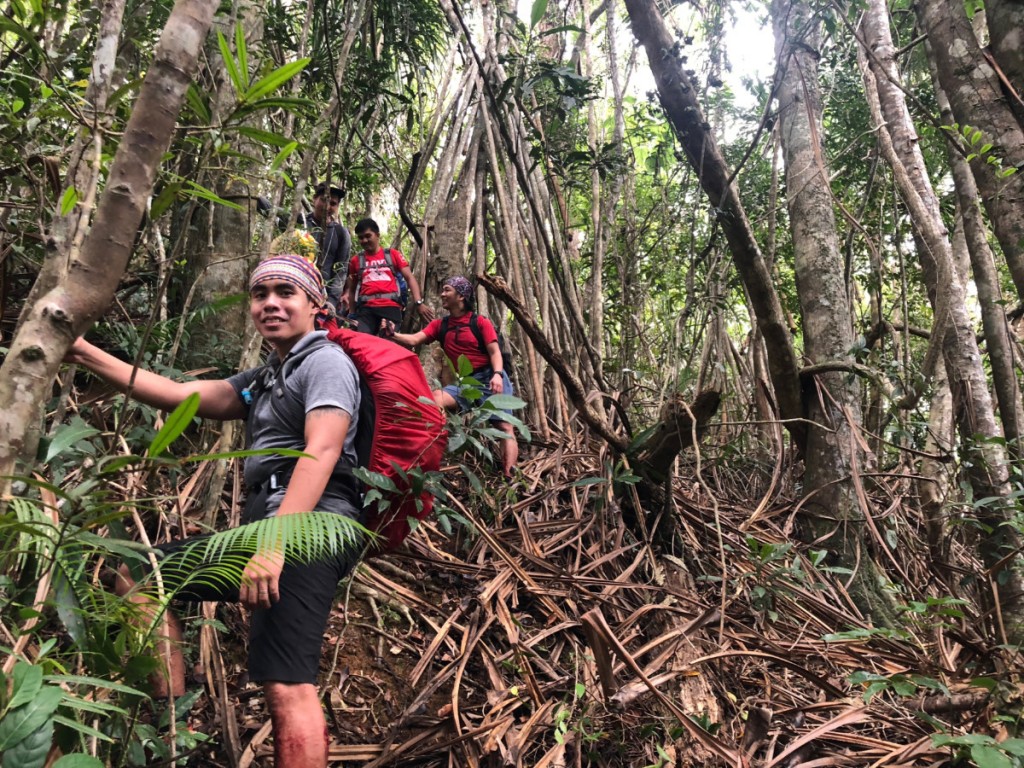
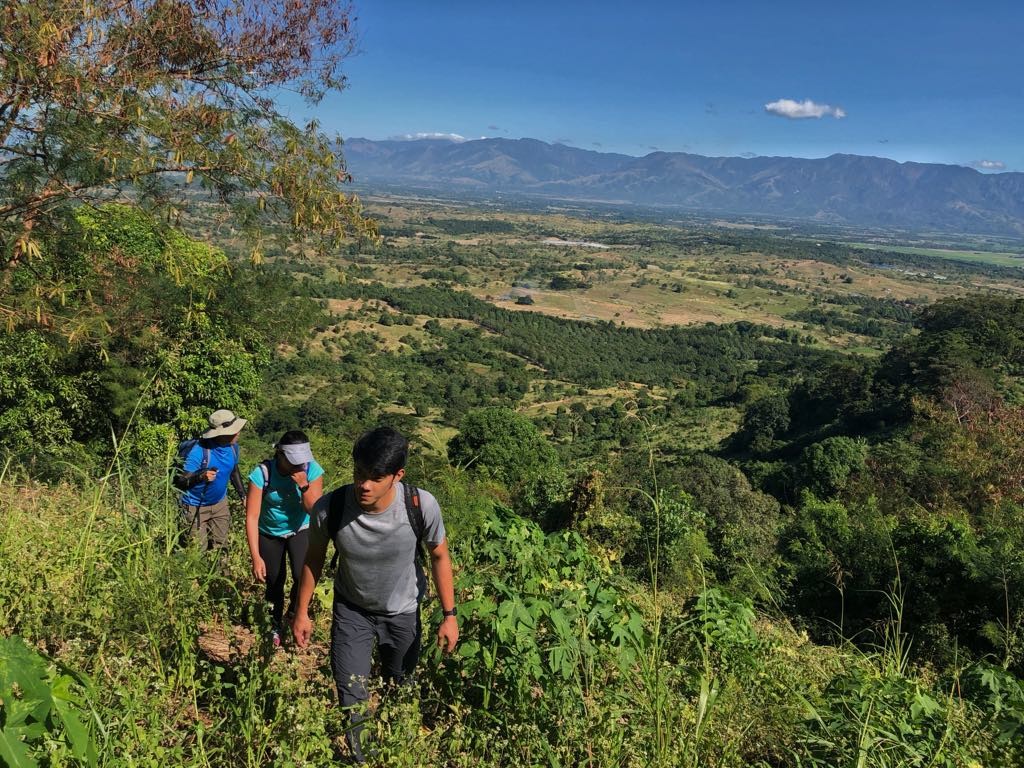
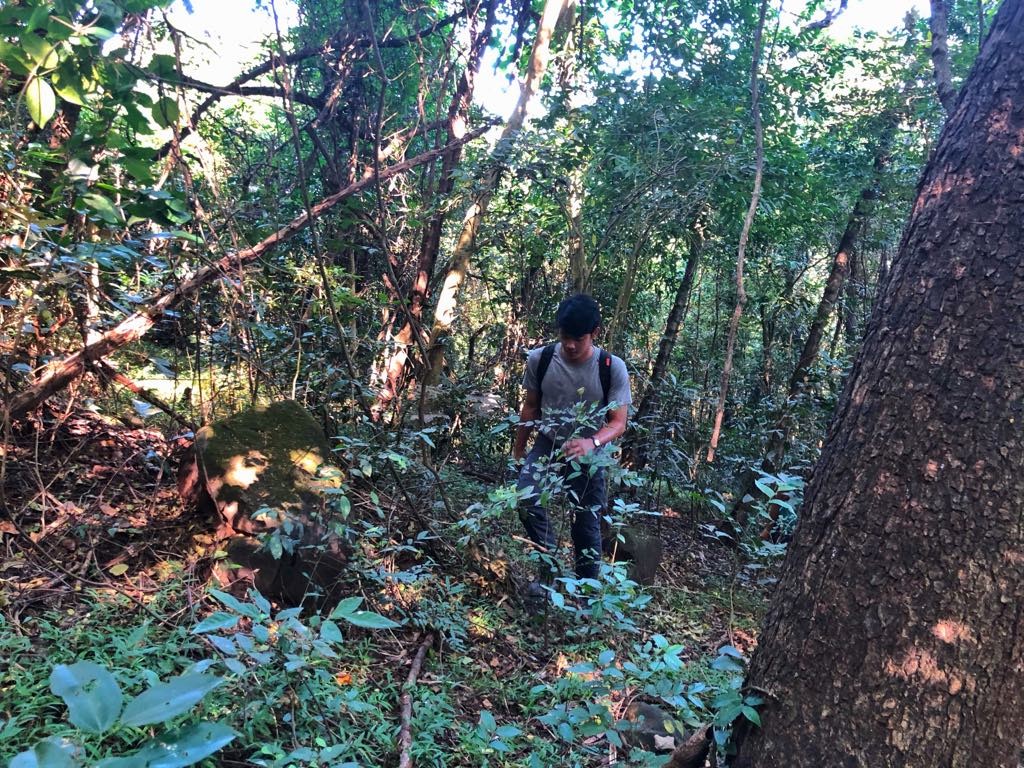
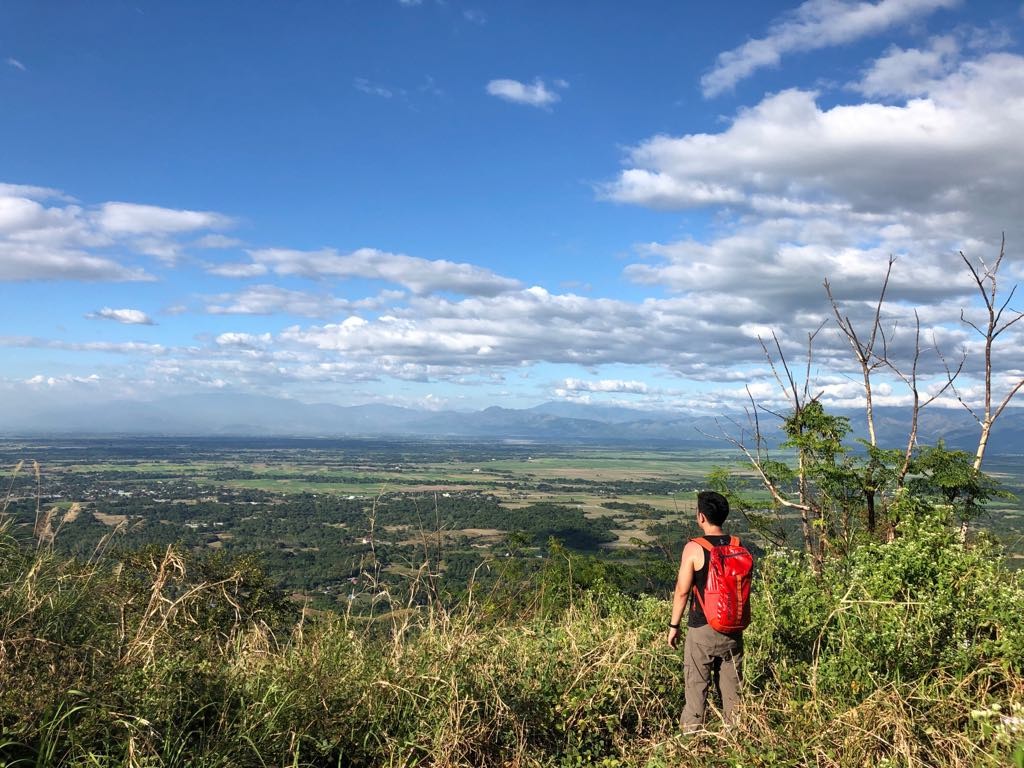
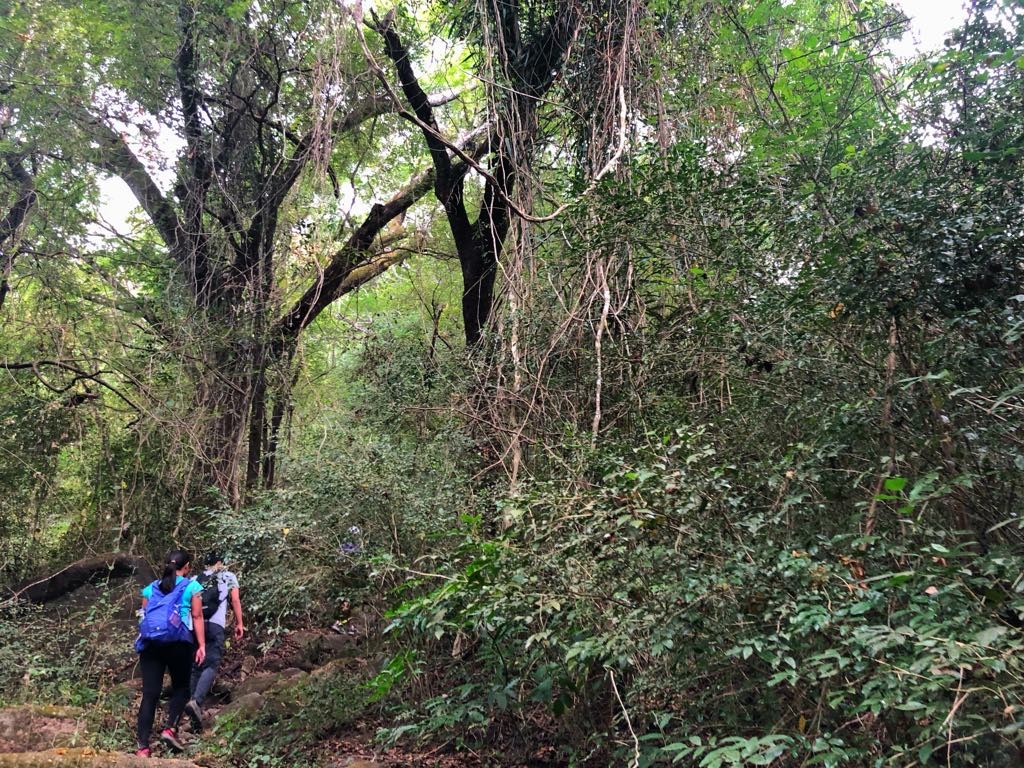
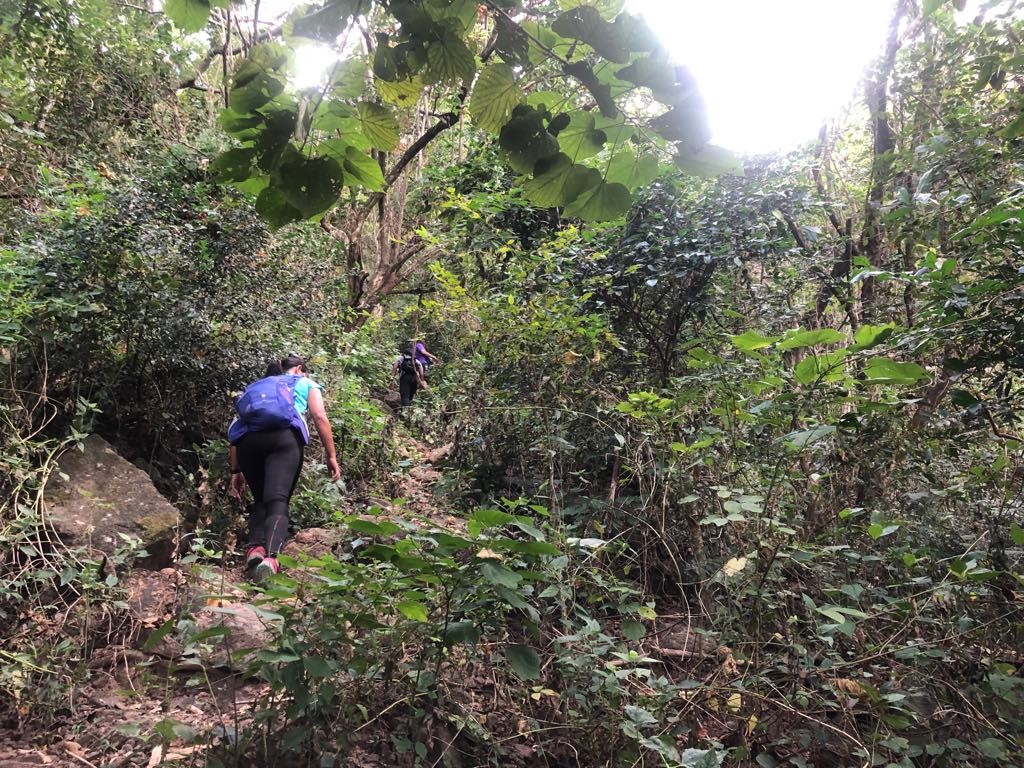
The trailhead of Mt. Banahaw de Tayabas is in Brgy. Lalo, Tayabas which is a little bit off the road from Lucena to Lucban. The barangay hall itself counts as the registration area and starting-off point. A community trail leads to Camp 1, taking about an hour or so; the real hike begins here, with almost a thousand meters of altitude gain required to reach Camp 2, which is around 1400 MASL. Although steep at times, however, the trail was very manageable, with minimal (if any) rattan and limatik; the trees were very typical of Banahaw and nearby mountains- and therefore beautiful; the cicadas had a distinct, engine-like sound. We set up camp in Camp 2, which has a nearby water source (there are no other water sources past Camp 1).

32313184_10204733519695222_4425870872615583744_n

Banahaw de Tayabas 2
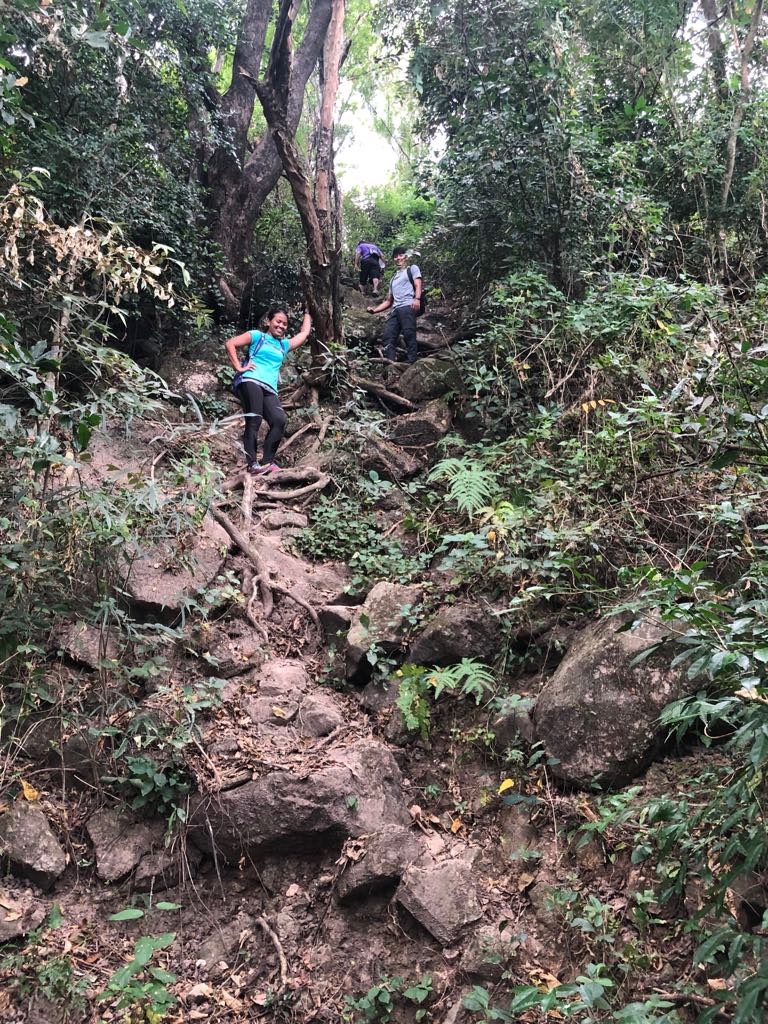
The next day we started the summit assault at 0445H. At times Talomo-like when it comes to its acrobatics-inducing trail, it was actually still a very manageable trail, albeit long: It took us a good three hours to reach the summit (2085 MASL). The highlight of the way up was a view of Mt. Banahaw de Lucban ( 14° 4’33.49″N, 121°30’48.67″E, 1875 MASL) which is actually accessible from the same trail we took to Camp 2 (the saddle between BDL and BDT is 1500 MASL).

32312922_10204733513815075_5656036298889101312_n

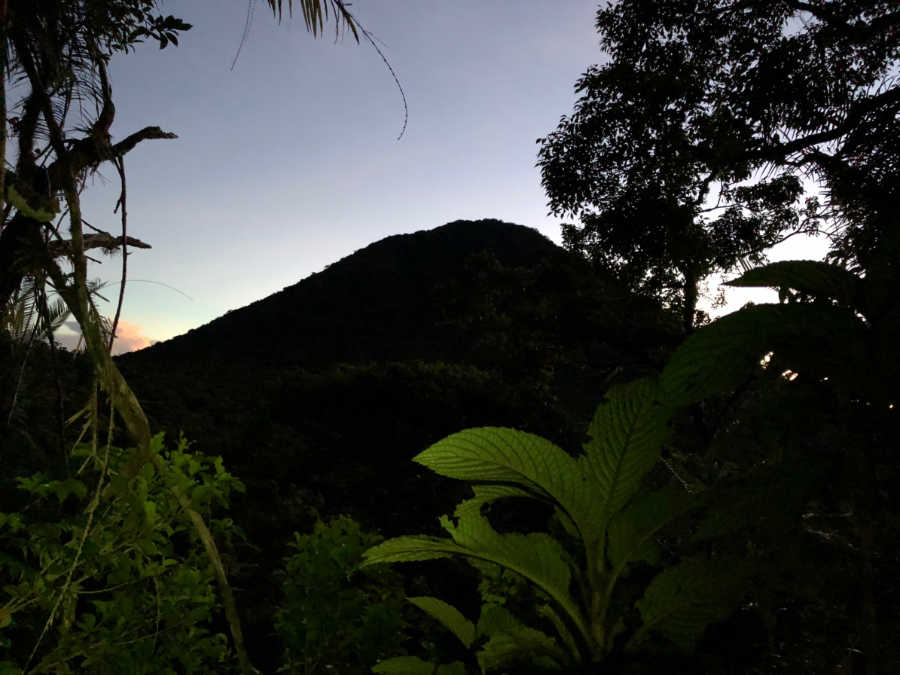
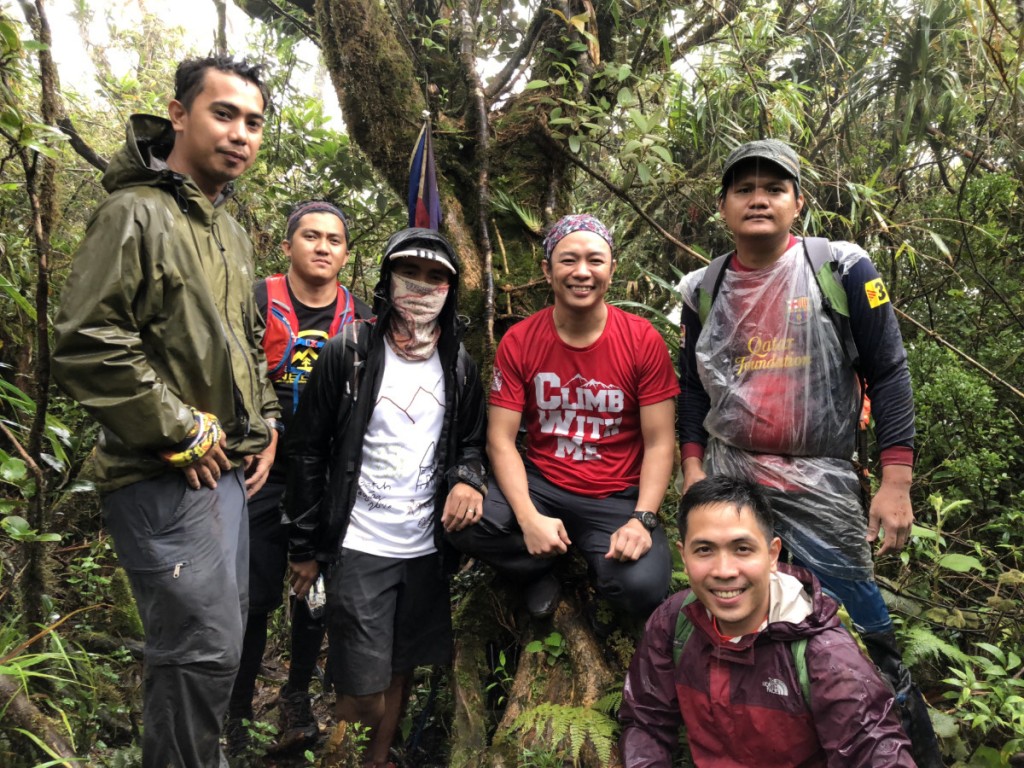
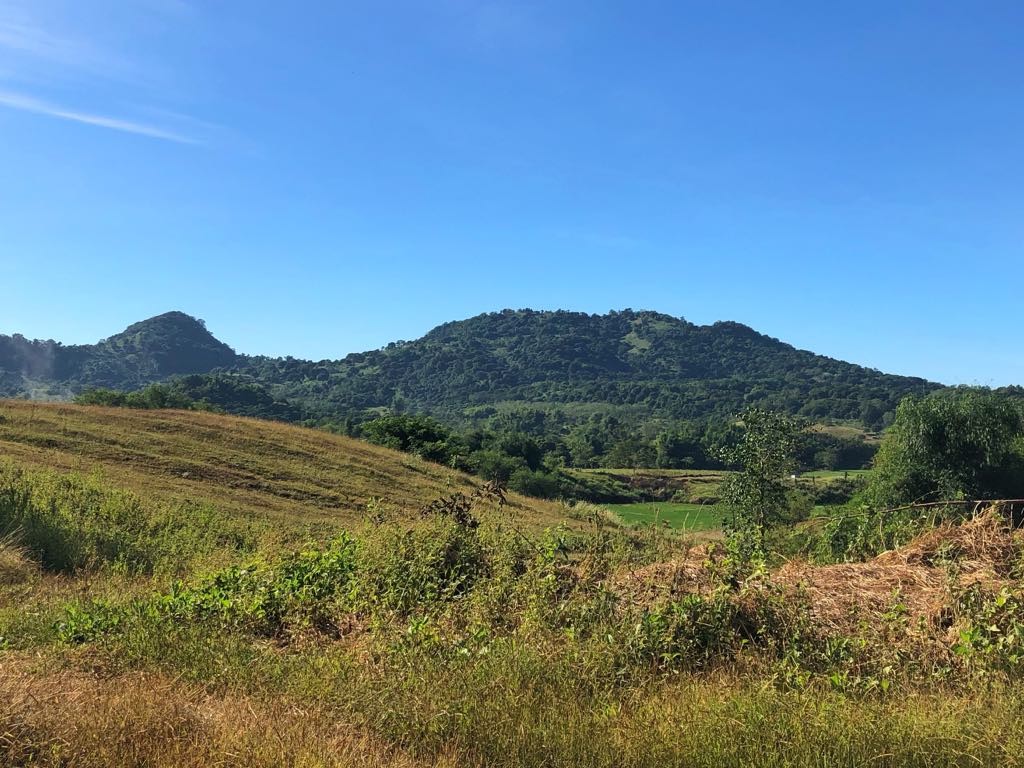
The summit was mostly forested, which speaks of the fact that this is really the ‘far side’ of Banahaw. Even so there were some viewpoints where we had a glimpse of the rest of Banahaw’s crater rim: from Unang Dungaw on the left and Ikatlong Dungaw on the right (and in front) of us. What a wonderful sight!

Banahaw de Tayabas 1

The descent was straightforward, but still long, taking us around five hours from the summit – a descent interrupted by a hearty campsite brunch at Camp 2, and a buko juice stop at Camp 1. Thank you to everyone who joined the trip! Special mention to Kevin for the photos, Pat Labitoria and family for the breakfast in Sariaya, and 18-time Halcon climber Cynthia Sy for the post-climb treat! Thank you also to Vinci, Tin, Coby, Niel for completing the team!

Banahaw de Tayabas 3

Note: To secure permits contact the the Office of the DENR-PASU (Mts. Banahaw-San Cristobal Protected Landscape) in Pagbilao, Quezon. 

The post Hiking matters #592: Mt. Banahaw de Tayabas, the “other side” of Southern Tagalog’s highest peak appeared first on Pinoy Mountaineer.


Pinoy Mountaineer’s position on closed mountains: NO to illegal or ‘backdoor’ hikes

$
0
0

Pinoy Mountaineer strongly discourages hikers from violating pertinent laws and climbing closed or restricted mountains without the necessary permits or consent from the relevant authorities. Organisers are especially called upon to refrain from holding hikes on the above-mentioned venues and in doing so set a very bad example for beginners. Participants are likewise responsible for their decisions, and are also called upon to refrain from joining ‘backdoor’ hikes. Contrary to what some might think, going on ‘backdoor hikes’ is not cool and does not make you a better mountaineer.

Aside from being unlawful which is a reason in itself not to do it, illegal or ‘backdoor’ hikes are detrimental for a number of reasons. First, while we find some closure orders unreasonable, many “closures” are made for safety or security reasons, and to violate them is to go into harm’s way. We saw this in Mayon Volcano several years ago when some hikers died due to a sudden eruption.

Secondly, a mountain’s being closed means that there are no systems in place to attempt rescues, in the event of emergencies. This will further compromise the safety of the participants of such hikes.

Thirdly and crucially, violators carry the name not just of themselves or their group, but of the whole mountaineering community. Backdoor hikers compromise the good name of all mountaineers and are called upon to consider their fellow outdoorsmen in their decision-making.

Some common justifications of backdoor hikes are cynical (i.e. “They’re closing the mountains because they want to hide illegal activities”) or legalistic (i.e. “But we got a permit from the barangay!”). None of these are acceptable. For protected areas, the DENR has jurisdiction, while for certain volcanoes PHIVOLCS’ Alert Level warnings are also considered by the DENR. Consent at the barangay or even municipal level does not remove the legal liabilities of hikers who violate rules.

On a positive note, hikers should bear in mind that there are hundreds of hiking destinations in the Philippines that can be hiked without running afoul of the law. Moreover, there are ways to do hikes legally, including seeking a permit from the park authorities. If your dream mountain is closed at the moment, waiting for it to be opened will require patience – but will also make for a rewarding hike in the end. Always remember that a sense of respect – for the mountains, for the authorities, for community members, and for your fellow hikers: such is the truest mark of a mountaineer.

The post Pinoy Mountaineer’s position on closed mountains: NO to illegal or ‘backdoor’ hikes appeared first on Pinoy Mountaineer.

Hiking matters #593: Mt. Agua Colonia and Bato Dungok in Alimodian, Iloilo

$
0
0

Agua Colonia 3
ILOILO CITY – if a perfect dayhike means a very nice trail and a scenic peak, comfortable to do within a day, but hard enough to provide a worthwhile challenge, then a great candidate is Mt. Agua Colonia in Alimodian, Iloilo. Rising to a respectable elevation of over 1300 MASL east of the same mountain range in Central Panay that features the great mountains of Antique, Agua Colonia boasts of a pinnacle rock that rivals the scenic beauty of Pico de Loro’s Monolith, while its trails are unsurprisingly reminiscent of Madjaas and Nangtud. Yesterday (May 19, 2018) I had the chance to climb this mountain together with my Baloy Dako companions Limuel Lajo, Jonathan Sulit, Kevin Jaoud; Vincent Tambanillo of Talahib ECO Trekkers, and some Alimodidn-based hikers led by Rey Angcahas, who served as our guide.

Agua Colonia 5
To get to Mt. Agua Colonia one takes a jeepney from Iloilo to Alimodian (P30), then a habal-habal from Alimodian to Brgy. Lico (P300 roundtrip/person at 2 passengers/habal). From the trailhead, the hike involves entering some woodlands, a very large, sloping campsite with a view of Guimaras, and then a dense jungle that, delightfully, is still teeming with wildlife – cacophony and all! My companions, all of whom have hiked the mountain before, say that hornbills and monkeys have been spotted in the mountain.
Agua COlonia 2
After over two hours of hiking – the last kilometre of which involved rock scrambling – we reached Mt. Agua Colonia, the official ‘summit’ of the hiking destination (although technically speaking it’s hard to tell which si the real highest point since it’s part of a range). According to local lore, the flowers atop this mountain once gave off a scent so sweet that it actually reached the surrounding communities. From Agua Colonia, the other mountains in Iloilo could be seen, including Mt. Napulak.
Agua Colonia 6
It takes just 10 minutes, in Maktrav-like riding fashion, to reach the ‘Puting Bato’ or the viewpoint overlooking Bato Dungok (slouched rock), the visual highlight of the hike. The hikers say seeing it without fog and clouds is a rarity, but fortune was on our side and we were given a window of opportunity to enjoy the scenery. We also enjoyed the sweet spring water of Agua Colonia from a nearby water source: it is must-try for those hiking up the mountain!
Agua Colonia 8
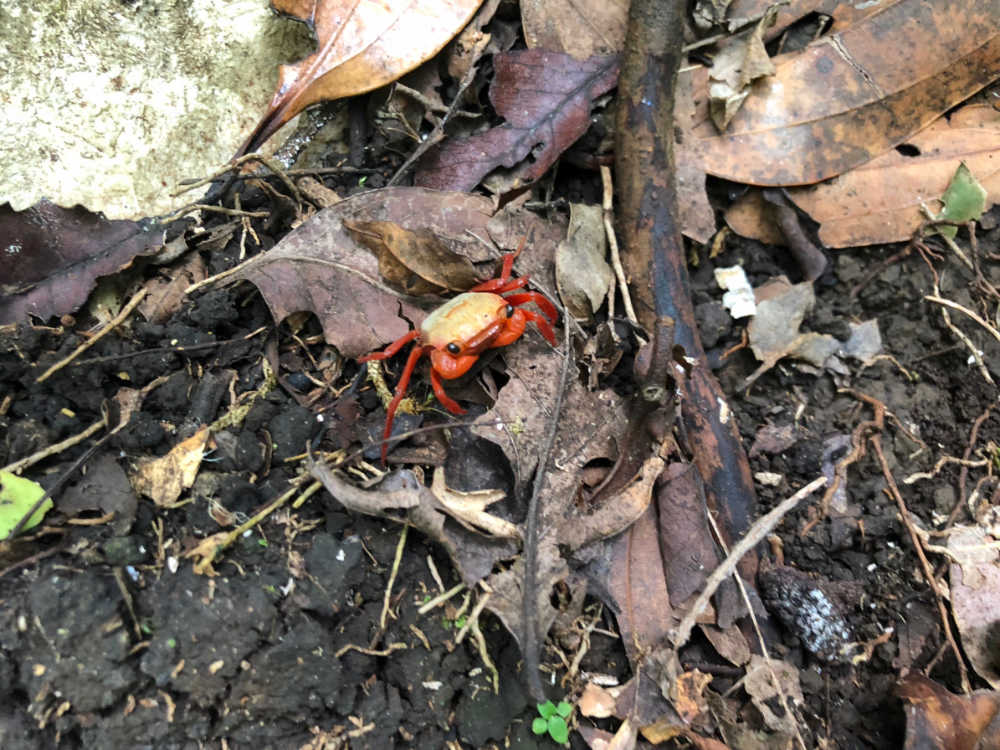
From Bato Dungok, a separate, gentler trail loops back to the original one, and the descent took us just two hours – including a picnic-esque stop at the large campsite. There were numerous small crabs along the trail – another proof of the mountain’s ecological richness. Late lunch of nilagpang na manok greeted us on the trailhead, capping off a wonder day of hiking. Thank you to everyone who joined the hike, and friendly locals at Brgy. Lico! With numerous mountains in Panay, I am already looking forward to the next hike here.
Agua Colonia 7

The post Hiking matters #593: Mt. Agua Colonia and Bato Dungok in Alimodian, Iloilo appeared first on Pinoy Mountaineer.

Hiking matters #594: Once again, an Akiki-Ambangeg dayhike of Mt. Pulag

$
0
0

IMG_2750
Two and a half years after doing an Akiki-Ambangeg dayhike of Mt. Pulag (see Hiking matters #441), I returned to do the same thing, this time with a different set of friends and colleagues. The trail has actually been open for several weeks now but no one really goes up because the campsites are still closed in the wake of the recent fire.

IMG_2756

We left Baguio City at 0430H, and although we were at the Akiki Ranger Station by 0706H, the formalities and bureaucratic procedures (they are still demanding medical certificates!) took a while; it was already 0752H when we got to finally hike. Fortunately, however, the weather was nice – it had been raining for the previous two days but we had sunshine and an auspicious view of Pulag’s summit!

Snapseed 2

The Akiki-Ambangeg dayhike, of course, is a formidable trek that involves a good 1700 meters of altitude gain. I recommend training in easier hikes (e.g. MakTrav) and doing equivalent hikes in lower altitudes (e.g Tapulao dayhike) before attempting it.

IMG_2774

Our group hiked at a more relaxed pace as compared to my previous team of Koi Grey et al – and it was already 0922H when we reached the Eddet River – or a full 1.5 hours. From Eddet, a steep hike leads to the “Marlboro campsite” (I think we should replace the Marlboro name at some point) at 1200H. We had a quick lunch there. This campsite is the site of many good memories: I camped there during our Akiki-Tawangan Traverse way back in 2013 (see Hiking matters #337-338).

IMG_2815

IMG_2828 2

Resuming the trek at 1230H, we emerged from the mossy forest and reached the grassland at 1430H. From here, it was a 75-minute hike up the summit, which we reached at 1545H. Along the way we saw the extent of the grassland fire – and was glad to see that grass, including the dwarf bamboo, are regrowing in those parts.

IMG_2844

It rained heavily at that point and we had to do a nonstop march to the Ambangeg Ranger Station, which we reached at 1809H. Total time was 10 hours and 18 minutes – compared to the previous 8 hours 30 minutes. Still, it was thoroughly enjoyable and I’ll gladly do the Akiki-Ambangeg dayhike again! Congrats and thanks to everyone who joined me: my LSHTM colleague Maureen and her husband Roland; Pam, Jon, Ivan, Ed, and my brod John. Till next time!

IMG_2839

The post Hiking matters #594: Once again, an Akiki-Ambangeg dayhike of Mt. Pulag appeared first on Pinoy Mountaineer.

Letter to a young mountaineer, XIII: Never let go of the mountains of your life

$
0
0

Agua Colonia 3
You used to be the youngest, and perhaps the strongest and fastest in your group. But now, you are not so young anymore, and perhaps not as strong or fast as you used to be.

You used to have all the time in the world. But now, you feel the opportunities to climb  mountains are getting fewer and farther between. You used to climb a mountain every weekend, but nowadays there are Saturday mornings when you are too tired from work and all you want is to stay in bed. When you realise how much has changed in your (outdoor)  life, you feel dejected. And when you realise how much has changed in your friends’ own lives to a point that you no longer get to climb together, you feel even more so.

Growing old is as inevitable as the sun rising at the summit of Mt. Pulag, or the winds blowing at the campsite of Tarak Ridge. It is part of life. As you age, priorities change, both yours and of the people you hike with. When there’s a conflict between your career and your climbing, the latter will take a back seat, because you have to earn a living. Perhaps when you were a student you used to joke that “hiking shouldn’t get in the way of my schooling”, but you eventually realise that it is easier said than done.

There are two opposite responses to this conundrum. The first is to abandon the outdoors, never to come back . This path is paved by excuses –  I’m not prepared; I no longer have hiking shoes; I’m too busy – and these excuses feed into each other: You are not fit because you do not hike; you do not hike because. you are not fit. As people climb higher their so-called ‘career ladders’, they stop climbing mountains. If work is not a problem, then family responsibilities get in the way. And when there is actually an opportunity to climb mountains, the will to wake up and pack one’s bags is nowhere to be found.

The second is embrace the outdoors at the expense of your career. A year off leads to two; an extended leave leads to resignation. For some, the reason to abandon work is spurred by a genuine and understandable distaste for the working’ life, especially when you find yourself in a position where there are limited benefits: very few days of vacation leaves – and very few bosses who understand the need for employees to take a break – and find a life outside of their careers. For others, the will is to work is not simply there; perhaps they have problems in school or work; perhaps there is also the hope that the outdoors can be a source of living. There are many reasons for people to shun employment, and we cannot easily judge them.

The challenge for you, however, is to avoid the extreme of abandoning either your career or the outdoors.

In the first place, don’t romanticise as the outdoors as an escape from your life’s problems. The mountains may be a source of wisdom and inspiration, but they cannot give you the answers to the tests and trials in your life. The mountains may be a worthy pursuit, but they cannot be an excuse to hide from your responsibilties, whether in school, at work, or at home. Yes, we can turn to the outdoors during times of emotional turmoil. And yes, we can draw energy from the trail, inspiration from the summit, and peace from spending a night or two in the  campsite. Even so, if you have life problems,  confront them as you would a difficult route: Not by running away, but by preparing, analysing, and putting your skill and experience to good use.

But at the same time, don’t sacrifice the outdoors in pursuit of your career. You can always find time for the mountains. Maybe not as much as you used to be. Maybe you have to choose an easy hike instead of a difficult one. But if you have the will, there is always a way. Instead of thinking of the outdoors as an obstacle to your rest, think of it as rest itself, maybe not physically, but certainly mentally. If your work doesn’t allow you to spend even one day in a month to hike, then maybe you need to find another job. Or perhaps you need to improve your skills so you’re more efficient in doing your tasks.

Sometimes, it is also a matter of mindset. Perhaps when you were a student, you thought you can do a lot of ‘extra-curricular activities’, which include going to the outdoors. But somehow when you started working, you took on your job as your sole identity. But please rethink this notion that when you’re an ‘engineer’, you’re just an engineer, or when you’re an analyst, you’re just an analyst. Strive to be singular in your uniqueness, but plural in the things that you do.  Don’t let yourself be defined by your work. Remember: A good employer will value the happiness of their employees – and thus allow them to climb mountains. As long as do your best, and show your worth, I’m sure you will find superiors who support your passions.

Of course, if you do go outdoors, make sure you honour your indoor commitments. Don’t skip work just because you saw another mountain to climb – and decided to extend your leave (or, if you’re a student, skip classes). If you say you will be back on Monday morning, be back on Monday morning. Don’t give yourself – and your fellow mountaineers – a bad name by being derelict in your duties.

The middle way is to strive doing your best in both your work and your recreation, that is, by loving what you do, and doing what you love. Put the same passion you have for the peaks to your work, and you will be a good employee. Put the same hardwork and discipline you have for your work to your hikes, and you will be a better climber.

One other thing you may perceive as an obstacle is your family, especially when you have children. But this, too, is not really a problem because you can always bring your family to the outdoors; I can think of no better activity. If you are in a relationship, the mountains shouldn’t get in the way: they can either be venues for togetherness – or giving space to one another’s personal pursuits. And when you do have kids, take them to your first peaks and share with them the gift of adventure, which is one of the best gifts a parent can give their child. Take them camping, make them fall in love with nature and give them memories that will last a lifetime.

Finally, as you grow older, you should also realise that there are many ways to appreciate the mountains. Sometimes, you can climb them, but sometimes you can just admire them from a distance. That’s okay. Sometimes you can climb all the way to the peak, sometimes you can just go part of the way. That, too, is okay: the newbie thinks of nothing but the summit, but the veteran seeks first and foremost the trail. Patience is the virtue that allows you to look at a beautiful peak and say: “There will be a next time”. As a mountaineer, more than speed or strength, you must have patience.

Another way to pursue the outdoors as you grow older is to help the younger ones. Share your knowledge. Share your resources. Share your gear – they are best used, not stored! And yes, share your passion! By mentoring other people to reach for the mountains of their dreams; by inspiring them to protect nature, you are helping make sure that the same mountains that have given you so much joy in your life will still be around for the generations to come.

And so when you feel the years weighing down your spirit like a heavy backpack, my advice is: Never let go of the mountains of your life! Keep going back to them, and I promise you that like the best of friends, they will never let you down.

Mexico City
July 12, 2018


LETTERS TO A YOUNG MOUNTAINEER
Personal essays by Gideon Lasco
I: A letter to a young mountaineer
II: Why do accidents happen?
III: Of doing and loving
IV: A difficult situation
V: Wise words from an old man
VI: The Philippines that I love
VII: The calling
VIII: The girl who climbs mountains
IX: A mountaineer’s legacy
X: What beginners can teach us
XI: The friends inside your backpack
XII: Unfollowing one’s self in social media
XIII: Never let go of the mountains of your life

The post Letter to a young mountaineer, XIII: Never let go of the mountains of your life appeared first on Pinoy Mountaineer.

Letter to a young mountaineer, XIV: Before you climb abroad

$
0
0

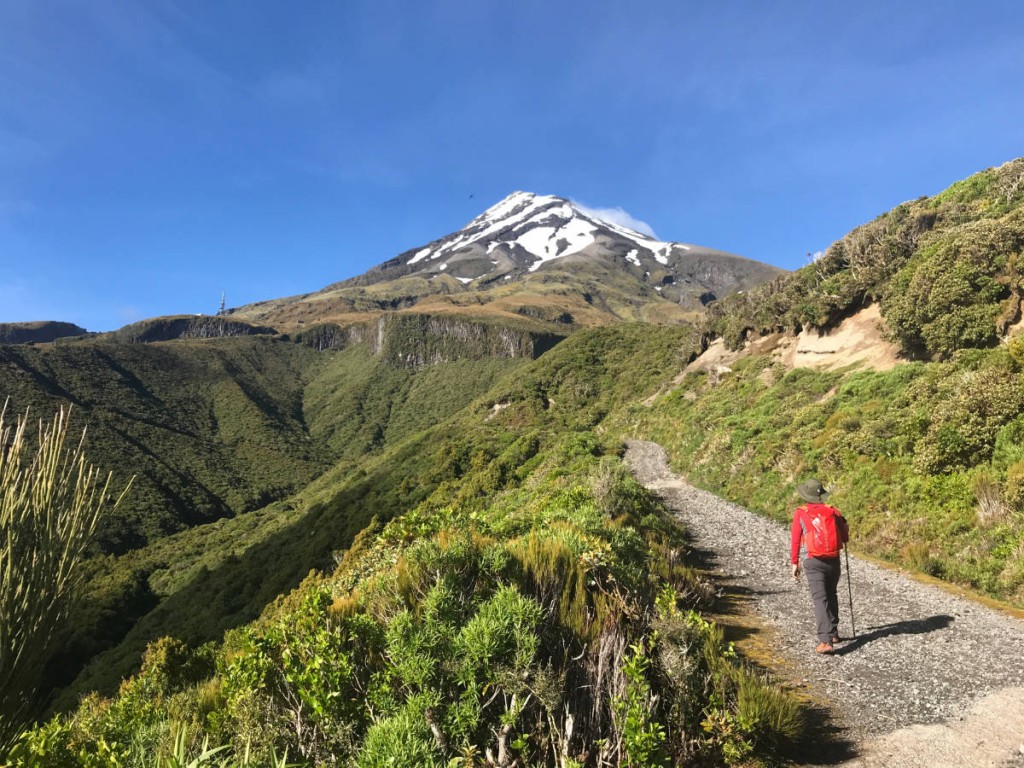
Taranaki
You have climbed many mountains in our country, and now you feel it’s time to pursue mountains abroad. You have seen the pictures of snowcapped peaks, and want to experience a place that’s even colder than Pulag. You have studied the geography of the world, and want to experience elevations higher than Apo. And you have heard stories, from me and from others, about the adventures that lie beyond our shores.

Of course, I support you in your goal, just as I have supported you in your previous endeavours. I want you to learn from other countries, just as I wanted you to learn about our own. I want you to learn about the diversity of the world, just as I wanted. you to learn about the diversity of our country. And I want you to take pride in the common heritage we share with all of humanity, just as I wanted you to take pride in the beauty of our land.

Before you go on an International climb, however, I want you to realise that being able to do so is a privilege that you should not take for granted. Not all hikers will be able to reach the places you will reach. Not all of your friends will be able to travel as much as you can. Be mindful of your privilege in the way you communicate your adventures. Stay humble – and always think of your hikes not in terms of achievement, but of fulfilment.

Another prefatory reminder is that when you climb mountains abroad, bear in mind that it is not the flag that represents the country, but your own self. Be polite and friendly to other hikers; act responsibly towards the environment, and respectfully towards people you encounter. Never use your foreign-ness as an excuse to do something stupid. Instead, use your presence in the mountains to cast our country in a positive light. You may even want to invite foreign hikers to try hiking in the Philippines: many will be surprised that we have mountains as stunning as our beaches.

Now let’s discuss which particular destination to go to. Nowadays, we are constantly given information about the top trails, the best mountains; all the experiences that should go into our ‘bucket lists’. Then there are also lists that are selected not by virtue of beauty but geography – the “seven summits of the world”, the highest point in each of the country. Many of the places on these lists are there for a reason: there is no denying the beauty of Mt. Kinabalu, or the spectacle of the sunrise in Mt. Fuji; Mt. Apo is not just the highest point in the country, but a majestic mountain independent of this distinction. The same can be said of the highest mountains in the world.

But at the same time, the result is people flock into these places, making them as crowded (and oftentimes expensive) as the popular mountains in our country. Meanwhile, people miss out on the equally spectacular but lesser-known destinations. Never think of the world as checklist; always be open for destinations that may not be famous, but no less beautiful. These obscure places may not attract as many likes in social media or may not ring a bell with your hiking peers – but why do you climb for, anyway? Is it to be seen by your friends and followers as a ‘cool’? Is it to commune with nature? Is it to challenge yourself? Or could it be to escape, even if for a while, the struggles in your life? Always go back to your reasons for hiking when you make decisions on which destinations to visit.

Budget is another consideration: Think of the value for money in terms of the experience and novelty it will give. For 200,000 pesos, for instance, you can climb Mt. Kilimanjaro (6 days). But for the same amount of money you can do Everest Base Camp (14 days), Kinabalu (3 days), Fuji (2 days), and the Taiwan mountains (1 week). Or you can spend a month in Japan climbing 20 of its 100 Famous Mountains. For 400,000 pesos, you can climb Mt. Aconcagua (21 days), but for the same amount of money you can backpack in South America for 3-4 months, and climb some 6000-meter peaks along the way.

Plan ahead, so you can book cheaper flights, possibly invite companions to climb with, so you can share the costs and have more fun. Be friendly and open to meeting hiking companions in hostels and backpackers’ lodges: they will be just as happy to hike with others. Learn about different options: e.g. joining a tour (more expensive but more convenient) vs. doing it by yourself. Anticipate the necessary permits, documents. I oftentimes forget to do this, but when I do, I never regret it: Always bring small tokens and gifts to express your gratitude for the people who help you along the way. In one of my first trips in Taiwan, we dropped off at the wrong bus stop and had to walk for several kilometres to reach the trailhead. To our amazement a lady offered to drive us! And luckily we had a nice box of dried mangoes to thank her.

Another way to save is to make the most of your trip, both in terms of hiking and traveling. For example, if you’re already in Japan for Mt. Fuji, might as well do the dayhikes around Tokyo, or even take a rail pass and visit Hokkaido. If you’re already in Bali for Gunung Agung and Batur, the famed Mt. Rinjani is just a boat ride away. And if you’re planning to climb Jade Mountain In Taiwan, you can easily add Snow Mountain for two more days, and do some dashikis in Taipei in between. Be creative in the way you travel, and try to insert a hike or two during your business trips – or even a family trip. A good boss would understand, and so would a supportive parent or partner.

When you hike, you also travel, and don’t ignore the cultural lessons around you. Sample the food, make friendships, learn about different ways of life. This, too, is part of making the most of your trip. But of course, bear in mind that when you travel you do see the brighter side of the world. You have to live in a place for you to see its problems; don’t ever claim that you understand the complexity of a country just because you’ve been there for a few days or weeks.

Sometimes, time and money are inversely proportional: you can save money if you’re willing to spend more time, and you can spend more time if you’re willing to spend more money. For instance, to get to Cusco in Peru to La Paz in Bolivia, one can either take a plane (1 hour) or a bus (1 whole day). When you’re young you tend to have more time in your hands – you should take advantage of this very limited resource.

One final point about budget is that hiking itself is an economical way to experience another country. If you camp in Hong Kong, for example, while taking the MacLehose Trail, you can end up spending almost nothing except for food while having a great five days in the outdoors. In big cities like Singapore or New York, it seems that you spend money in every step and every corner because there are so many distractions: food to eat, things to buy, museums to visit. Hiking, on the other hand, is one of the cheapest activities you can possibly do when you’re abroad, because you cannot buy anything on the trail.

Meanwhile, consider too how the destinations you choose will advance your growth as a hiker. If you dream of climbing Everest or some of the 8000-meter peaks, then the logical next step from Mt. Apo are the mountains of Taiwan (around 3800-3900 meters), and then the Himalayan treks (4000-5000m), and then some of the 6000-meter peaks. Obviously, you must be prepared for these hikes: always study your destination: the possible risks (e.g. Lyme disease in the Appalachian; frostbite in the Andes), the necessary skills (e.g. roped travel, use of crampons), and the needed equipment. Unlike the

Personally, I would start with the countries near the Philippines, going farther and farther as I earn more and save more. Because of its uniqueness, Kinabalu is a great choice followed by the mountains of Taiwan and the volcanoes of Indonesia, then the peaks of Japan. Understandably, you would want to see attractions that are not found in the Philippines, and for a mountaineer it is essentially the snow and the altitude that we can never have – and the long-distance trails that have yet to be established. For this reason the Himalayas can be a next worthy step.

Then again, who knows where your career and your personal life might take you? Always be open to possibilities (there’s always a nearby hike wherever you are), and don’t allow others (including myself) to determine where you go. Wherever you find yourself going, always be mindful of your privilege and opportunity: the former to be sensitive about, the latter to make the most of. As David McCullough Jr. once said: “Climb mountains not so the world can see you, but so you can see the world.”

LETTERS TO A YOUNG MOUNTAINEER
Personal essays by Gideon Lasco
I: A letter to a young mountaineer
II: Why do accidents happen?
III: Of doing and loving
IV: A difficult situation
V: Wise words from an old man
VI: The Philippines that I love
VII: The calling
VIII: The girl who climbs mountains
IX: A mountaineer’s legacy
X: What beginners can teach us
XI: The friends inside your backpack
XII: Unfollowing one’s self in social media
XIII: Never let go of the mountains of your life
XIV: Before you climb abroad 

The post Letter to a young mountaineer, XIV: Before you climb abroad appeared first on Pinoy Mountaineer.

Hiking matters #595: A dayhike up Baegundae Peak, Mt. Bukhansan, Korea

$
0
0

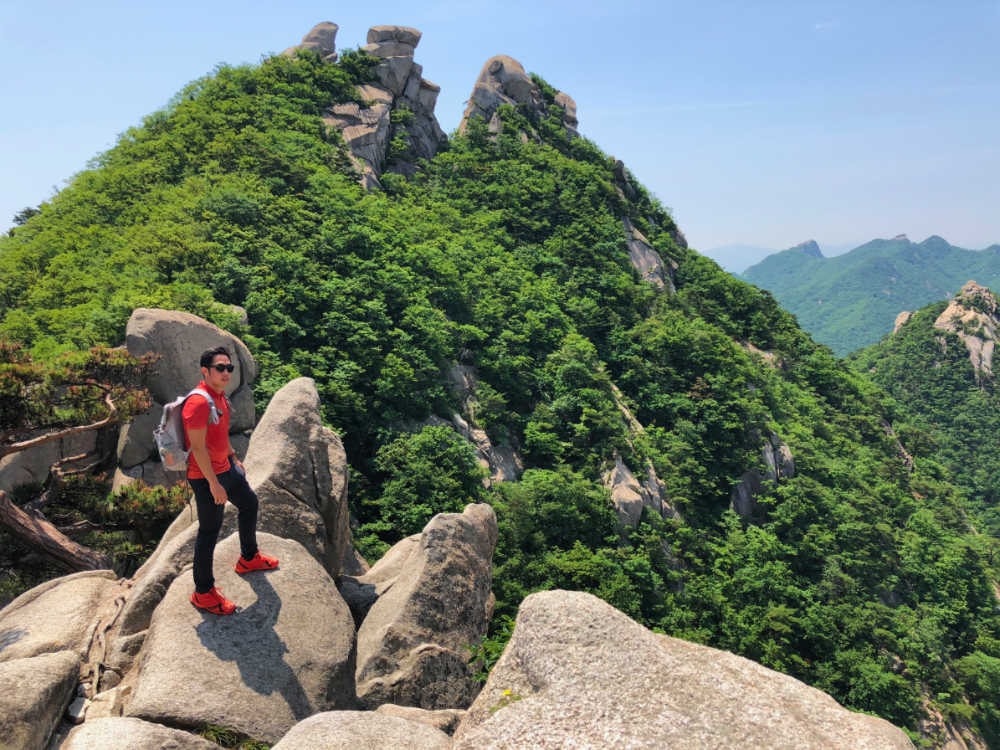
Bukhansan1

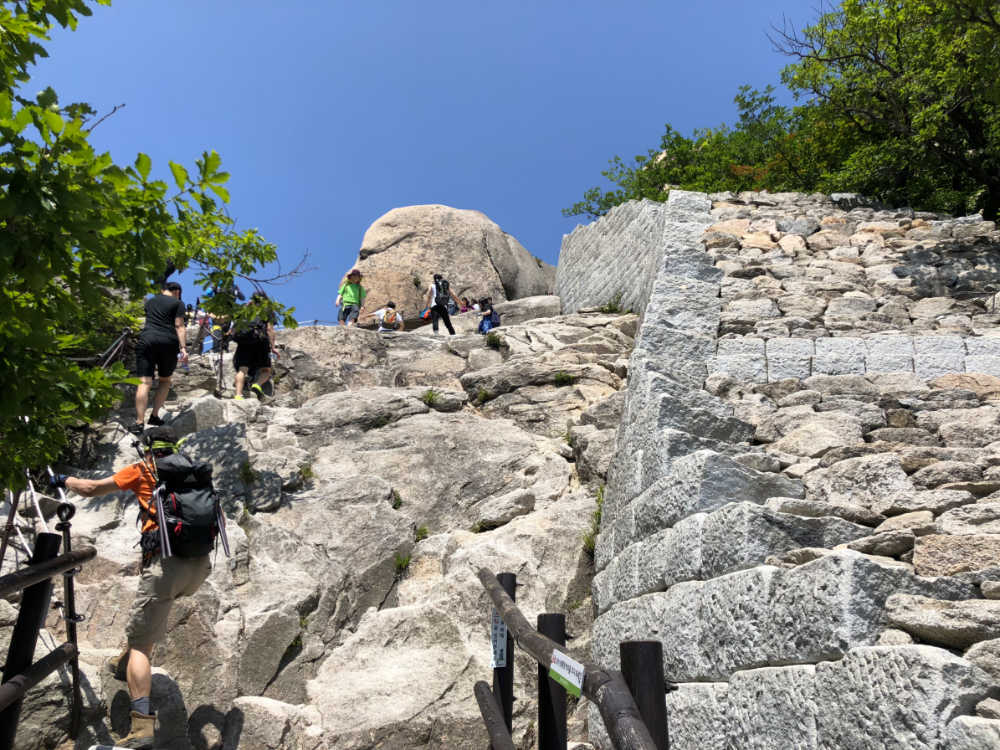
The last time I hiked in Korea was way back in 2010, when Iron Lady Jo Steven and I climbed the two highest peaks of South Korea: Halla-san in Jeju Island (Hiking matters #109) and Jiri-san, traversing from Hwaeonsa to Cheonwangbong (Hiking matters #100-101), alongside some minor hikes. In June 2018 I found myself back in Seoul for work and I decided to go on a dayhike in Bukhansan, which is very accessible from the city.

Bukhansan5
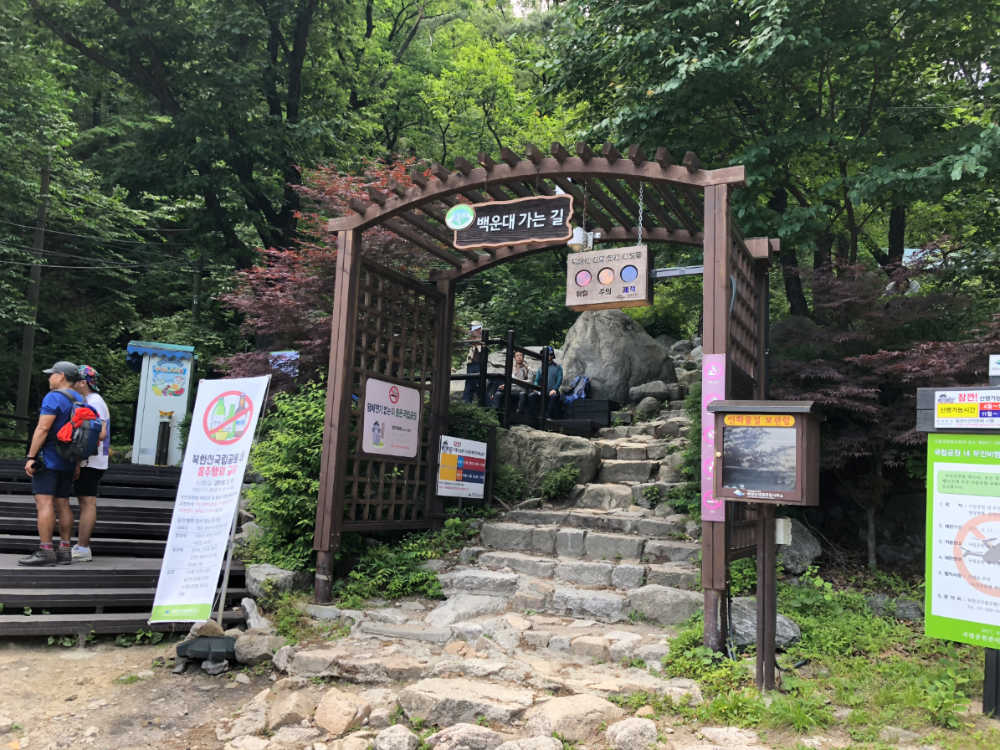
Taking Metro Line 3, I headed to Gupabal Station and boarded Bus 704 towards Bukhansanseong Fortress: a trip that took less than an hour. Towards the trailhead, there were a number of outdoor shops with great bargains: I ended up buying an entire set of hiking clothes, which I immediately took to action!
Bukhansan2

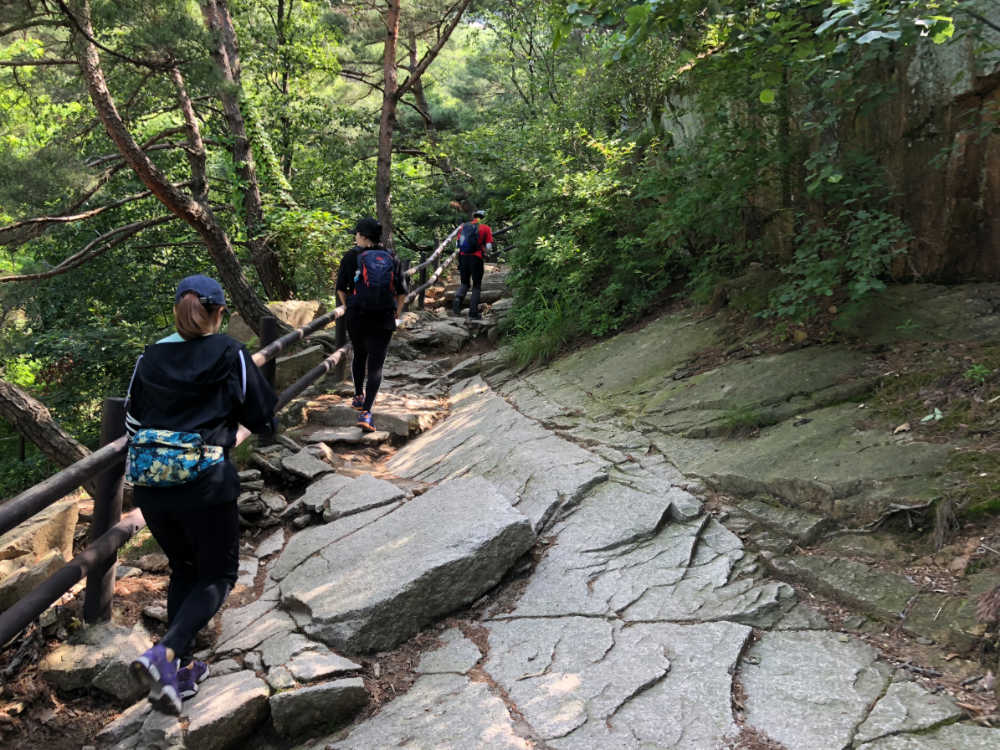
The hike was fortunately forested – otherwise it would be too hot in the summer. Even so, I realised that Bukhansan would be nicer as a autumn or spring hike, as it is low altitude and therefore prone to experiencing the same temperatures in the city.

Bukhansan4

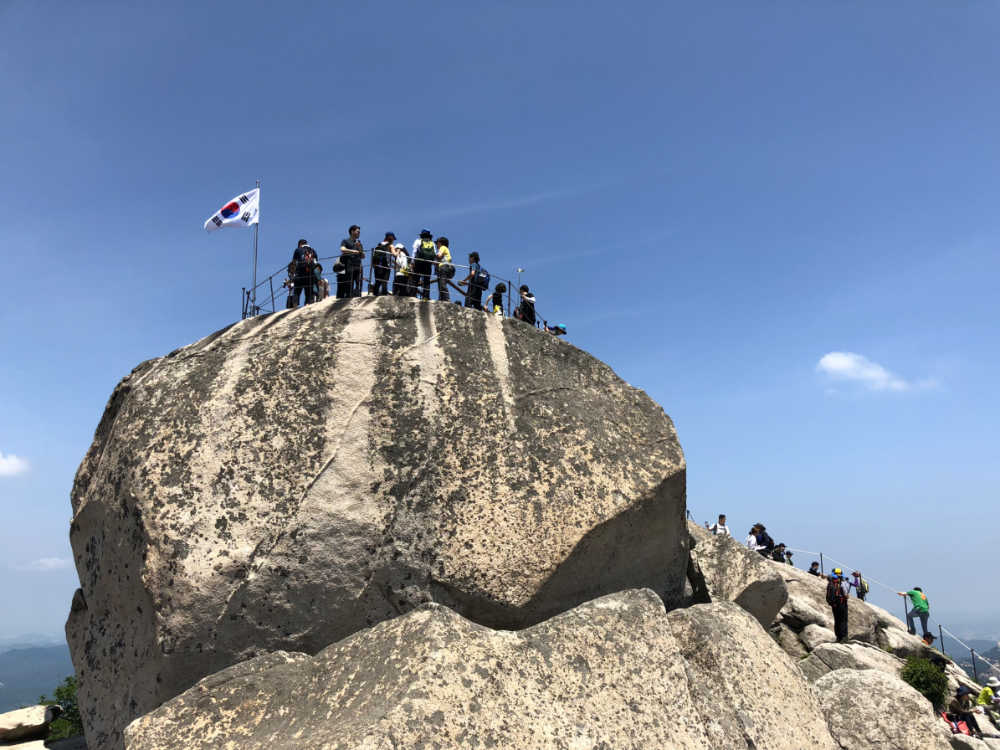
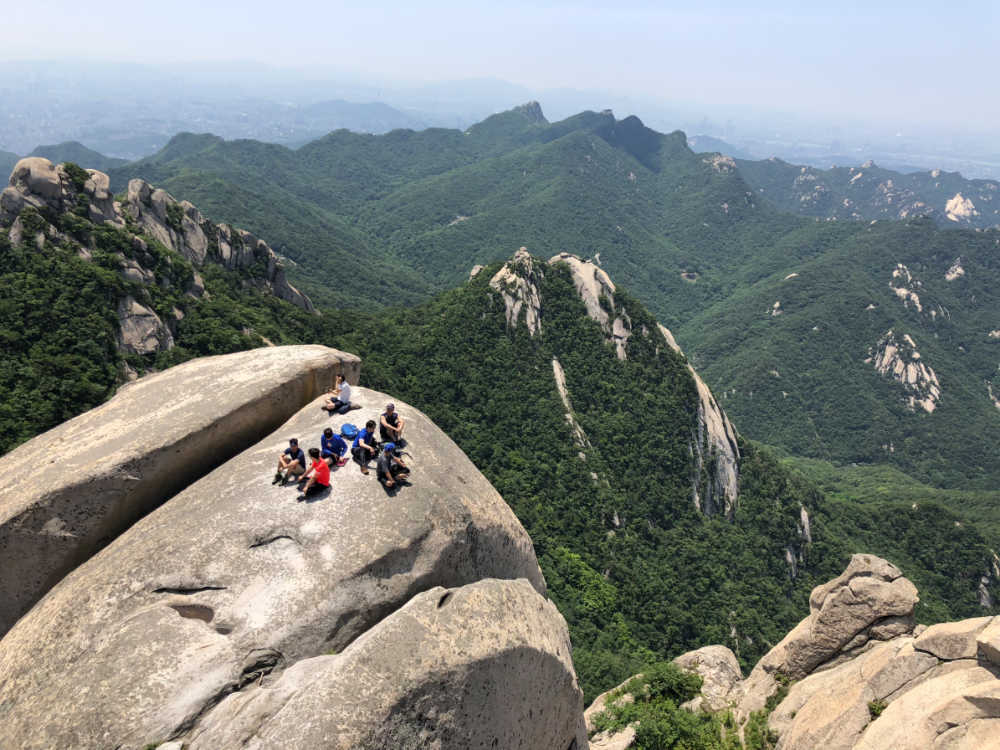
After an hour or so,  the trail gets steeper and rockier – this is the sign that one is near the summit area. Steel ropes and cables were in place in some parts, and it was refreshingly windy amid the hot summer day. I was hiking on a weekday but even then there were lots of people: Bukhansan after all is one of the most popular hikes in Korea, and hiking is very popular in the country!
Bukhansan7

After resting a bit and chatting with some of the hikers at the summit rocks, I headed home in the same ascending trail. The alternative was to traverse to the east and take Bus #1 to Suyu metro station (line  4) and from there proceed  to the downtown. In any case I really enjoyed the dayhike and would gladly return to Korea for more hikes, perhaps in the autumn!

Bukhansan6

The post Hiking matters #595: A dayhike up Baegundae Peak, Mt. Bukhansan, Korea appeared first on Pinoy Mountaineer.

Hiking matters #600: Yarigatake to Hotakadake Traverse Day 3 – Oku-Hotakadake and back to Kamikochi

$
0
0

OkuHotakadake
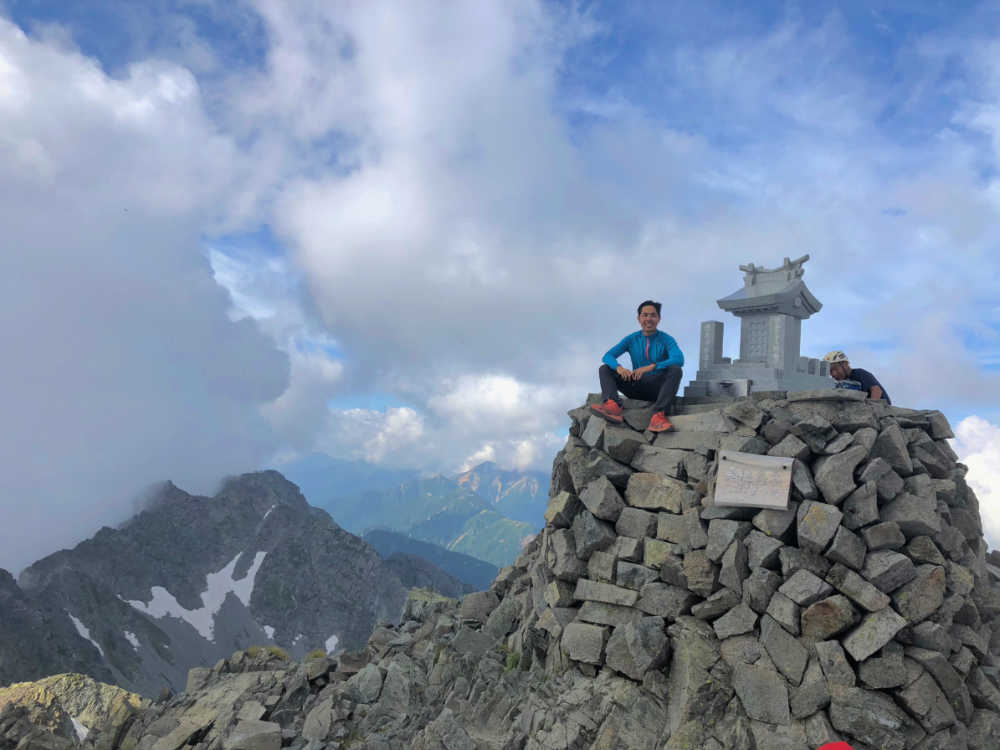
TOKYO – Upon arriving at Hotakadake Sanso I thought it would be the end of Day 2, but I was informed by the staff that weather would turn for the worse the following day – they were advising hikers to descend via the Karasawa Route instead of the steep Dakesawa via Oku-Hotakadake. And after dropping my backpack in the lodge, I took the 45-minute ascent to reach Oku-Hotakadake (3190m), the 3rd highest point in Japan and my 22nd Hyakumeizan. After having gone through the Daikiretto, the hike was fairly routine.  And then I descended the same way, in time for the 1700H dinner.

The following day, it was clear that the forecast was right: it was windy, and just about to rain. I didn’t waste my time, commencing the descent via Karasawa at 0523H. Thankfully, the trail was gradual (to the extent that losing 1000 meters in 2 hours is ‘gradual’), and wasn’t that slippery even amid the rain. By 0630H I was at the Karasawa Valley, which would have been lovely on a clear day, with some residual snow and scenic peaks above.

OkuHotakadake 8

From the Karasawa Valley, there were a couple of choices as to which route to take to Kamikochi; I just decided on the most direct approach: one also preferred by the throng of descending hikers. By 0830 I had reached Yokoo Sanso – completing the loop hike and ending the descent (it would be flat all the way to Kamikochi).

OkuHotakadake 5
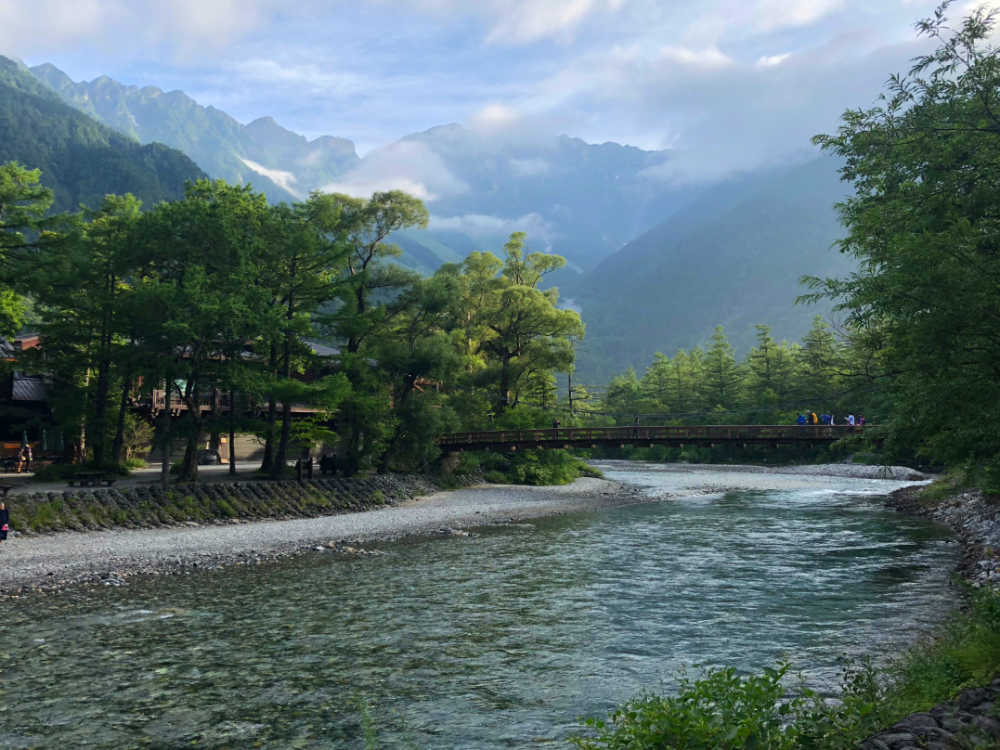
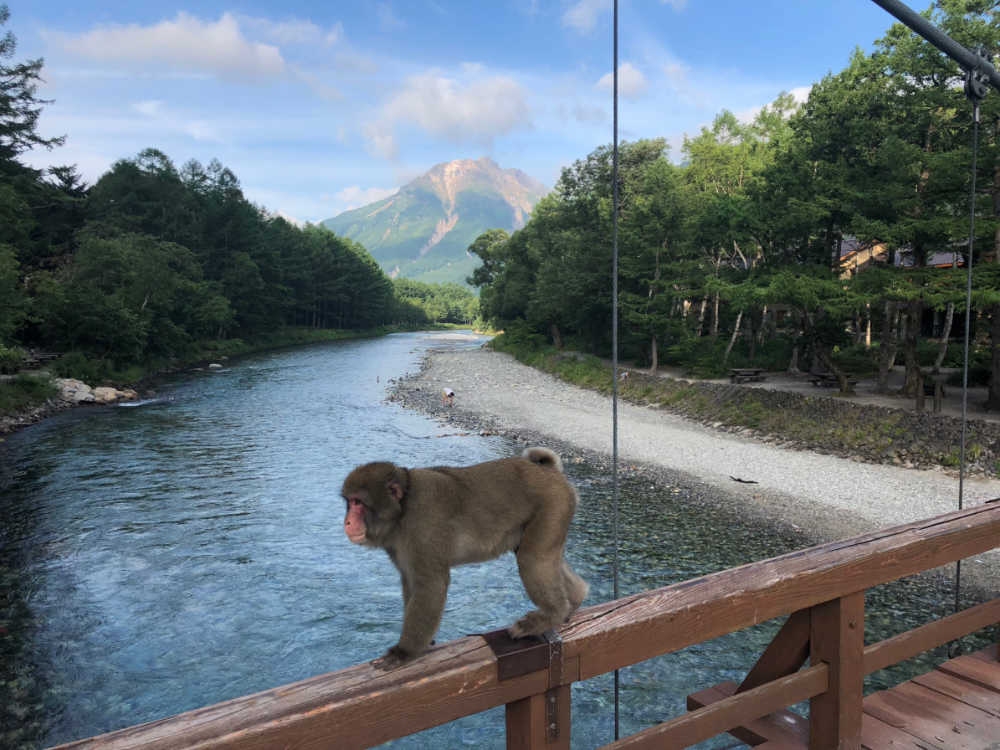
From Yokoo, however, it would still be a 11 kilometres march (distance-wise, it is exactly halfway between Kamikochi and Yarigatake), via the same sequence as in the first day: Tokusawa, Myojin, and finally Kamikochi… the monotony of the trail was thankfully broken by the monkeys that were really fun to observe. Finally at 1130H, I arrived at Kappabashi Bridge, completing the hike!

OkuHotakadake 7

The bus to Shinjuku wasn’t until 1615H, and in the afternoon I explored Kamikochi, ending up in the Kamikochi Onsen Hotel for a very rewarding dip at the hot springs. En route, I saw the trailhead to Mt. Yake, which I will have to come back for next time; there are other nearby Hyakumeizan like Mt. Jonen. For now, however, I cannot ask for more, having finally done the Daikiretto.

OkuHotakadake 3

FUJI AND THE DAIKIRETTO  (SUMMER 2018)
Hiking matters #596: Takao-Jinba traverse, revisited
Hiking matters #597: Mt. Fuji for the fourth time
Hiking matters #598: Yarigatake to Hotakadake Traverse Day 1
Hiking matters #599: Yarigatake to Hotakadake Traverse Day 2
Hiking matters #600: Yarigatake to Hotakadake Traverse Day 3

The post Hiking matters #600: Yarigatake to Hotakadake Traverse Day 3 – Oku-Hotakadake and back to Kamikochi appeared first on Pinoy Mountaineer.


Hiking matters #599: Yarigatake to Hotakadake Traverse Day 2 – Daikiretto (大キレット)

$
0
0

Daikiretto 3
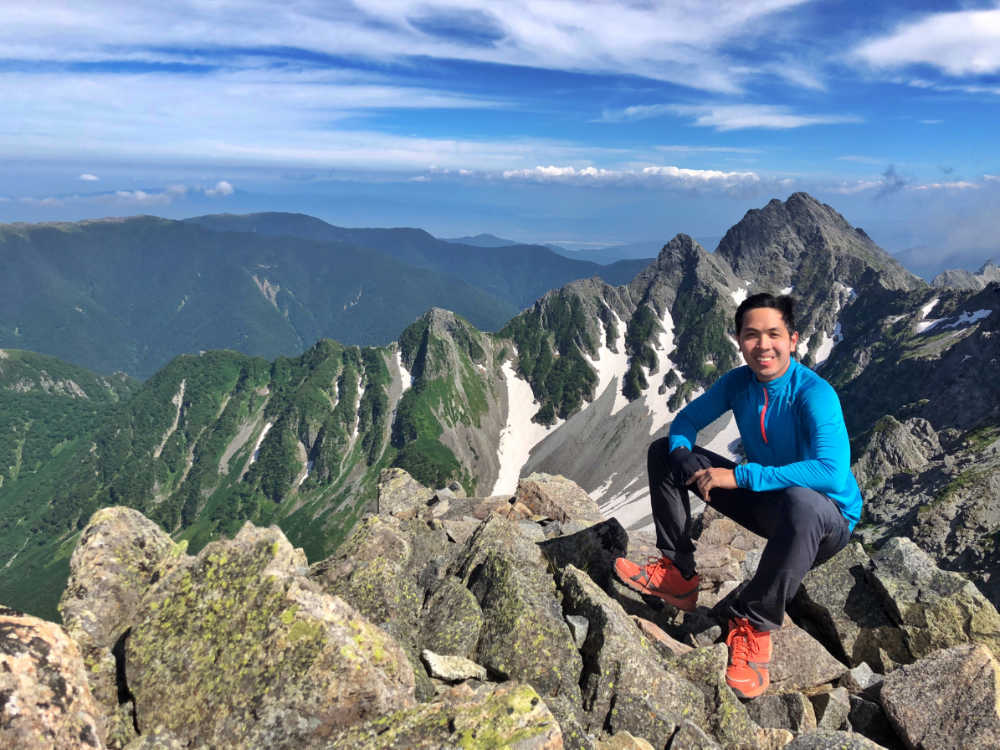
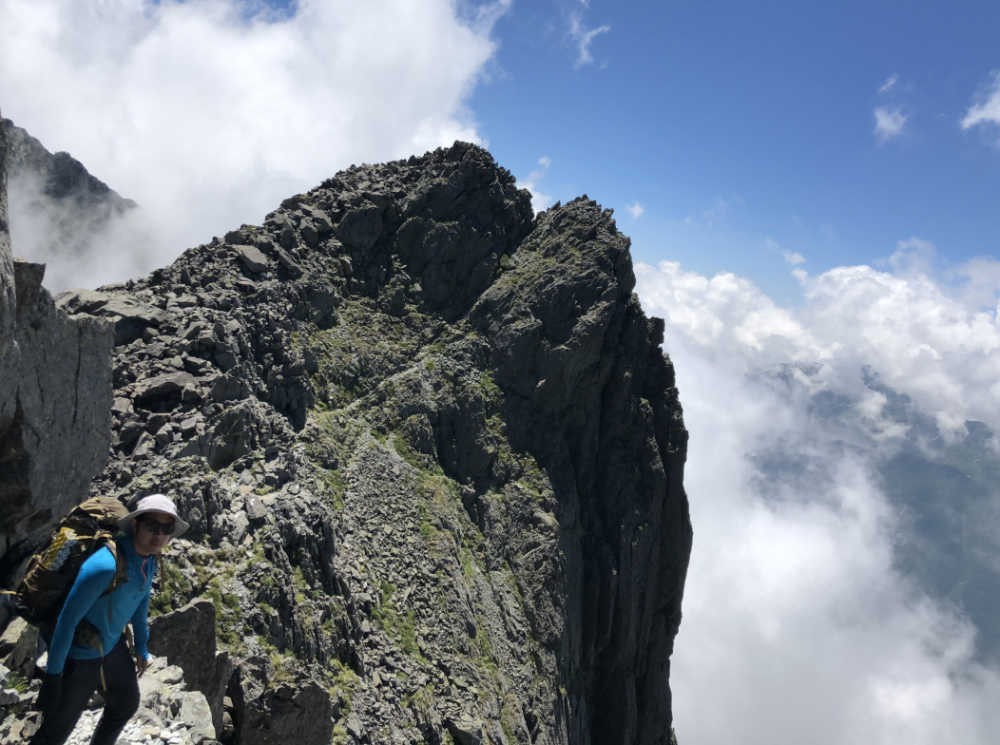
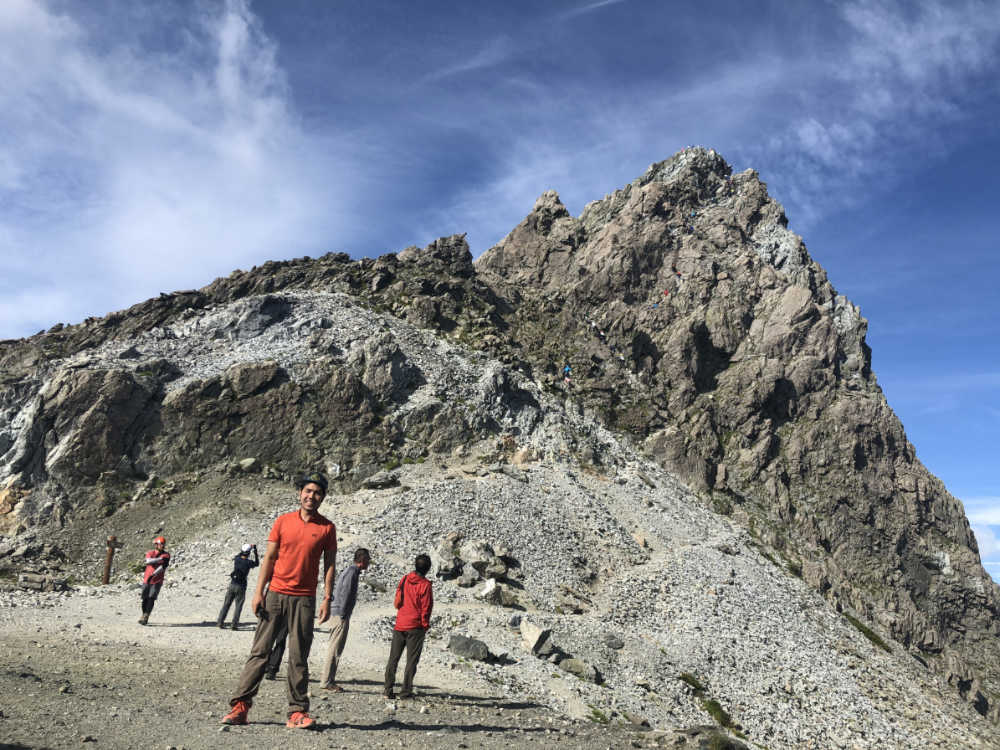
TOKYO – After a restful sleep and early breakfast at Yarigatake Sanso, I set off for the most exciting 9 kilometres of the hike. It would be a traverse from Mt. Yari to Mt. Hotake, via a ridge that passes through several of Japan’s highest peaks: Yarigatake (槍ヶ岳; 3180m – #5); Obamidake (大喰岳; 3101m – #10),  Nakadake (中岳; 3084m – #12), Minamidake (南岳; 3032m – #17), Kitahotakadake (北穂高岳; 3106m – #9), Karasawadake (涸沢岳; 3110m – #8), and finally, Okuhotakadake (奥穂高岳; 3190m; #3). Between Minamidake and Kitahotakadake lies the feared Daikiretto (大キレット) – literally the ‘big cut’, considered one of the most challenging trails in Japan, even as the entire day can be considered a big challenge.

Daikiretto 2

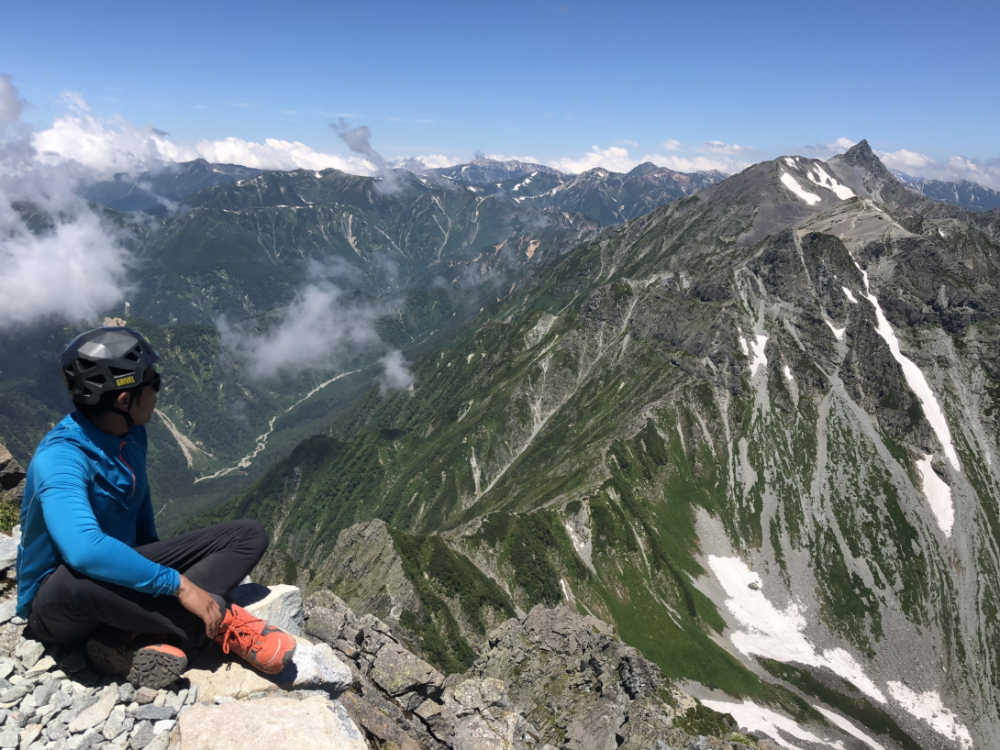
The day can be divided into three parts: (1) the ‘warm up’ from Yari to Minamidake; (2) the Daikiretto; and (3) Kitahotaka to Okuhotaka via Karasawa. I would say that in terms of difficulty, the three can be apportioned with the following percentages: 15-50-35. Auspiciously, I woke up to see a distant Mt. Fuji behind the Southern Alps helmed by Mt. Notoridake. I started the hike at exactly 0600H. From Yari to Minamidake, one follows the ridgeline trail that features 3000-meter peaks and a (relatlively) gradual trail connecting them.

Daikiretto 4

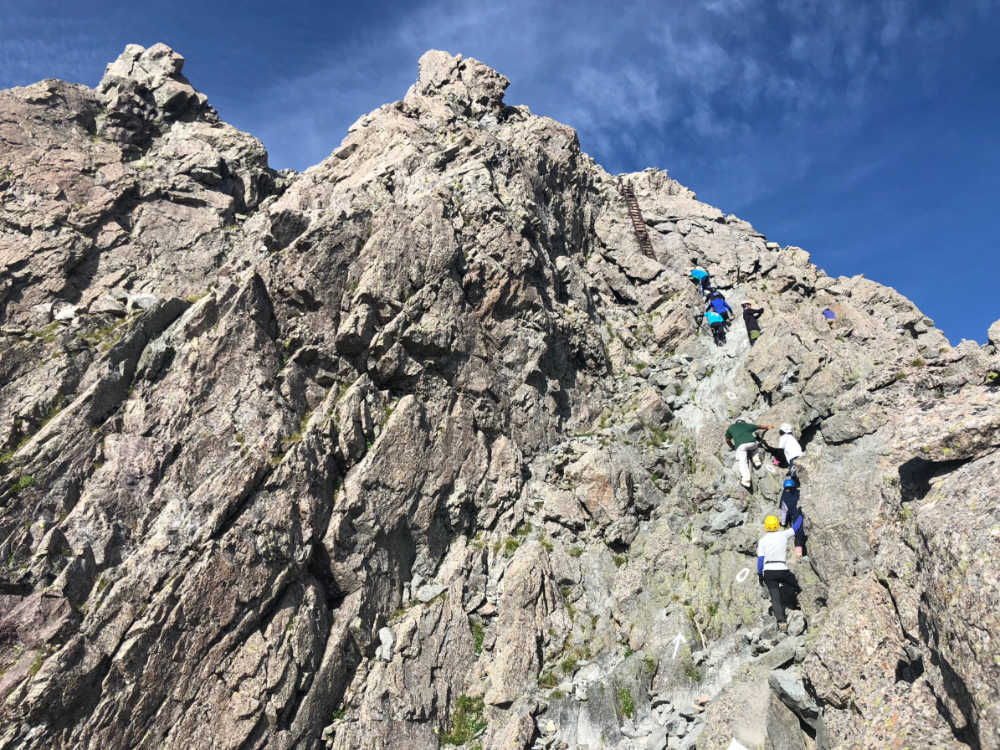
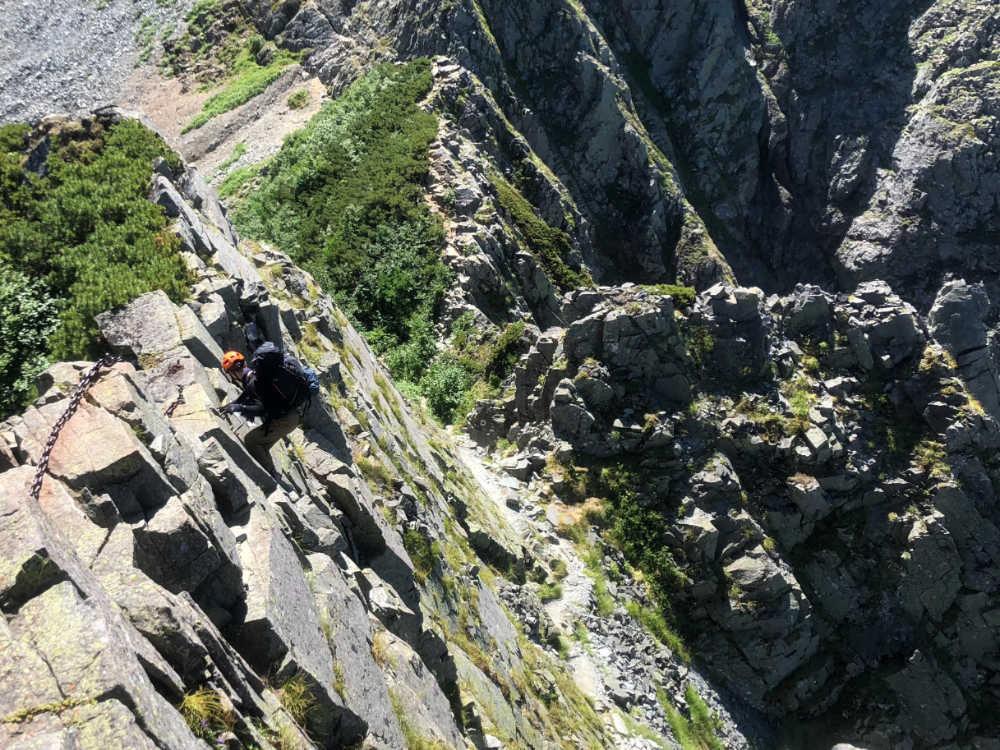
The ‘fun’ begins past Minami-dake, when the Daikiretto commences – in my case, at 0813H. One takes the ‘plunge’ to a 300-meter ‘cut’ between two 3000-meter peaks; the descent through steel ladders, metal ropes, and precipitous slopes never seem to end.

Daikiretto 7

And just as when you think the descent is over, there are several ups and downs in the middle before finally ascending again. This is a trail that must be taken with utmost seriousness and caution. But at the same time, it’s an exhilarating ride: one that must be relished and enjoyed! (Sadly, I was hiking by myself and wasn’t able to take too many pictures).

Daikiretto 6

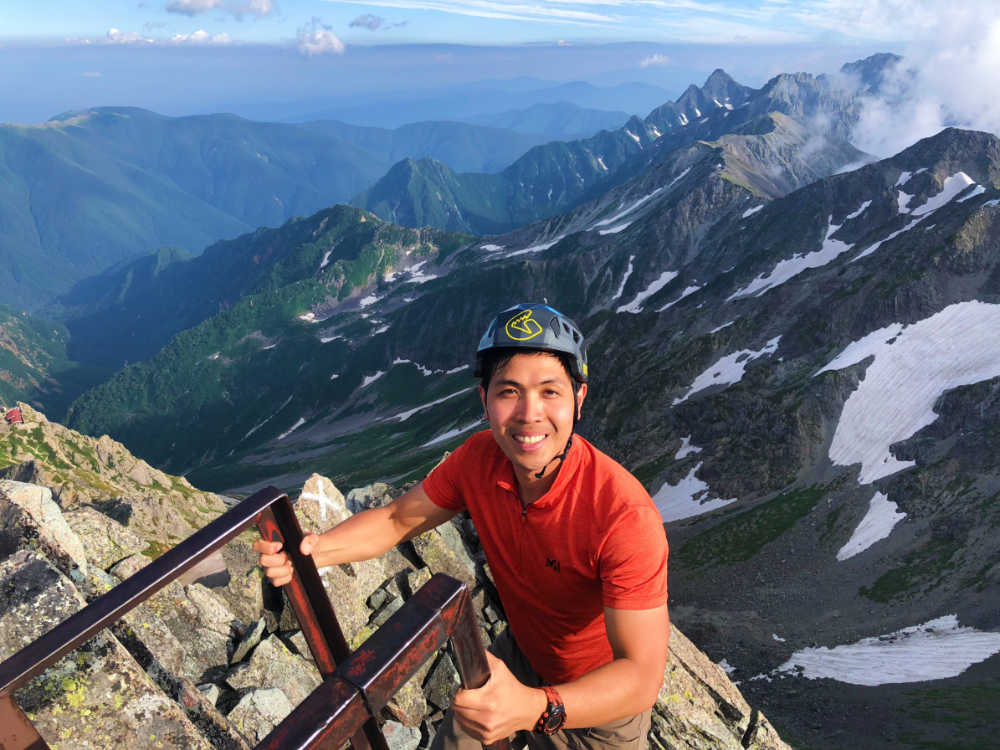
Finally, at 1101H, I arrived at the Kitahotaka-sanso, completing (and surviving) the notorious route! Looking at the spear-shaped Yari behind me and the great gap I had just crossed, I was filled with a reverence for the wondrousness of the Earth itself. I rewarded myself with a lunch of ramen and some drinks, but as it turns out, it was too early to celebrate. Almost as tough as the Daikiretto – albeit markedly less technical – is the traverse to Karasawa-dake. At the end of it, at last, is the destination for the day: Hotakadake Sansō, where I would spend the night. Continued in Hiking matters #600.

Daikiretto 10

Daikiretto 1

FUJI AND THE DAIKIRETTO (SUMMER 2018)
Hiking matters #596: Takao-Jinba traverse, revisited
Hiking matters #597: Mt. Fuji for the fourth time
Hiking matters #598: Yarigatake to Hotakadake Traverse Day 1
Hiking matters #599: Yarigatake to Hotakadake Traverse Day 2
Hiking matters #600: Yarigatake to Hotakadake Traverse Day 3

The post Hiking matters #599: Yarigatake to Hotakadake Traverse Day 2 – Daikiretto (大キレット) appeared first on Pinoy Mountaineer.

Hiking matters #598: Yarigatake to Hotakadake Traverse Day 1 – Yarigatake ( 槍ヶ岳)

$
0
0

Yari 2
TOKYO – I have always wanted to climb Mt. Yarigatake and do the Daikiretto – famous for being Japan’s most challenging route – especially since it’s become somewhat of a tradition for me to do a major hike in Japan every year (last year, it was the unforgettable Tateyama-Tsurugi Traverse). And so after completing my fourth hike up Mt. Fuji, I decided to take the night bus fro Shibuya to Kamikochi, and do the three-day Yarigatake to Hotakadake Circuit.

Yari 4

Arriving at Kamikochi, I was immediately rewarded by the sight of the famous Kappabashi Bridge, which inspired Akutagawa’s novella, Kappa. Aside from the Hotaka range, there was also Yake-dake on the other side – I immediately regretted not planning to climb it as well!

Yari 5

The task at hand, however, was no joke: it involved a 22-kilometer march from Kamikochi to Yarigatake, via the Azusa River valley and a series of mountain huts, before finally ascending up Yarigatake via the Yarisawa Valley.
Yari 9 Yari 10

Finally, I arrived at Yarigatake Sanso at 1515H, and after dropping my bag at the lodge, immediately proceeded to do the summit assault, since I want some headstart the following day.

Yari 6

The assault can be slowed down by ‘traffic’ especially since the trail is made up of steel ladders and such, but fortunately there weren’t too many people. In less than 30 minutes, I reached the summit of Mt. Yarigatake, at 3180 MASL the 5th highest peak in Japan – and my 21st Hyakumeizan!

Yari 7

Reaching the summit of Mt. Yarigatake made me feel very fulfilled, but I knew that with Daikretto up ahead, iit was only the beginning.

Yari 1

The post Hiking matters #598: Yarigatake to Hotakadake Traverse Day 1 – Yarigatake ( 槍ヶ岳) appeared first on Pinoy Mountaineer.

Lowe Alpine offers fresh gear for Philippine outdoor enthusiasts

$
0
0

aeon_campaign-additional-04_4
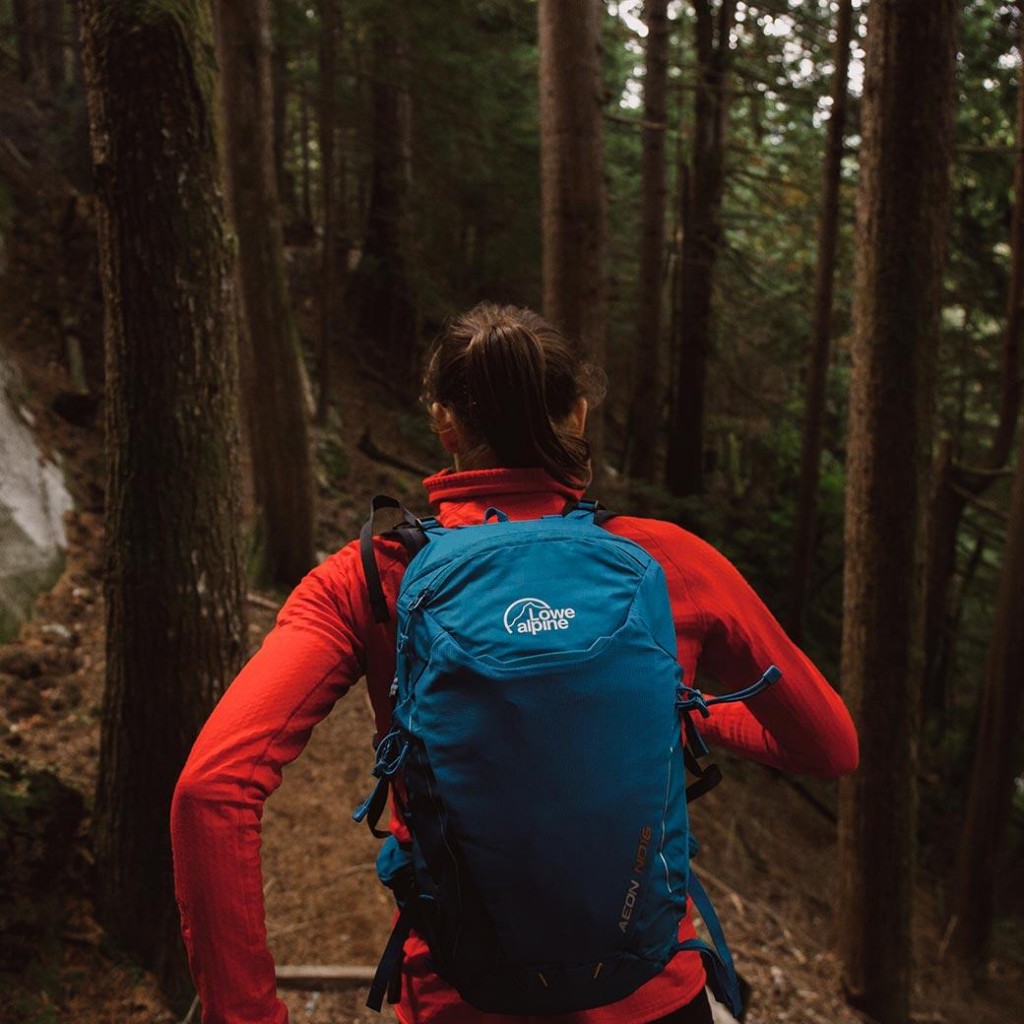
Outdoor enthuaists will surely have already heard of the Colorado-based outdoor brand, Lowe Alpine, and it is now in the Philippines! Just like all outdoor brands, Lowe Alpine straddles the range between street and summit, and as its name implies, some of its gear is designed for alpine (or temperate) conditions. Even so, Filipino hikers will find their layers useful for regional or international hikes (e.g. Taiwan, Japan, Nepal).

Also, they have daypacks that can be used fo Philippine mountains, including the Airzone Z. It is always a positive development for hikers to have more options for their gear!

Check out the Lowe Alpine Silvermark store at 3L, Mega Fashion Hall, in SM Megamall – items are 50% off until October 7, 2018!

The post Lowe Alpine offers fresh gear for Philippine outdoor enthusiasts appeared first on Pinoy Mountaineer.

The etiquette of hiking photography

$
0
0
Iwate21
by Gideon Lasco

Practically, every hiker is an amateur photographer, and many times, there are even more cameras than hikers on a hiking trip! We Filipinos love pictures, and perhaps more so when we’re climbing mountains. To paraphrase Sir Edmund Hillary, one might quip: “It is not the mountain that we photograph, but ourselves.”I think this is a very good thing, because pictures enable us to share what is otherwise hard to describe with words alone: the experience and joy of the outdoors. However, I believe that it is also important to observe certain guidelines that will make your hiking and photography work together very well. Here’s some of them:

1. Respect the locals and be culturally sensitive. Many mountains are inhabited by indigenous peoples, or local communities, and usually, these peoples end up as part of our photo albums. Ask permission first before taking their pictures, especially if they are going about their daily lives. It is also considered good ethical practice to ask permission from hikers if you are taking their pictures, such as if they are pitching a tent, cooking camp meals, etc. Also, avoid taking pictures that will offend locals, particularly in mountains considered sacred. Examples include nude or lewd photos or standing on top of a cross.
2. Be conscious of the itinerary, especially when on a difficult hike. The mountains are beautiful, and a thousand pictures cannot fully capture their beauty. Ask your team leader if it’s okay to take your time while taking pictures. Usually, this is okay. As a team leader, I would even encourage my participants to take their time taking photos, if the itinerary is benign. However, if I know that we need to manage time carefully, I would have to tell them to keep the photoshoots to a minimum. It would spare the TLs the trouble of having to point this out, simply by being conscious of the itinerary.

3. Avoid redundant shots, whenever possible.
In this age of easy sharing of photos and Facebook albums, there are times when having ten cameras taking the same shot is impractical and inconvenient, especially if it would delay the itinerary or inconvenience a guide who would have to take the same shot over and over again.

4. Do not obstruct the trails when doing ‘photoshoots’ or ‘action shots’. Documenting the trail is a very important, but not at the expense of inconveniencing others. This is especially true in mountains with narrow, ‘one-way’ trails like those of Mt. Guiting-Guiting, or even Batulao. Can you imagine sometime taking a photo at the ‘Kiss the Wall’ segment while everyone is waiting to pass?

5. Do not make reckless poses
(such as making a jumpshot at a narrow cliff) and do remain vigilant when taking photos. Remember that carelessness is the shortcut to disaster. I’m guilty of this because when I was younger, I would go precarious rock formations just to have a nice photo of myself taken. However, it is very possible to have photos that look very dramatic but in real life it is not really as ‘buwis buhay‘ as it looks so we shouldn’t be too quite to judge what is ‘reckless’. Also, ‘recklessness’ can vary from person to person, depending on his/her experience, sense of balance, etc.

6. Use photography to be inclusive with guides and others. Asking the guides to be part of group photos will make them feel ‘included’ in the group, and will make them warm up to the group – which is an important part of building a good relationship with them. By inviting fellow hikers to be part of your photos, you are also able to build more rapport with them.

7. At night, keep flash photography to a minimum. Some experts are suggesting that intense flashes of light might disrupt nocturnal creatures, some of which rely on light signals for communications. This might also disturb other hikers, if you are on a campsite. This would depend on the situation: in a forest where there are countless fauna at night, flashes would be disruptive, but at the summit of Mt. Pulag, taking some shots is okay.

8. Be wise in choosing photos that you post in public. Hiking is a very intimate activity where you will actually be living with your fellow hikers for a period of time. When you post photos, make sure that none of them will be embarrassing to any of the participants. If you’re not sure, better ask their consent first. When I was in medical school, I had a friend who wasn’t allowed by his parents to climb mountains. But I was a columnist then in Manila Bulletin, and I posted our pictures on a hike in Batangas. His parents saw him on the picture! I felt sorry because it was my fault.

9. Ask permission first, and if it is granted, acknowledge the photographers and sources of photos whenever you post photos online, either in Facebook, photosharing sites, or your blog, and especially if you publish them in print. Personally, I always appreciate those who seek my consent before getting photos from my website. This also applies to people who may not want to have their photos to be public (for instance, embarrassing photos while asleep).

10. Share your photos online and offline. This is more of an exhortation than a guideline: photos can actually go a long way, connecting people and places, and the present and the past, in the process, narrating and inspiring. One nice way to use photos is by sending them to the communities you visited. For instance, when I used to visit Mang Pirying in Manabu Peak, he would always show his photos with hikers who generously sent back their photos to them. The Cordillera children have very cute faces, and it’s nice to take photos of them on the way up Mt. Pulag. But have you ever sent back some photos to the children themselves? This could be a very good practice that will make the locals remember you in a special way.

These are not absolute rules; they are just guidelines that have to be used depending on the situation. Remember, a good hiker knows not only how to climb but also when to climb and when not to climb. Similarly, a good photographer would know not only how to take photos, but also when and when not to. Knowing all of these, I think, will enhance not only your photos, but also your hiking experience.

The post The etiquette of hiking photography appeared first on Pinoy Mountaineer.

Hiking matters #601: Mt. Siabod in Snowdon National Park, Wales

$
0
0

IMG_6860 3
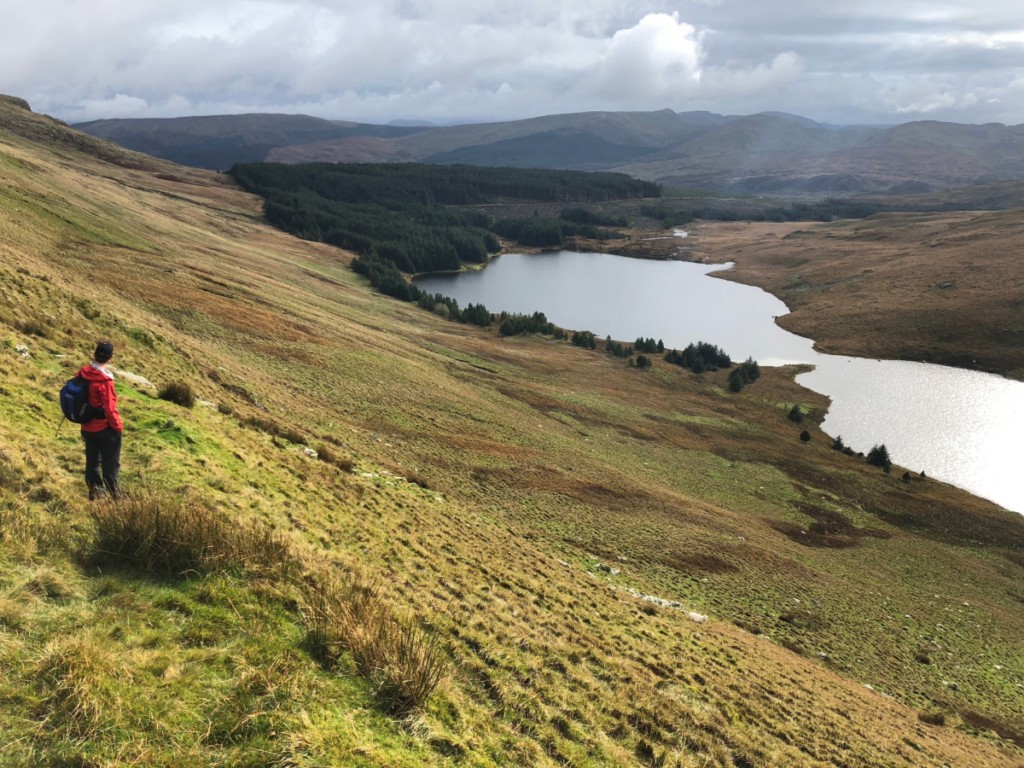
LONDON – I have fond memories of trekking in Scotland’s West Highland Way, and when my colleague Maureen and her husband Richard invited me to hike in Wales, I could not resist the offer. And so one autumn weekend I found myself in their cottage, right at the trailhead of Mt. Siabod, which we hiked!

IMG_6850

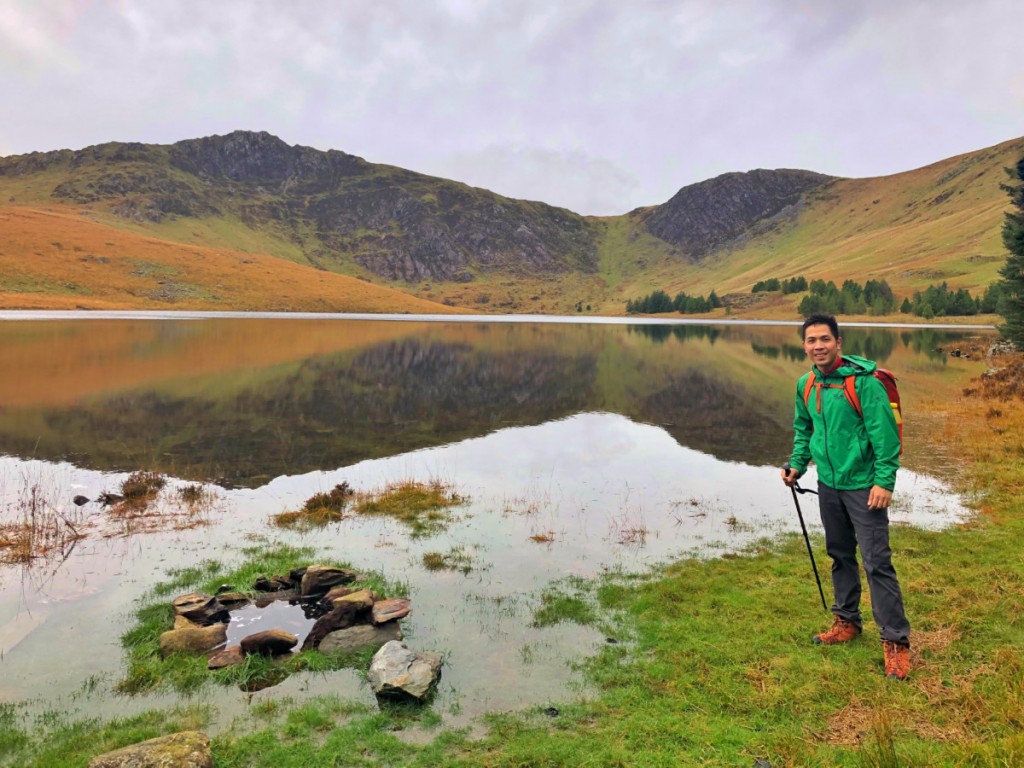
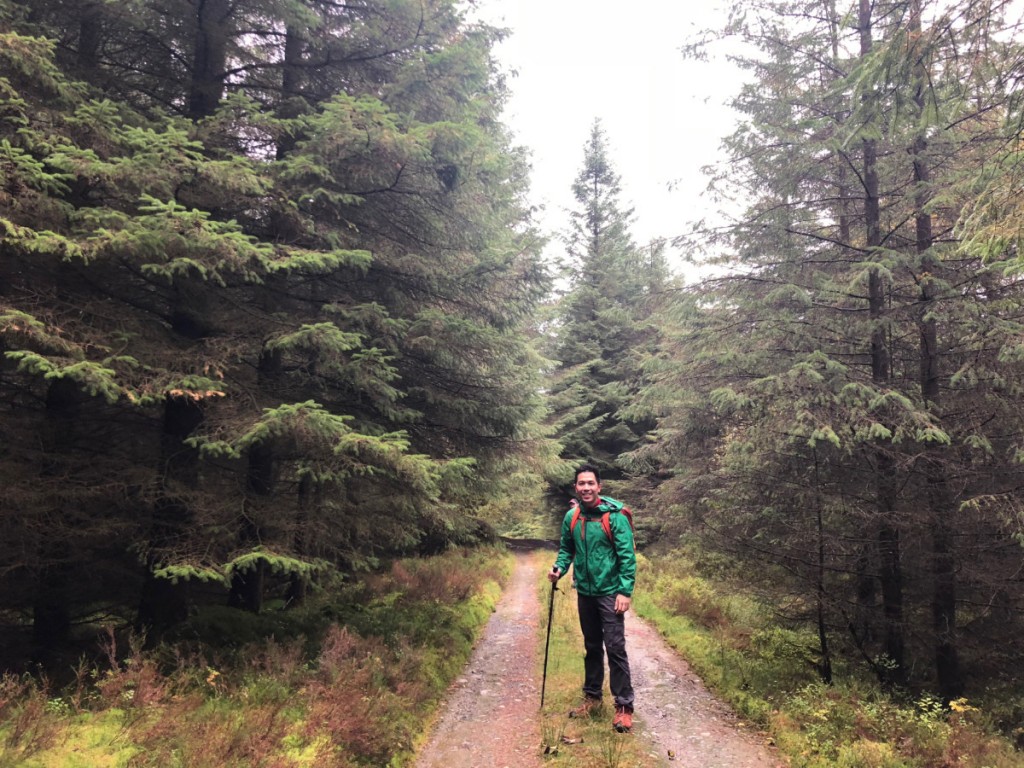
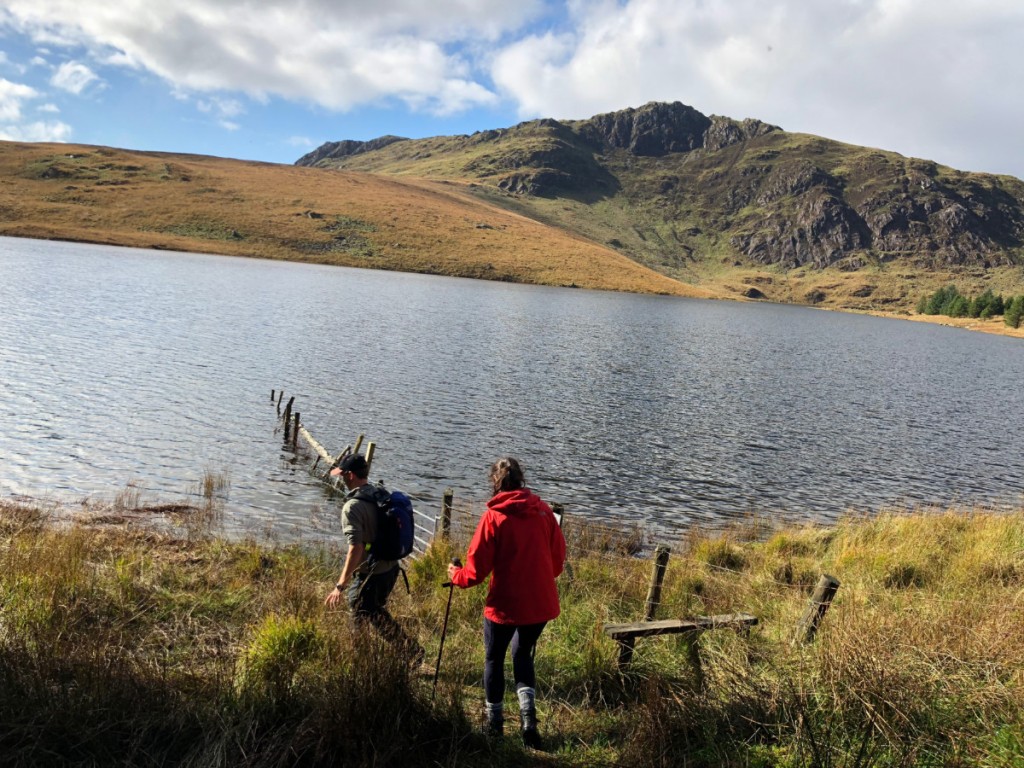
The trail was initially wooded, surrounded by cedars and pines, gradually ascending until we reached a lake.

IMG_6914\
IMG_6913

From the hike, a steep ascent via unarmed grassy slopes to connect to the ridge that leads to the summit.

IMG_6898

IMG_6881

Even though the weather was not-so-nice (I had to wear some gloves at some point), we still managed to do good time – I was headed to Manila via London that night – and we even caught some clearing on the way back.

IMG_6848

Mt. Siabod is just a sneak preview of the many adventures that lie ahead in Snowdonia. I’m not sure when I can come back but for sure, Mt. Snowdon itself, and the many others peaks, are waiting. Thank you Maureen and Richard for the wonderful hike!

IMG_6907

The post Hiking matters #601: Mt. Siabod in Snowdon National Park, Wales appeared first on Pinoy Mountaineer.

Hiking matters #602: Three-day hike up Mt. Mingan via Gabaldon

$
0
0

Mingan 20182

As one of the paramount peaks in the Sierra Madre range, the 1903-meter Mt. Mingan (sometimes pronounced minggan) has always been high on many mountaineers’ lists. I had long been attracted by its mere existence on the Philippine map and in 2015 actually hiked the mountain via Davil-davilan, reaching Camp 6 in an ocular climb up a mountain that didn’t really have an existing trail to the summit at the time. Since then, mountaineers have made great progress in charting the peak – and one of them (Mel Solis et al.) has published a trip report in Pinoy Mountaineer detailing their hike.

Mingan 20183

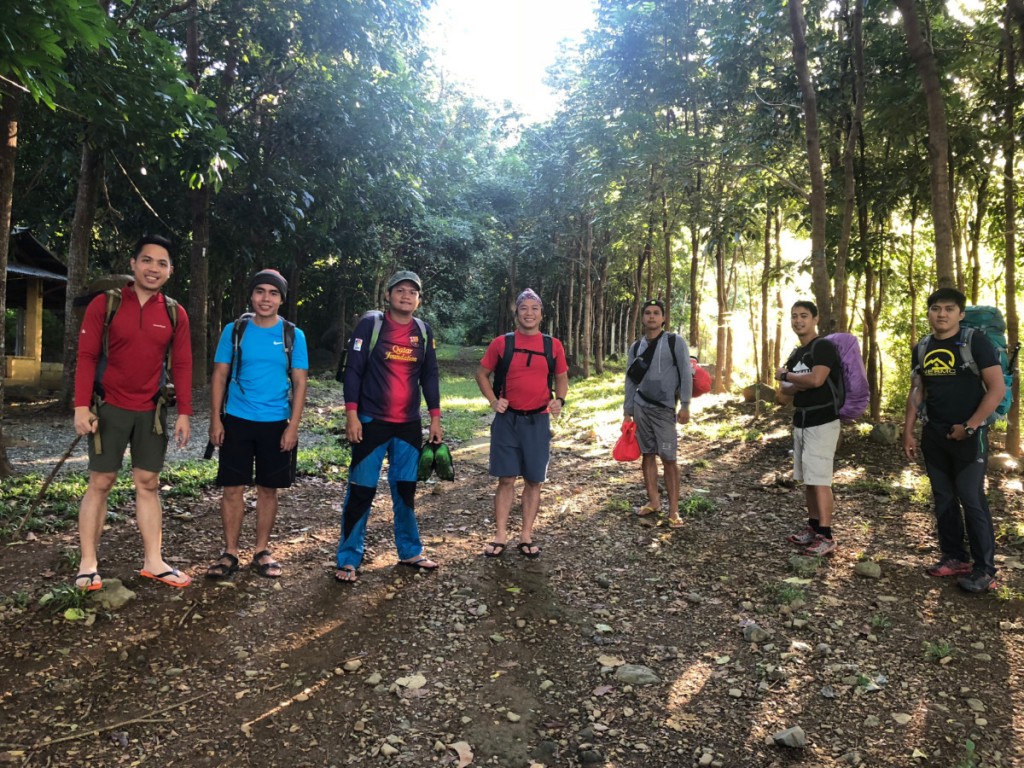
Fortunately, I had the opportunity to return to Mt. Mingan on November 3-5, 2018 and summit the mountain, this time via Gabaldon. Joining me were my longtime hike buddies Daryl Comagon and Jesse Sales, and hosting us were NEBMCI mountaineers Marty Cellona, Kero Pineda, and Alvin – as well guide-brothers Rudy and Rey Tabliga. (Actually, Marty and Alvin were the ones who accompanied me to my first Mingan hike so it was very fitting that we would be companions for the hike.)
Mingan

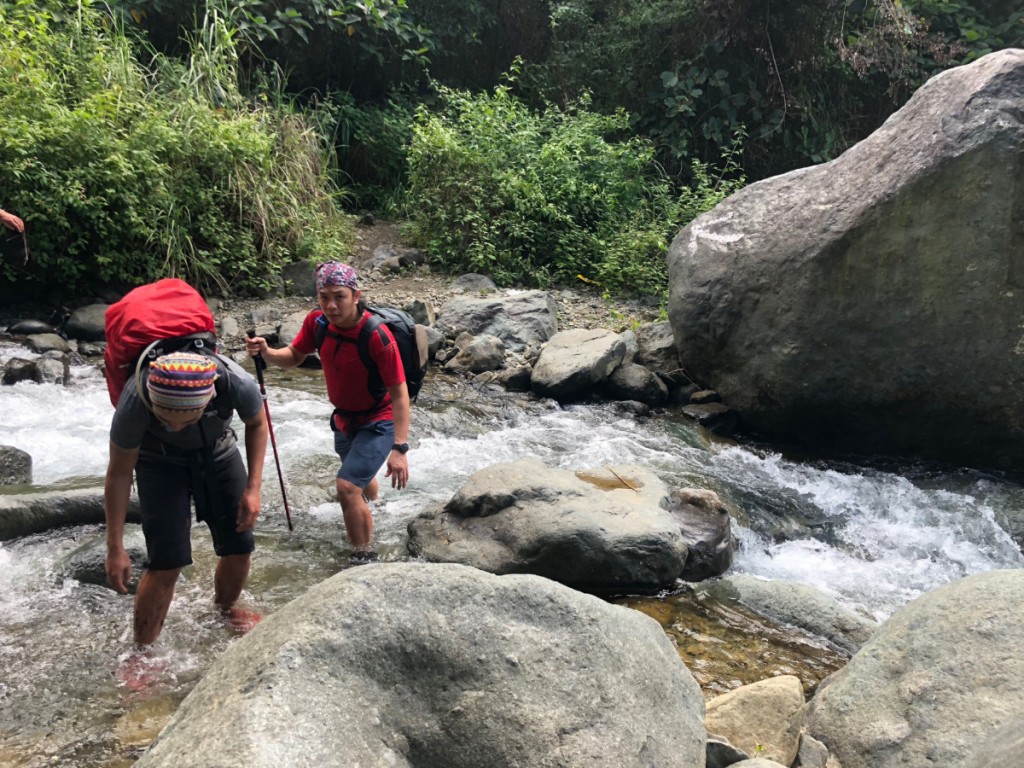
The hike starts in the Eco Park, NEUST-Gabaldon Campus and features six mini-river crossings before entering the forest. The ascent has some overgrown and slippery parts but is otherwise a straightforward ascent. We started the trek at 0705H, crossed over to Aurora province by 1015H (the arched tree below approximates the boundary between the two provinces).

Mingan 20186
Although we could have pushed for the campsite with water source past Salakot Peak, we decided to call it a day at a nameless campsite around 1500 MASL, arriving there around 1430H. Hikers of Mt. Mantalingajan or Mt. Baloy Daku will doubtless recall a similar vibe of the campsite, surrounded by trees but offering a glimpse of views below.

Mingan 20185

If Day 1 was relaxing, however, Day 2 was quite intense. It was easy enough to reach Salakot Peak under an hour, but what lay ahead was quite challenging: having to negotiate the pandanus-decked trail, which requires stepping on some parts of the pandanus and holding on to others: not an easy task considering that the vine-like plant comes with thorns, and some fragments may easily break (we were forced to adapt to the situation and learn the skill of ‘triangulating’ two branches to step on)

Mingan 20188
Because no one has climbed the summit for a long time, the trail was even more overgrown than usual, making the entire hike a difficult slog (thank you Kero and Rey for the trail-clearing efforts!). No climber of Mt. Mingan will ever forget all the pandan vines that had to be negotiated just to reach the summit!

Mingan 20181

It was already 1430H when we reach the summit, which is marked by a couple of flags hanging on a tree. There was little time to rest or celebrate, as we wanted to maximise what was left of the daylight. However, because the trail had been cleared and probably because our pandan-trekking skills have improved, we surprisingly made it in good time, reaching the campsite by 2000H.

Mingan 20187

Day 3 was just as relaxing as Day 1, if not even more so, taking just four hours back to the Eco-Park. Of course, being a major climb (PinoyMountaineer is provisionally classifying Mt. Mingan 8/9 until next summer and 7/9 thereafter anticipating an easing of the trail), the descent still cannot be taken lightly as there were some challenging parts. By 1300H we were tidying up at the Eco Park, bloodied as some of us were with the notorious limatik. What a great adventure! Looking forward to doing more Sierra Madre hikes in the future! Thank you to everyone who assisted us in this hike!

Mingan 20184

PINOY MOUNTAINEER IN AURORA
Hiking matters #105; Mt. Udok
Hiking matters #585: Mt. Danayag
Hiking matters #602; Mt. Mingan

The post Hiking matters #602: Three-day hike up Mt. Mingan via Gabaldon appeared first on Pinoy Mountaineer.

Hiking matters #604: Hiking up Mt. Daisen (大山) in Tottori Prefecture, Japan

$
0
0

IMG_7405

HIROSHIMA –  Continuing my Hyakumeizan journey in the late autumn after a productive summer which saw me do a solo Daikiretto, I went to Tottori prefecture to climb Mt. Daisen (大山; Daisen alone is grammatically more accurate), the most prominent peak in the Sanyo-San’in region. It rises to 1729m in Kengamine peak although after an earthquake in 2000 the highest accessible peak is Misen Peak, 1709m.

IMG_7382

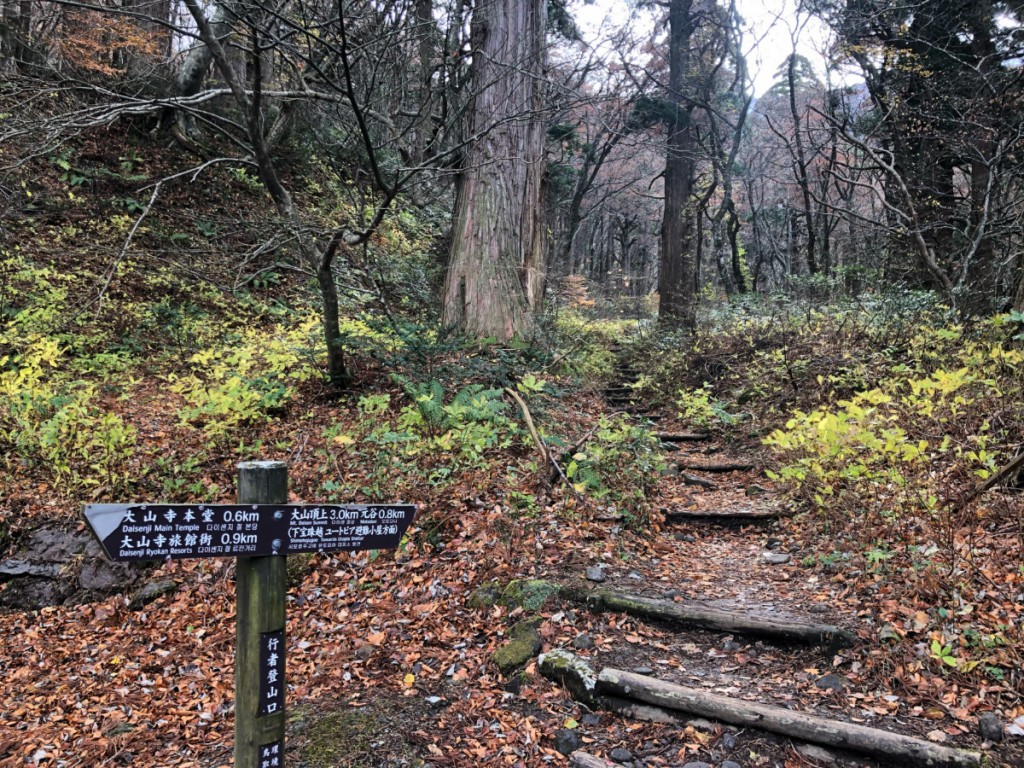
From Okayama (0705H) I took a train to Yonago (0915H) and then a bus (0930H) to Daisenji (720 JPY, 1022H), where the hike commenced. As my ascending route I went up Daisen temple and followed the track that led to  Ōgamiyama Jinja and connected to the main route in between the 5th and 6th stations. It was quite a straightforward ascent through a beech forest and my only regret is that I was too late for the autumn leaves.
IMG_7492
Past the forest the beautiful views emerged; although there was some cloud cover I saw Miho Bay and the Sea of Japan, as well as the small peaks of Tottori Prefecture (e.g. Nabeyama, Koreizan). Interestingly, I came across a lot of Korean hikers who greet people with their annyeonghaseyo instead of konnichiwa.

IMG_7392
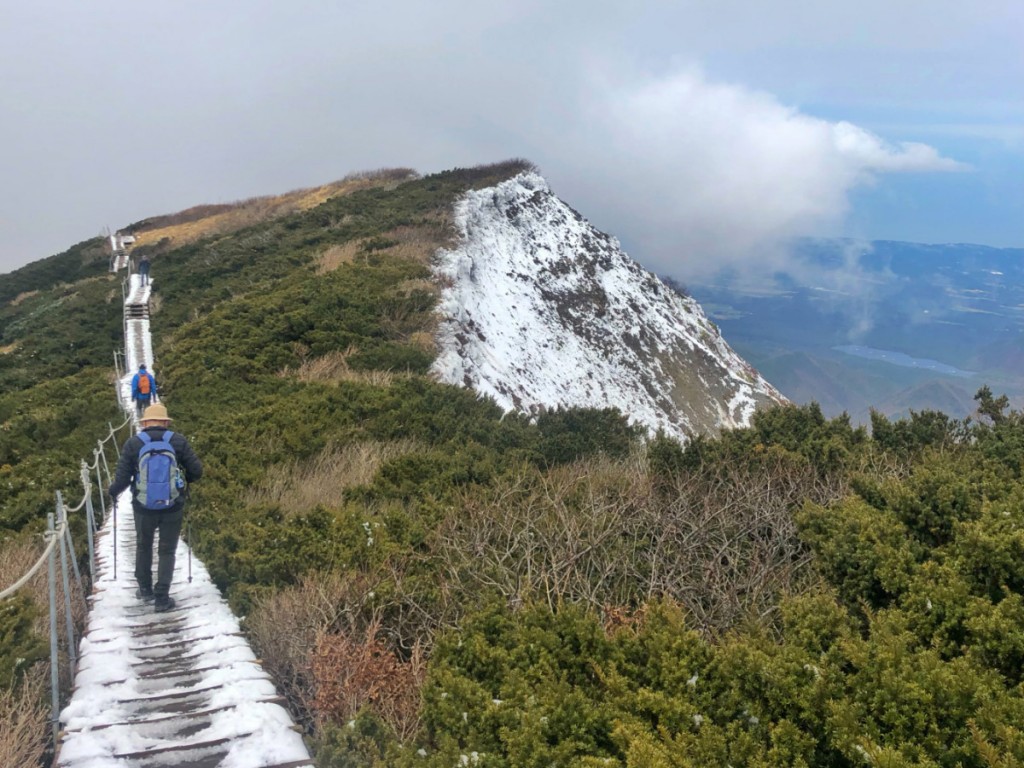
Near the summit there was some light snow on the boardwalk (which was put in place to protect the vegetation). It was actually quite cold and I had to don gloves at the summit. Fortunately, I managed to arrive in good time, reaching the peak at 1240H or after just 2 hours 10 mins of trekking. The descent, meanwhile, took a good two hours because I descended at a more relaxed pace (as the next bus, to Daisenguchi Station, wasn’t until 1610H).

IMG_7417

Overall, Mt. Daisen was a great hike and I’m glad to reach my 23rd of Japan’s 100 Famous Mountains!
IMG_7437

The post Hiking matters #604: Hiking up Mt. Daisen (大山) in Tottori Prefecture, Japan appeared first on Pinoy Mountaineer.


Hiking matters #605: Mt. Amorong in Umingan, Pangasinan

$
0
0

47579287_488503828223553_5893414318090747904_n
Pangasinan is not well-known for its mountains, but there are actually a number of peaks in the province – from the foothills of the Cordilleras to the northern fringes of the Zambales range. Moreover, there are some mini-mountains in the plains of the province, including Mt. Amorong (376m) in Umingan and Mt. Balungao (382m) in Balungao. On December 9, 2018 I decided to check out these two inactive volcanoes, accompanied by my hiking buddie Tony Gutierrez, Charina Javier, and Christian Santos. Because there was no documentation about it, we decided to head first to Mt. Amorong.
47680334_1968487173220595_2942124358073581568_n
We first headed to Rosales via NLEX-SCTEX-TPLEX, and then followed the Umingan-Rosales Road, until we made a right turn to a Brgy. Luna Este through a road that would turn rough. We followed this until the end, and lo and behold, Mt. Amorong’s rather-indistinct two peaks were in front of us. Tatay Godong, a kalabasa farmer (kalabasa or squash farming is the major livelihood in the area), agreed to guide us.

47576840_508191066366662_5022646953373073408_n

Because we didn’t really know which of the two peaks was the summit, we decided to hike both, starting with what Tatay Godong himself identified as the highest point: the small peak on the left (see above picture). This was a pretty straightforward ascent, first in grassy slopes then up a forest. There was no view at the top  – we recorded an attitude of 370 MASL and coordinates of 15°50′15″N 120°48′24″E.

48357744_376706059541103_7803126132747796480_n

Then, after heading down close to where we parked the car, we hiked up the second, larger peak, intrigued by the caldera we saw in the topographic map – and the fact that it was referred to by Tatay Godong as lokong – meaning, ‘bowl’. As in the first peak there were lots of kalabasa on the trail – some selling for just 3-5 pesos a kilo! We cannot but feel sympathetic to the farmers who earn so little in the area (I will write about this in my Inquirer column).

48123059_339582803441510_8017723774260477952_n

The second peak had a well-established trail (used by the locals to haul kalabasa) at the beginning but there were also some overgrown, grassy parts towards the end. The first signal that the summit is near is the arrival at the ridge – which may well be the crater rim of the ancient volcano. We followed this ridge hoping to catch a glimpse of the caldera underneath but we couldn’t really find a sweeping view of it because of the vegetation. We had to make do with the view of the Cordilleras – which was in itself rewarding.

48375469_778975702444538_1217431045809373184_n

At the summit we clocked an elevation of 375, 15°50′26″N 120°7′49″E, extremely close to the official reading of 376 MASL. It was reminiscent of Mt. Batolusong, or the San Jose Circuit in Tarlac. According to Tatay Godong, the mountain used to be forested and inhabited by monkeys and wild boar. But nowadays, because of vegetable farming and deforestation, the wildlife has “fled to the mountains of Nueva Vizcaya”.

48379485_597712460648728_6401246823058505728_n

Still, the ridge wasn’t completely bare and there were some trees, particularly facing the caldera, raising the possibility of a traverse from below. Surely, there’s more to Mt. Amorong than what we saw in our visit – something for local hikers to explore – but we were very satisfied to have summited a mountain that I first saw in Mt. Ugo in 2012, when I saw Mt. Arayat and was trying to figure out the small mountains that flanked it. Another one of those mountains was our next destination – to which we headed after Amorong: Mt. Balungao (see Hiking matters #606).

47579347_273335263366535_1592650602947543040_n

The post Hiking matters #605: Mt. Amorong in Umingan, Pangasinan appeared first on Pinoy Mountaineer.

Hiking matters #606: Mt. Balungao, a short but sweet hike in Pangasinan

$
0
0

47574918_537971093281234_3513683526195085312_n
After exploring Mt. Amorong (see Hiking matters #605) we retraced our route back to the Rosales-Umingan Road and headed to Mt. Balungao. At 382 MASL, this slightly-higher mountain has existing hiking operations, thanks to the government-run resort on its foot: the Balungao Hot and Cold Spring Resort.

47680379_215611309354844_3267937763944562688_n-2

After a quick lunch in the Resort (there were a couple of turo-turo near the entrance), we started the hike (P500 guide fee; P50/pax entrance fee for the resort) which commenced at the resort itself.

48378635_2178838575712038_3174667356496461824_n

The trail was immediately a delight, featuring a Tarak-esque steep, rocky, and forested trail virtually all the way to the top.

47681834_376570053107338_6692981394307547136_n
Be prepared to meet non-hikers wearing flip-flops on the trail as it is marketed for the mostly-local resort-goers – but we were hiking in the afternoon and saw no one else on the mountain.
48366235_361472324669630_901473576270430208_n
Eventually the steep ascent will give way to a gradual trek through the grassy upper reaches of the mountain: a sign that the summit is at hand. It took us just 45 minutes to reach it, and we were treated to views of Pangasinan (including Mt. Amorong, below, and Mt. Cuyapo, above) as well as the southern foothills of the great Cordilleras. We registered an elevation of 385 MASL at coordinates 15°51′45″N 120°40′60″E.
48260365_2236849376588993_6463256852208549888_n
The way back was as straightforward as the ascent – and we ended up soaking in the hot springs: a well-deserved treat after the two hikes. Mt. Balungao is the superior choice in terms of the quality of the trials and the scenery, but Mt. Amorong is geologically more interesting and potentially with more trail possibilities Both are easy enough to complete in 2-3 hours apiece. Combining the two makes a daytrip from Manila worthwhile, especially for those who are looking for something new.

48359314_322002485301747_4115675685819777024_n

The post Hiking matters #606: Mt. Balungao, a short but sweet hike in Pangasinan appeared first on Pinoy Mountaineer.

Carina Dayondon successfully ascends Vinson Massif in Antarctica, completes Seven Summits!

$
0
0
carina-dayondon
Carina Dayondon at the summit of Aconcagua

Filipina mountaineer Carina Dayondon has just reported a successful ascent of Vinson Massif (Mt. Vinson), the highest mountain in Antarctica, thereby completed the Seven Summits (Bass List): only the second Filipino (after Romi Garduce) and first Filipina to accomplish the feat! Adventurer Fung Yu was one of the first to receive the message, saying on a Facebook post: “Just received a satellite phone call from Carina. She had successfully summitted Mt. Vinson in Antarctica, her last of the 7 Summits on December 16…She is now back at the Antarctic base camp awaiting better weather to fly back to Punta Arenas, Chile in 5 days’ time.”

Carinas-summit-picture-1
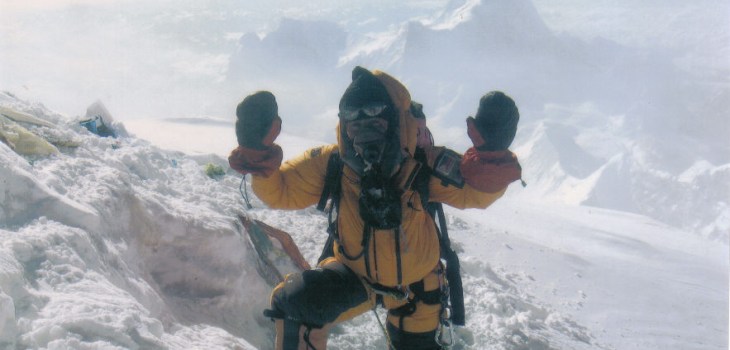
Carina in Mt. Everest

This is not the first time Carina Dayondon has broken ground in Philippine mountaineering. In 2007, she was part of the “Kaya ng Pinoy” Expedition up Mt. Everest, becoming one of the first three Filipinas to reach the world’s highest peak, and even making a traverse of the mountain – an unusual feat even among mountaineers. She has also taken part of the Voyage of the Balangay that celebrated Filipino maritime culture.

DSCN0576
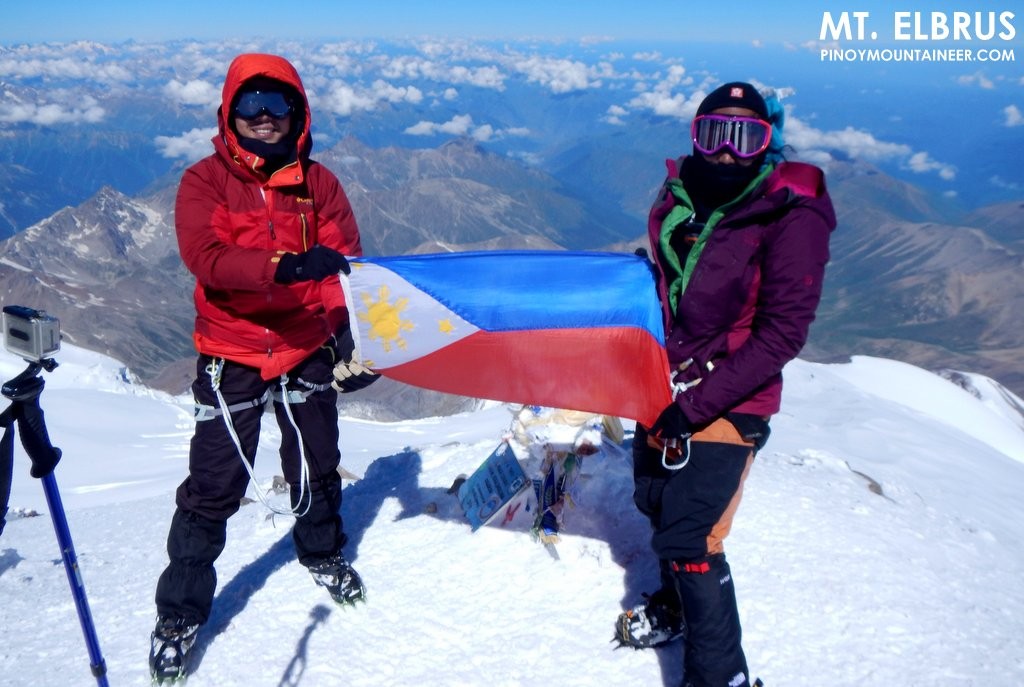
Carina Dayondon in Mt. Elbrus with Gideon Lasco (2013)

She has long dreamt of the Seven Summits, but her bid was renewed in 2013 when she climbed Mt. Elbrus as part of the Pinoy Mountaineer Expedition  (see Hiking matters #360). Despite an unsuccessful attempt to climb Aconcagua in the 2016-2017 season, she was undeterred and went back to the mountain the following year, becoming only the third Filipino to climb South America’s highest peak (after Romi Garduce and Mon Dysanco). “I’m doing this to show the country that even a simple girl like me can reach her dreams,” she once told Pinoy Mountaineer after reaching the summit of Aconcagua earlier this year. “Kung nakaya ko, kaya nyo rin!”

The rest, as they say, is history – but we know enough of Carina to confidently say that surely her adventures will continue.

Carina Dayondon’s journey to the 7 Summits 

2006 – Denali (6190m), North America

2007 – Everest (8850m), Asia

2013 – Elbrus (5642m), Europe

2014 – Mount Kosciuszko (2,228 metres), Australia

2015 – Mt Kilimanjaro (5895m), Africa

2018 – Mt. Aconcagua (6962m), South America

2018 – Vinson Massif (4892m), Antarctica

The post Carina Dayondon successfully ascends Vinson Massif in Antarctica, completes Seven Summits! appeared first on Pinoy Mountaineer.

“Malayo pa ba?” “Five minutes na lang!” Common expressions by mountaineers

$
0
0

IMG_8103
Every hike is unique, but hikers find themselves saying the same things, given the universal experiences shared by people while hiking – as well as the shared emotions of pain, triumph – and everything in between.

This is a list of expressions hikers usually say while on the mountains – 2018/2019 edition!

1. “Bakit ba natin pinapahirapan sarili natin?

When people say it: During challenging moments of any hike (of course, it will depend on the experience and current condition of the hiker). Experienced hikers will also say this tongue-in-cheek.

2. “Galit-galit ah!” 

When people say it: While eating at the campsite or after the hike. Basically, people are too hungry to talk, and would rather munch on the food!

3. “Buwis buhay pose!”

When people say it: While taking pictures on dramatic viewpoints (Note: Pinoy Mountaineer discourages taking risky photos!)

4. “Pwede bang magzipline na lang pababa?”

When people say it: While hiking or upon reaching the summit of a steep or challenging mountain.

5. “Pwede bang mag-helicopter na lang pababa?”

When people say it: See #3. Another variant: Pwede bang mag-elevator?

6. “Akala ko ba minor climb lang ‘to? Difficulty 4/9 lang ba talaga ‘to?”

When people say it: While experiencing difficulty on the mountain. (Of course, every hike is unique – depending on the weather, the season, the number of participants, and the hikers themselves.)

7. “San tayo kakain?”

When people say it: When they’re descending and very excited to eat after a hike!

8. “Malayo pa ba?”

When people say it: When they’re already tired, or when they’re expecting the reach the summit soon.

9. “Malapit na!”

When people say it: Throughout the hike! Sometimes hikers or guides say it to encourage beginners. Another variant: “Walking distance na lang!”

10. “Five minutes na lang!”

When people say it: Every five minutes!

Do you have other common expressions in mind? Share it and we’ll add it to this growing list! Thanks to the contributions of Ivan Cultura, Charina Javier, Christine Fernandez!

The post “Malayo pa ba?” “Five minutes na lang!” Common expressions by mountaineers appeared first on Pinoy Mountaineer.

Antarctic Christmas: Carina Dayondon safely back from Vinson Massif basecamp!

$
0
0
49001964_2611766765530193_4687634998864379904_n
Photo from Antarctic Logistics and Expedition FB page

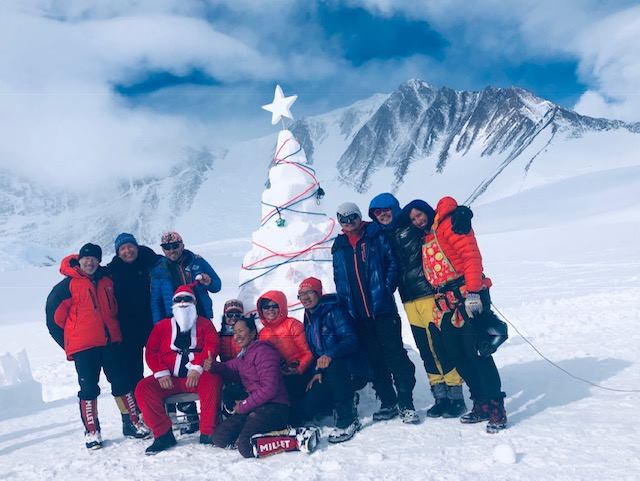
Newly-minted Seven Summiteer Carina Dayondon told Pinoy Mountaineer that she is back in Punta Arenas, Chile (en route to Manila) after her successful ascent of Vinson Massif, Antarctica. “We were trapped for 10 days at the basecamp,” she disclosed, speaking of inclement weather that  almost doubling what was intended to be a 12-day expedition. “If you add the two days that we were trapped in Union Glacier…it’s two weeks…Walang palitan ng damit!”

Fortunately, the expedition itself was “really wonderful, considering that we were in the extreme conditions of Antarctica.,.. the service [of Antarctic Logistics and Expeditions] was superb”. She adds that the “climb was not really easy…it’s like a mini-Denali”.

Carina’s account is corroborated by other mountaineers who have reported on the extreme weather in the basecamp. Alex Silva, for instance, reports that “for about a week now, several teams have been stuck in base camp at the foot of the 4,852m high (15,918ft) Mount Vinson, the highest mountain of the continent. A severe storm with wind speeds of around 100 kilometers (62 miles) per hour and heavy snowfall have been preventing aircrafts from taking off or landing there for days.”


The post Antarctic Christmas: Carina Dayondon safely back from Vinson Massif basecamp! appeared first on Pinoy Mountaineer.

Viewing all 610 articles
Browse latest View live